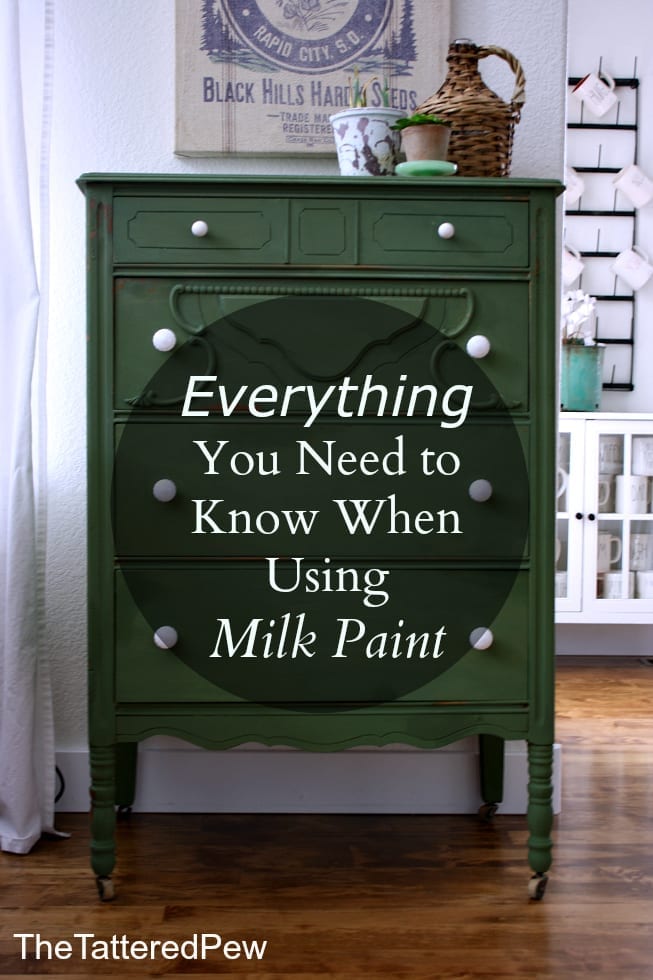
Everything You Need to Know When Using Milk Paint
Milk paint… I don’t know about you but these two words have always intimidated me. I have painted my fair share of things around my house but I have never tried milk paint. Well this past weekend I finally got up the nerve and tried my hand at using Miss Mustard Seed’s Milk paint on an old dresser.
(This post may contain affiliate links. If you purchase a product through an affiliate link, your costs will be the same but The Tattered Pew will receive a small commission. This helps cover some of the costs for this site. I appreciate your support!)
Today I am excited to share everything I have learned and everything you need to know when using milk paint. Hopefully this post will leave you feeling confident and ready to try milk paint for yourself!
Getting Started: Finding the Right Piece of Furniture
For some time now I have wanted to paint and use a dresser in our family room. I passed up an awesome (and cheap) one at a flea market months ago and I have always regretted it. My sister constantly searches Face Book Marketplace and always finds great stuff on there so I decided to do the same and started looking for a cheap dresser to experiment on!
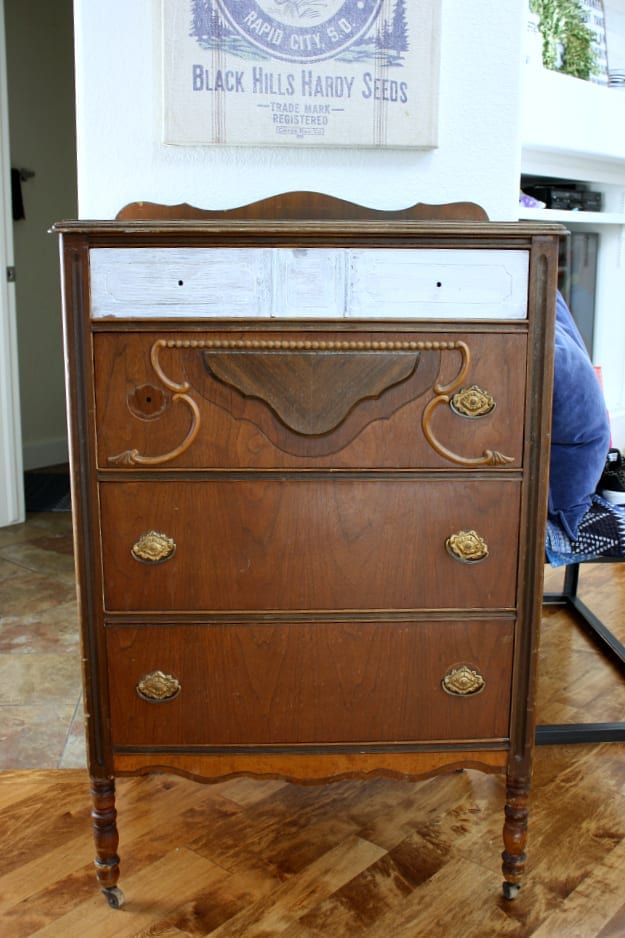
I found this old beauty for $60 dollars! Instantly I loved her lines and vintage appeal. I offered the gal $50 and she accepted! I’m so glad I did because the top was awful and had burn marks and one wheel was missing. I probably could have offered even less!
Prepping for Paint
Now that I had found my dresser it was time to get to work! This part can be really messy so I brought the dresser out into our garage.
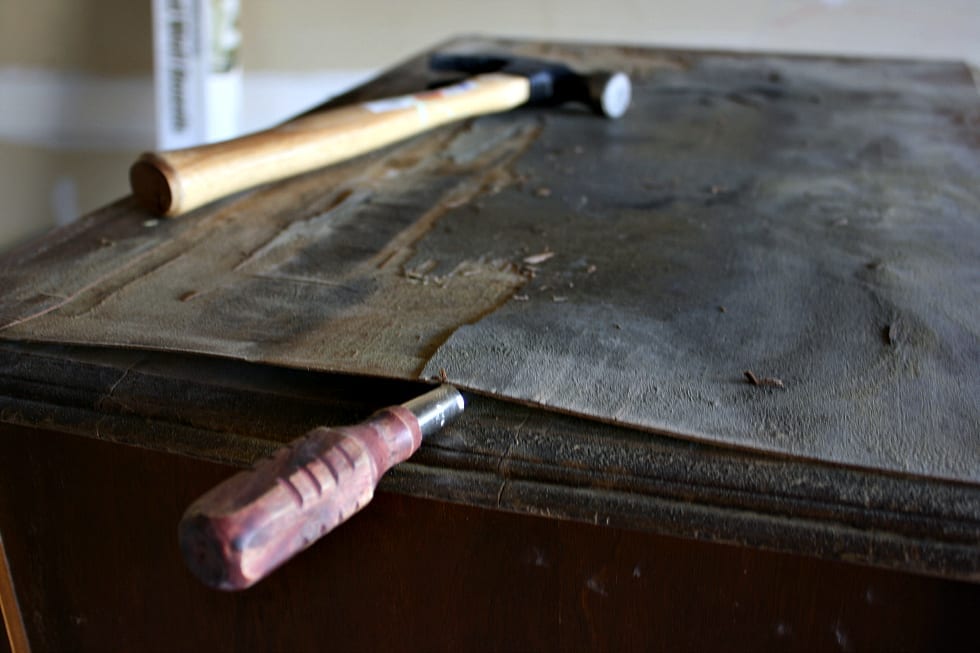
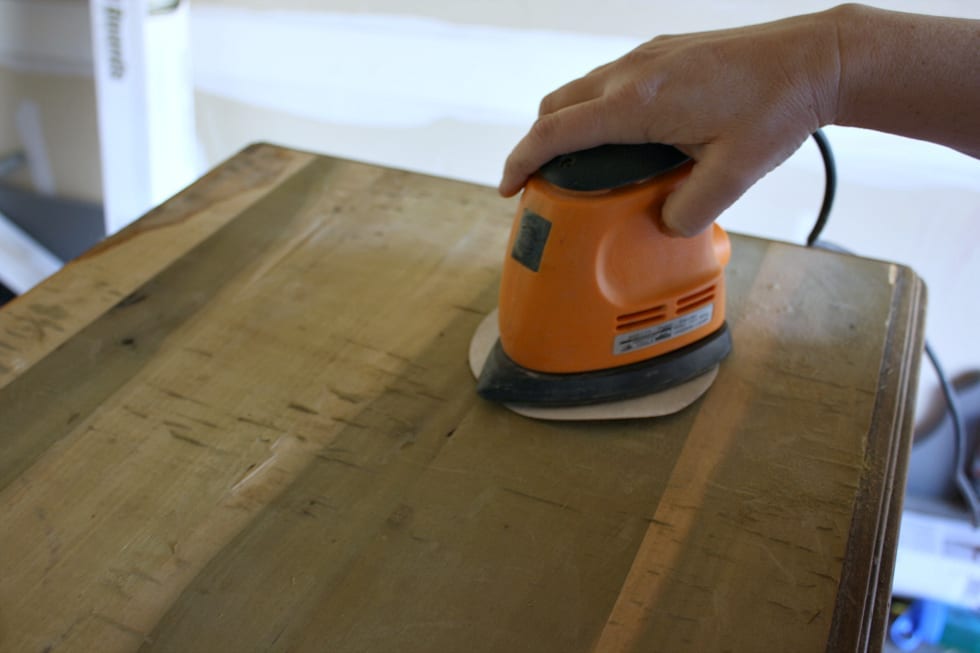
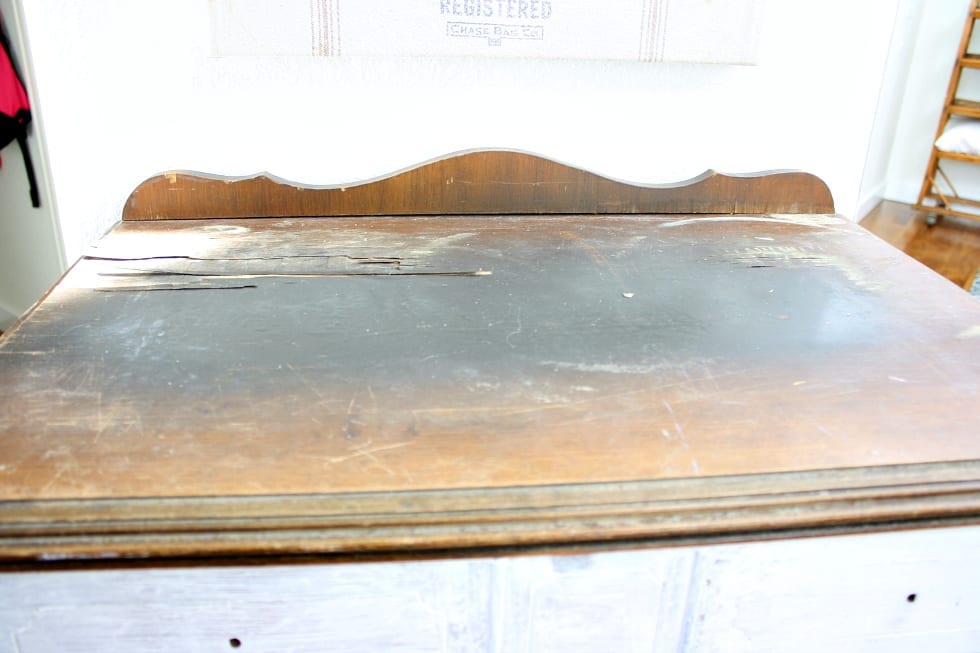
Prepping your piece before you paint is very important, especially if you want your paint to stick! However, I learned that this also depends on the type of finish your piece may have. If it is raw wood no sanding is necessary and the paint will soak right in. My dresser had a varnish/lacquer type finish and is was definitely necessary for me to sand it. My piece also had a large amount of damage on the top so I had to remove the top layers before I could even begin sanding.
I borrowed this hand sander from some friends and it saved me so much time! For the tough to sand corners and spaces I used a fine grit hand held sand paper that I could manipulate for those hard to reach spaces. I sanded in a circular motion and didn’t worry about getting every nook and cranny.
The Paint
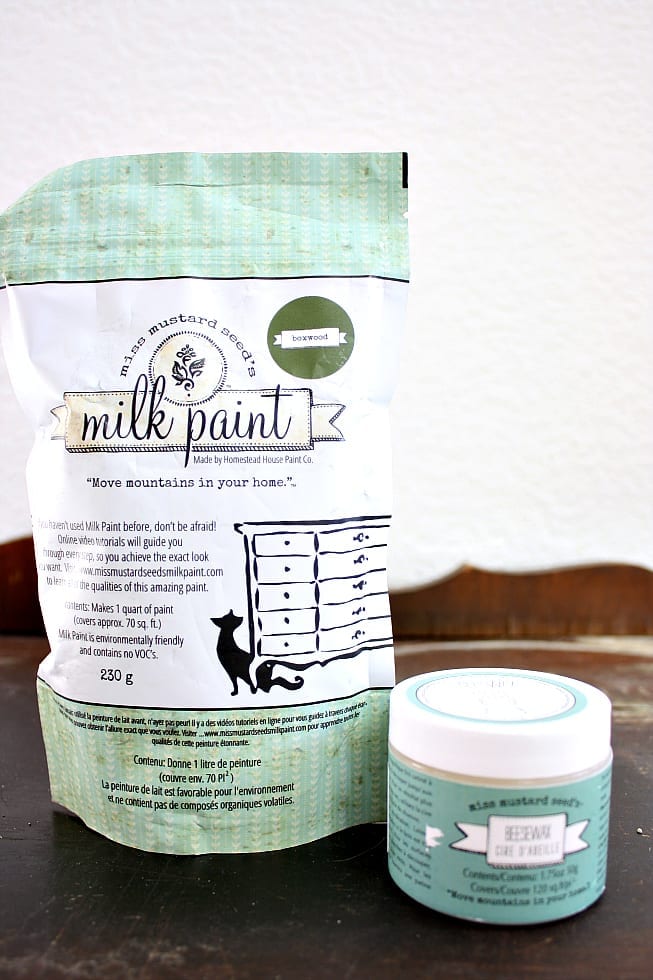
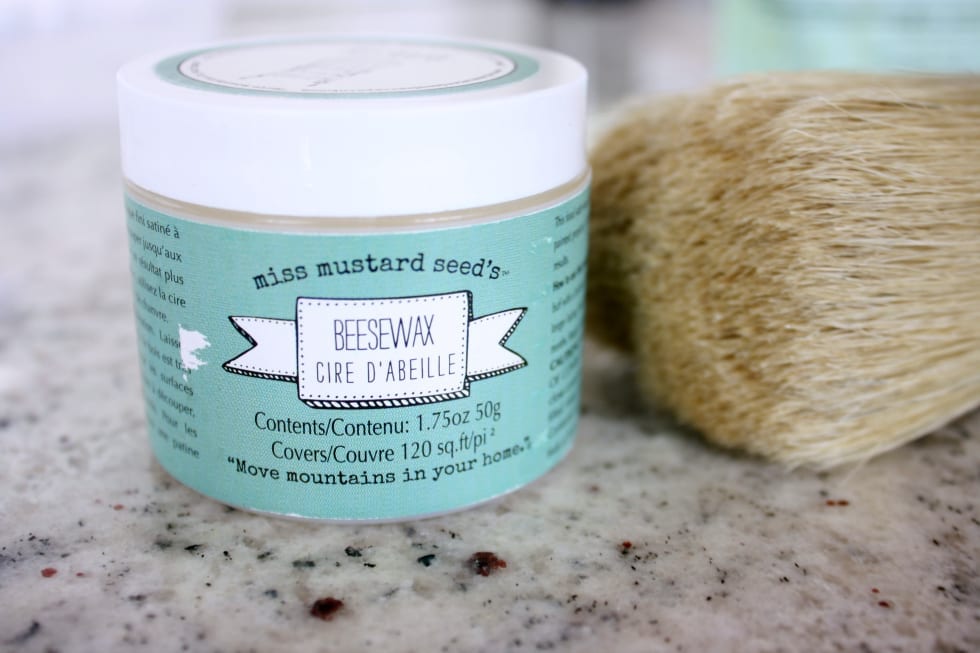
After the prep you must decide on what milk paint you want to use. (There are many brands out there) I have seen Miss Mustard Seed’s paint all over Pinterest and Instagram and instantly fell in love with her Boxwood color. So I ordered that color from Amazon. I also ordered her beeswax to use under the paint. This helps create a chippy paint effect. More on this later.
So a little more about the beeswax which ended up being the hardest part for me. The research I had done on milk paint shared that if you use beeswax under your paint it will help the paint have a chippy appearance. I really wanted this for my dresser! So I added it in random spots on the dresser with a paint brush and rubbed it off. However, it left a greasy look even after I rubbed it off and even after I painted over it. This was not what I wanted. My lessons learned: don’t put too much on, less is more (my spots were way too big) and really buff it off good with an old white under shirt. The way I fixed this was by sanding those spots off even after two coats of paint and then painting over them again for a third time. The good news…it definitely caused some major chippy parts which I wanted! The bad news was that I just added more work for myself!
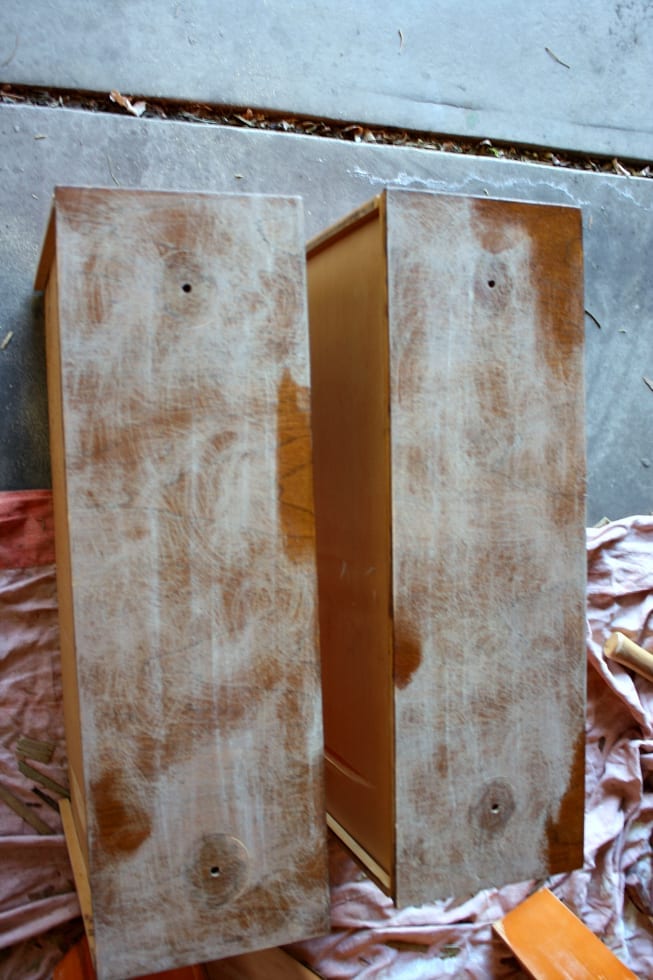
Below are the drawers sanded! You can see the glossy spots are where I added the beeswax.
Preparing the Paint
Next after the sanding we moved the dresser inside to paint because it was really chilly in the garage. I love that this paint has no VOC’s and is made from 5 simple no-toxic ingredients and that it is completely safe to use around my family and our puppy.
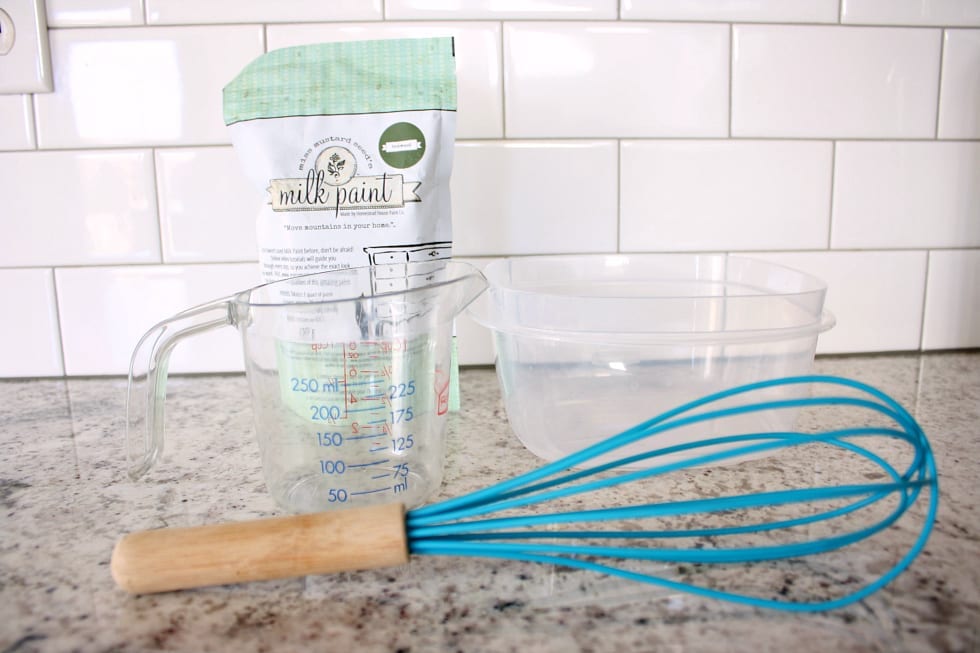
As you can see from the packaging this paint comes in a bag. It is in powder form and only needs to be mixed with warm water! It is suggested you shake the bag before you begin mixing your paint.
(You can use my code : 10OFFTP for 10% off all Miss Mustard Seed Milk Paint products)
I mixed 1/2 cup of the milk paint to 1/2 cup of warm water (I found these numbers on her website under FAQ’s). I added the water into the powder and stirred until all the lumps were gone and the paint was mixed. Stirring is the key! I then let it sit for 15 minutes before I used it. For most people mixing the paint is the hardest part because the consistency is VERY different from normal latex paint. It is rather thin. You can obviously thicken it by adding more powder or thin it by adding more water. To avoid any confusion I watched several videos by Miss Mustard Seed herself and scoured her website! You can find those by clicking HERE. I also have some awesome friends over on Instagram who helped me. A big thanks to Annie @livandgracerestored_ and Rebecca @fuellingbecky !
The First Coat
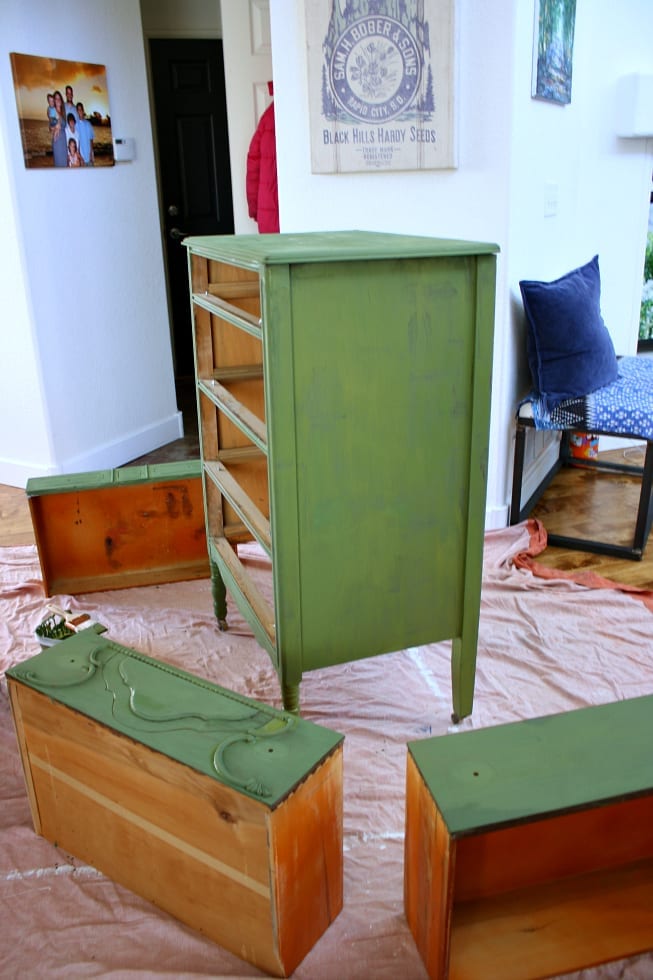
After waiting 15 minutes I got busy painting! I was constantly stirring as I applied. The paint tends to get chunky if you don’t stir often. Below is one coat of paint on the dresser and the amount that I mixed above covered the entire dresser. You can see some variation in color which I like because it instantly gave off the vintage vibe I love! Milk paint is very unpredictable so you have to be OK with it not looking absolutely uniform.
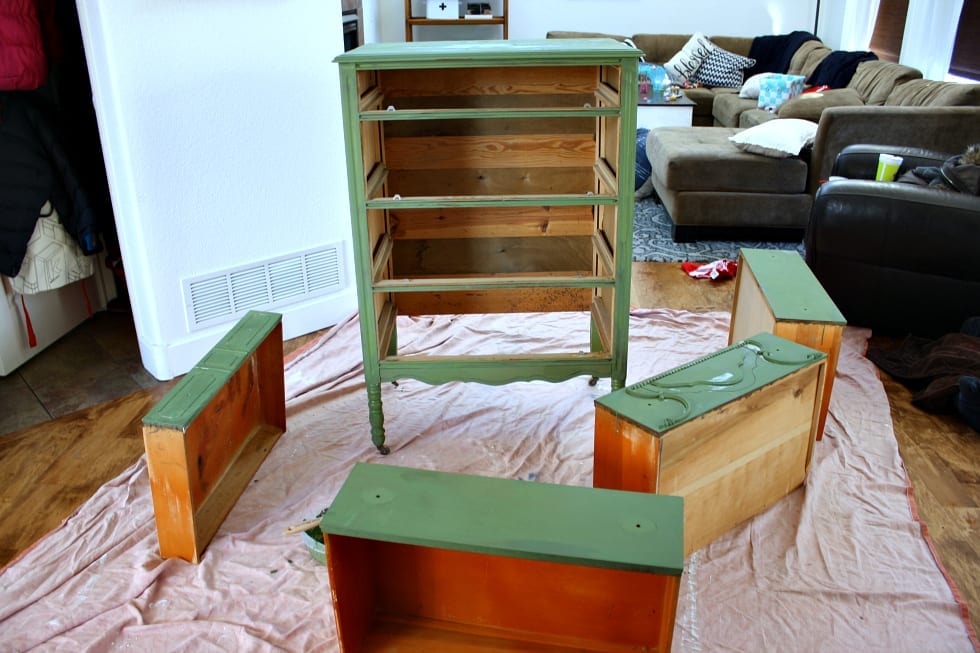
The Second Coat
I let the dresser dry overnight because I wanted to see if it would chip anywhere. It did in several spots where I had added the beeswax and even in a few spots where I hadn’t added the wax! Miss Mustard Seed says to gently scrape it off with a putty knife. I just used a sanding block to scrape a few spots off! I love the chippy look so much!
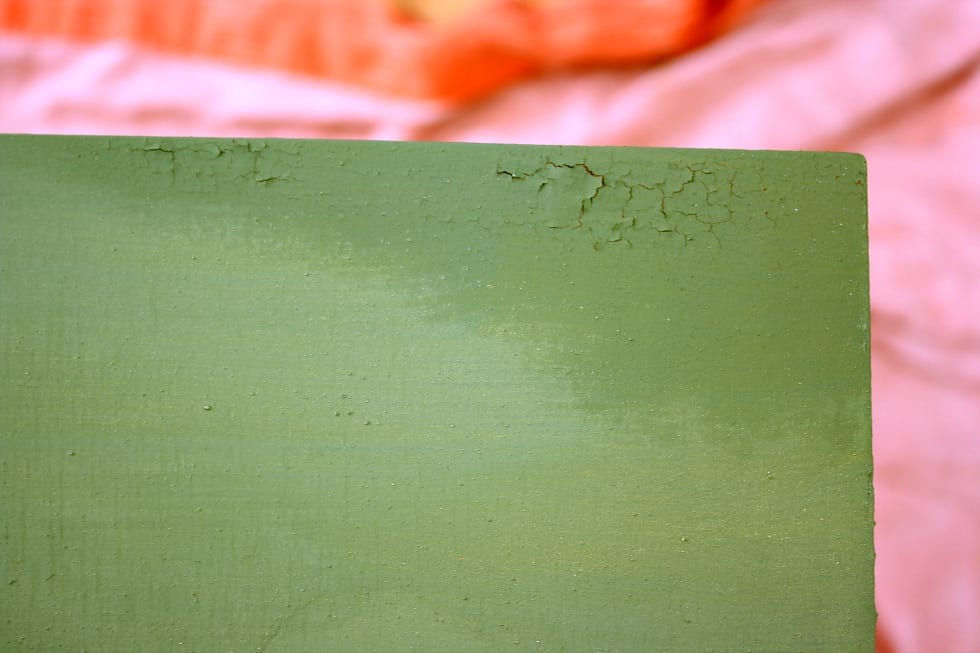
I did leave a few spots crackly sand chippy like you see above and also sanded some areas to let the dark wood show through.
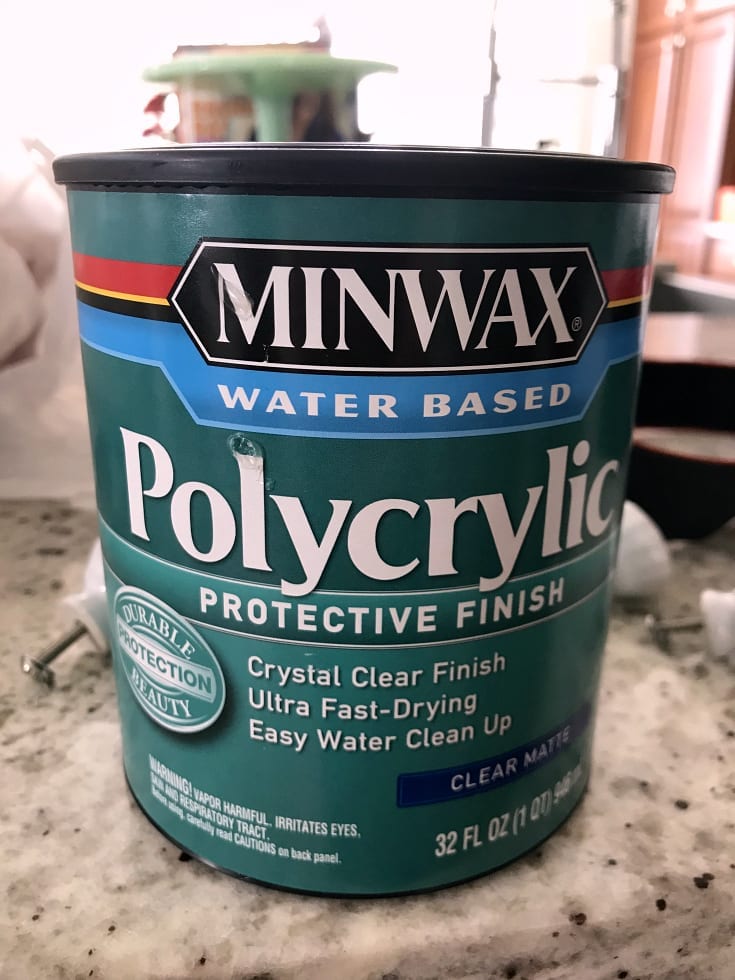
I ended up putting a third coat of paint mostly on the areas that I had sanded down where the beeswax had left grease spots. This paint dries rather quickly which is nice. The last and final step is to seal it. This helps keep the paint from continually chipping and peeling as you use the piece in your home. Miss Mustard Seed has several options that you can find on her website but I already had some Minwax Polycrylic protective finish so I used that.
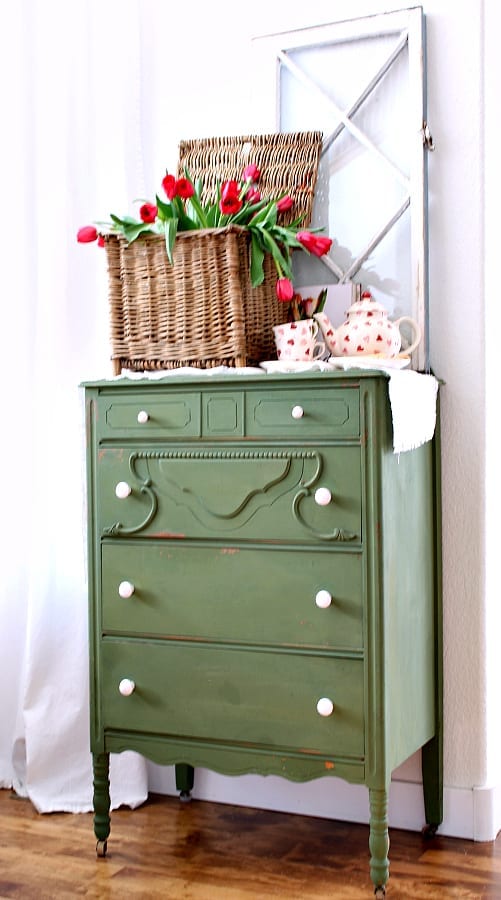
The Completed Dresser
Ok here she is!!! Isn’t she a beauty? I just love the fact that she has been given a new lease on life !
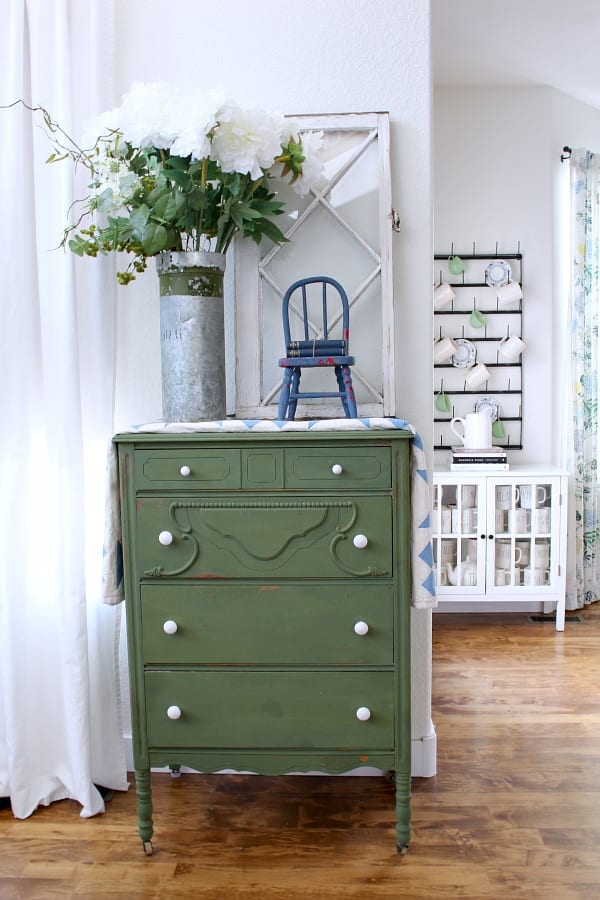
I found the glass knobs at Hobby Lobby!

There you have it! Everything I learned and everything you need to know about using milk paint. I have to say this paint is so much fun to work with and I am already looking for my next project!
I hope this post helped you. Please let me know in the comments below if you have any questions or if I may have skipped something!
Thanks for stopping by! If you don’t want to miss any of my future posts you can subscribe by clicking HERE!
xoxo,
Kelly
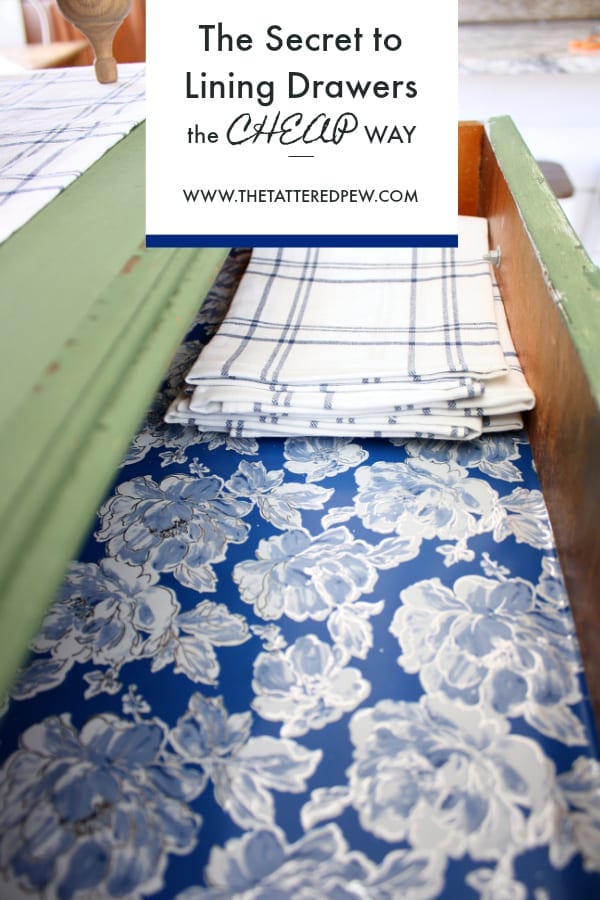
Did you like this post? Pin it for later!


It turned out so pretty!! What a rich color!
Thanks Ann! Yes this color is quite fabulous and so is this paint!
Love the color! Looks great!!!
Thank you Lindsey!
Kelly, what a great job! The dresser is beautiful!!!
Thank you so much! I love how it turned out!
Oh my goodness, Kelly it turned out beautiful! Can’t wait to see what you tackle next!
Thanks Jess! I think you would love this paint!
Love it!!! That color is so pretty!! I def need milk paint in my life!
Thank you and YES you do! It is so much fun!
I love it! Can’t wait to see it in person. Now, what can I paint!? 😄
Thanks Mom! I know…let’s start brainstorming some ideas for you!
Gosh, this turned out gorgeous! I’ve always wanted to try milk paint!
Thanks Jennifer! I do love it a lot! You must try milk paint it is so much fun!
This dresser turned out beautiful.. Thank you for all the tips, can’t wait to get started on mine.
Sherrlyn thanks for stopping by! Good luck on your dresser!
Thanks for stopping by Sherrlyn, have fun painting your dresser!
Ok Love the dresser, but totally love the dog, what is the breed of your dog? So cute, Kona reminds me of the dog that I had when my kids were little and Rascal was his name and he looked just like Kona only a little more gray. That is why I was wondering what Kona is and where you got him! Please let me know if you can!!
PS. I am ordering Miss Mustard Seeds paint now to try it for myself. I Love your dresser!!
Hi Mary! Thank you so much! Kona is a Wheaten Terrier and we got her here in Colorado. She is an amazing dog and loves to snuggle. Have fun with her paint and let me know if you have any questions! Happy New Year!
Kelly