

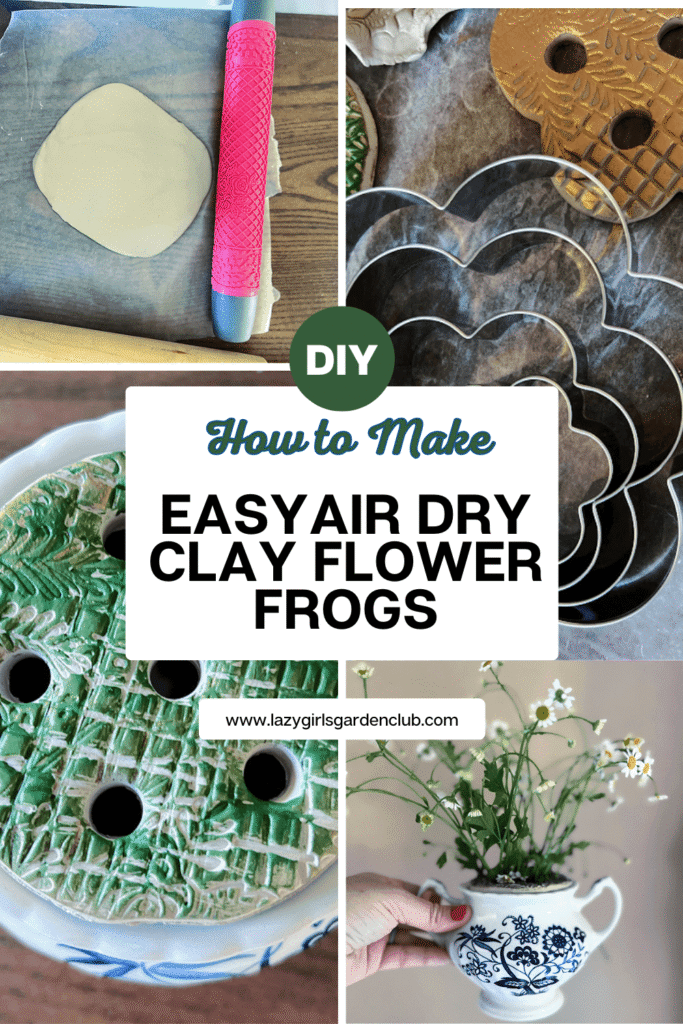
How to Make Easy DIY Air Dry Clay Flower Frogs
Anyone who loves cut flowers knows that getting your arrangement just right isn’t always easy! As a lover of all things flowers, I’ve found that these easy DIY air dry clay flower frogs are the perfect way to make arrangements look full and beautiful. They’re so easy to use and to make. Plus, there are tons of ways to customize them using just a small piece of clay and a few simple tools!
*As an Amazon Associate, I earn from qualifying purchases. This post contains other affiliate links too for your convenience. Click here to read my full disclosure policy.
What are Flower Frogs?
A flower frog is an object that’s used to help hold floral arrangements. Flower frogs can be made of clay, glass, lead, or other materials and provide a structure to hold flower stems in place.
Traditionally, they can either sit on top of the vase or bowl or lower in the water toward the bottom of the arrangement.

Flower frogs originated from the Japanese art of flower arranging called ikebana. They’re thought to go all the way back to the 14th century! Still today, many people like to collect vintage flower frogs, and they can often be found in antique shops, thrift stores, or at the flea market. I collect the metal spiky ones and you can see how I use them in my decor HERE!
Although we don’t know exactly how floral frogs were labeled with the term “frog”, many people believe it has to do with their sitting in or near water.
These classic creations are still popular today for keeping flowers upright in beautiful arrangements. I love that these clay frogs create a vintage look that’s so customizable and yet timelessly beautiful! Professional florists use a variety of devices for holding flowers in place, such as floral foam, floral tape, or chicken wire. But these flower frogs do the job effortlessly while adding a distinct, charming look that’s all their own.
Using air clay flower frogs as a flower holder is such a fun DIY project and a wonderful way to add a personal touch to customize your next arrangement!
Unique Ways to Use Flower Frogs
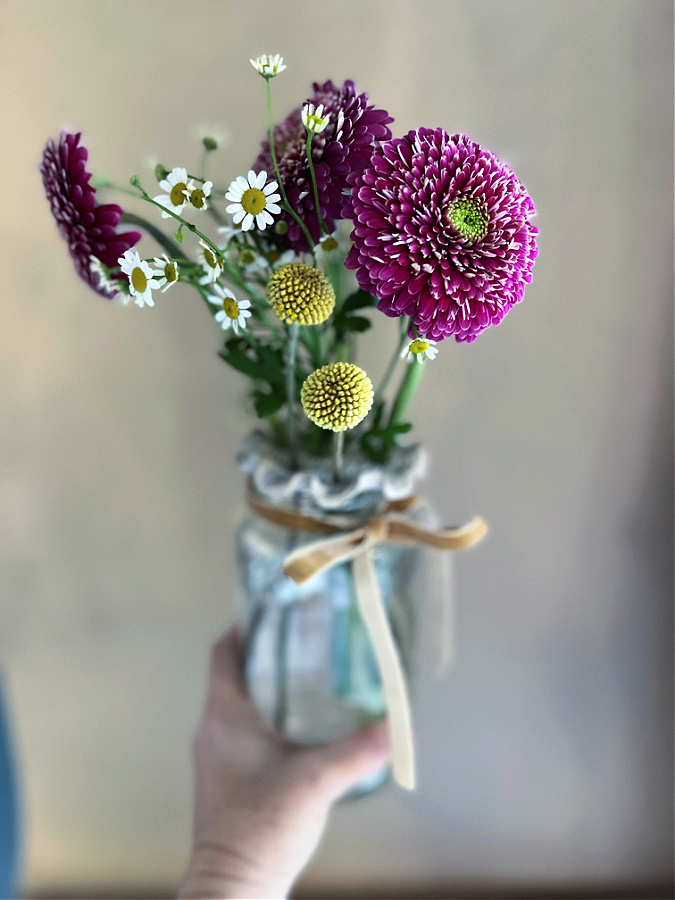
When you make your own air dry clay flower frog, you can customize it to nearly any shape and size you like! Although the typical mason jars method is beautiful (and you really can’t go wrong with it!), you don’t have to be confined to arranging your cut flowers in a jar. Here are a few creative ways you can use your DIY flower frogs:
- Floating Centerpieces: Place it in a shallow bowl or dish with water for floating flowers (just make sure to thoroughly coat it with a waterproof sealer if you decide to go this route).
- Seasonal Decor: Showcase it in a small pumpkin, decorative Easter egg, or other seasonal containers.
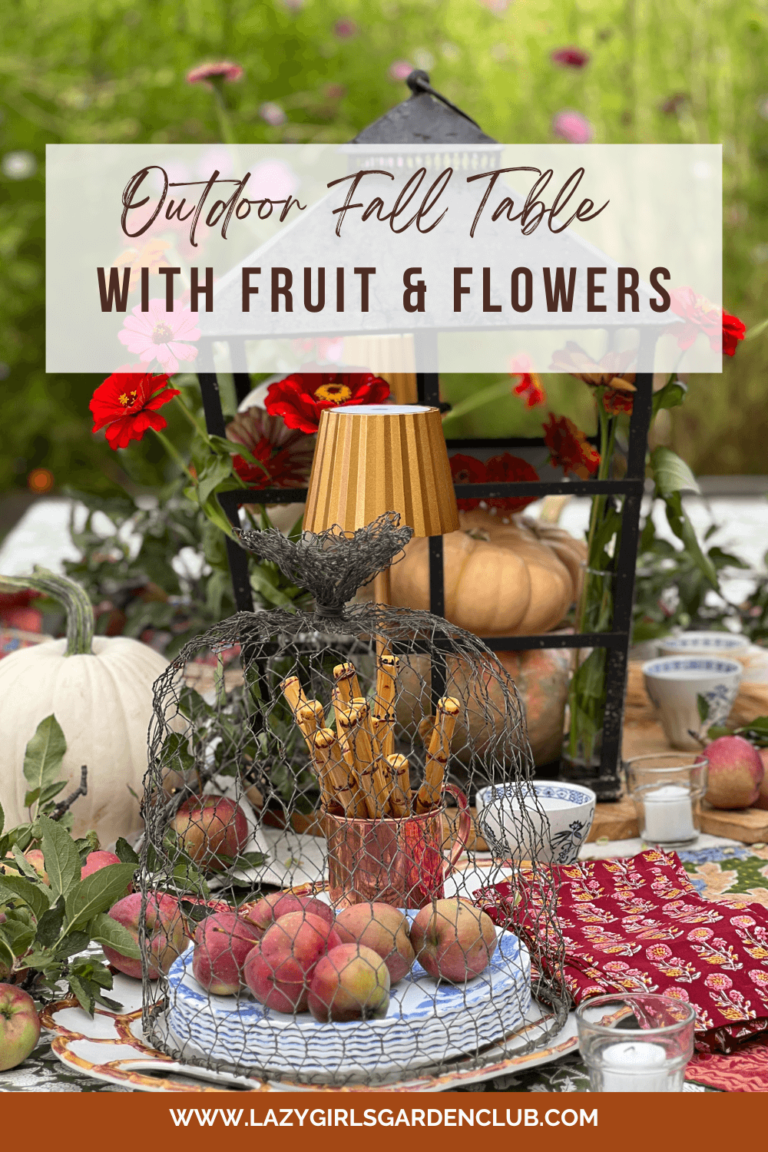
- Tablescapes and Gifting: These are perfect for decorating for events or giving as gifts. Make them to fit a baby food jar for a baby shower, decorate for weddings using large vases, or use them as your signature for an outdoor tablescape or even a thoughtful DIY hostess gift.
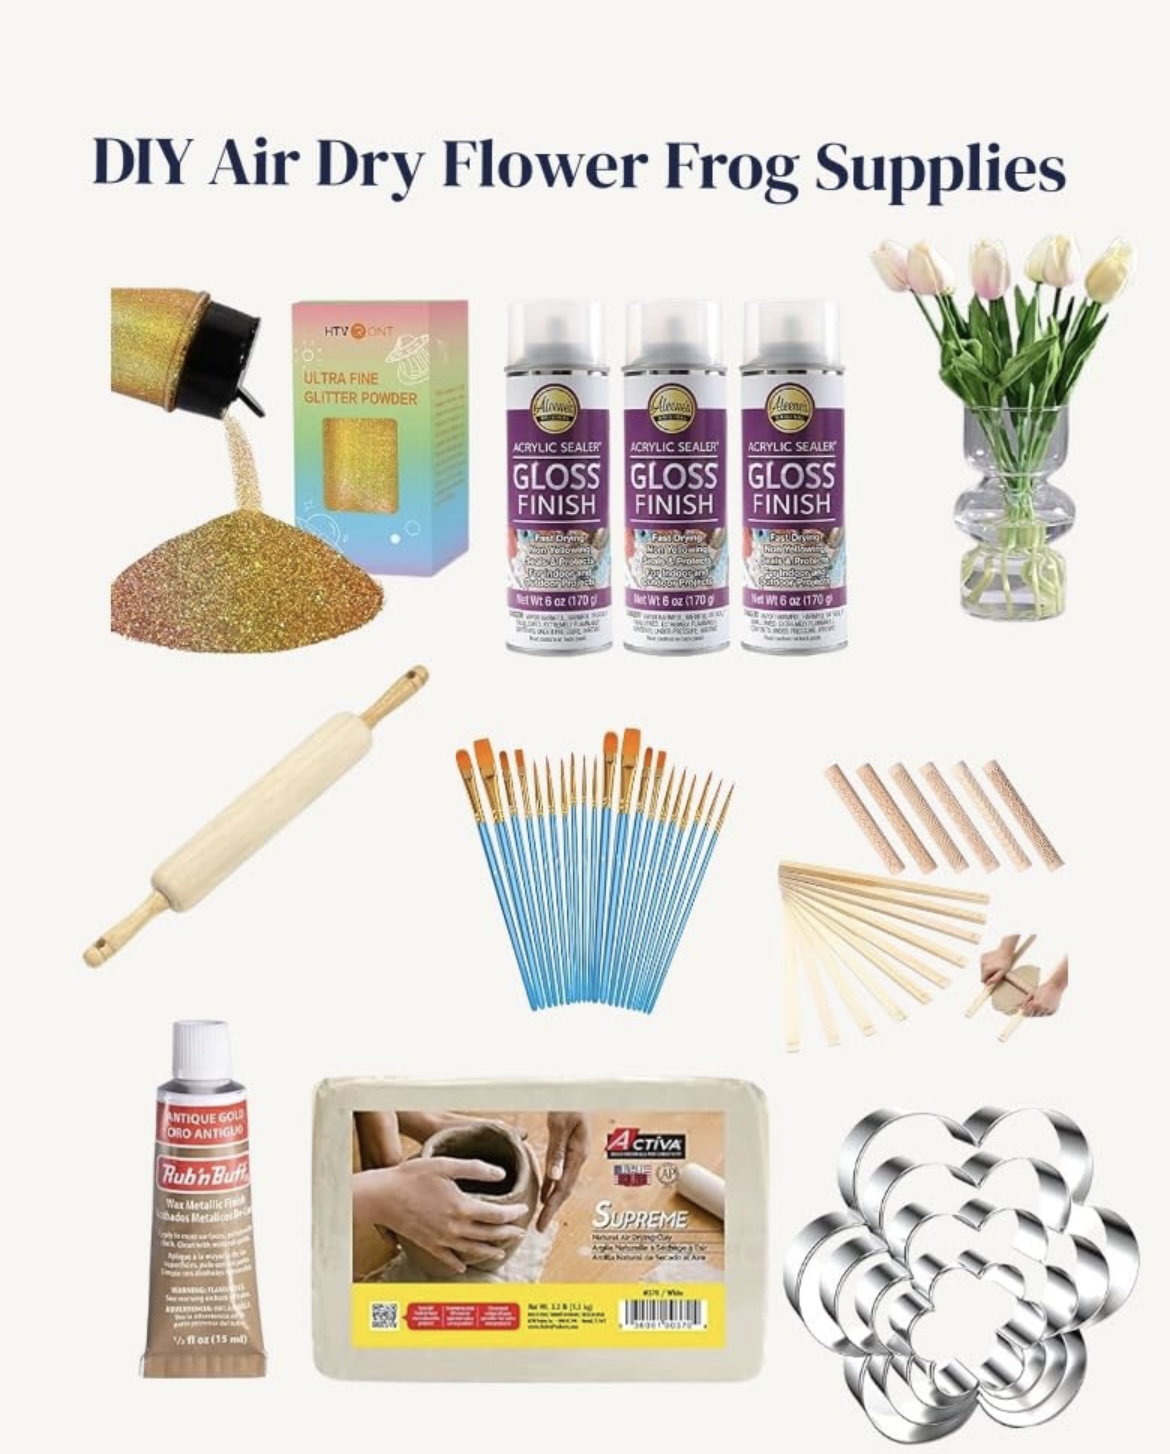
Supplies You’ll Need for DIY Air Dry Clay Flower Frogs
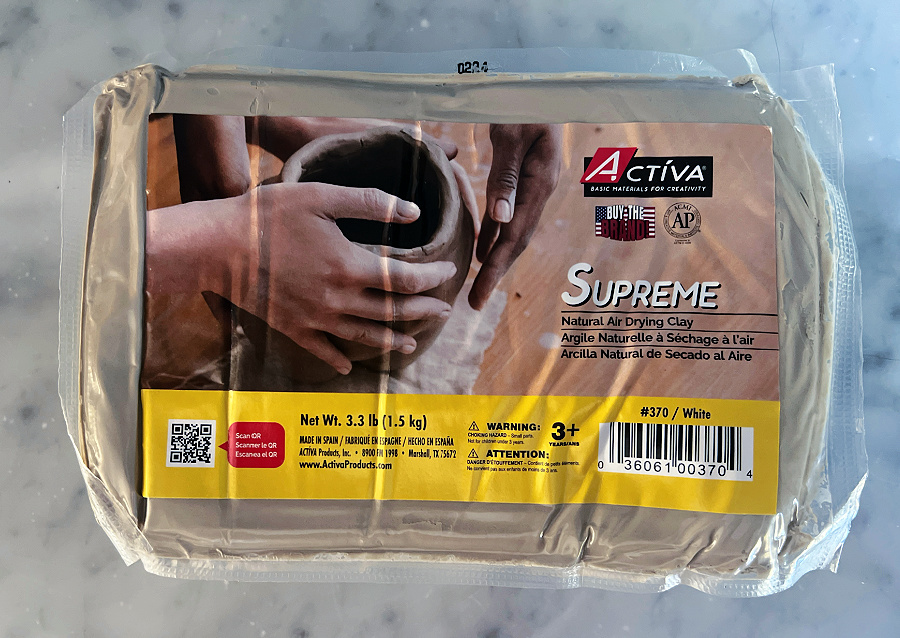
- Air-dry clay
- Rolling pin
- Cookie cutter or craft knife – for shaping the clay
- Bowl of water – for smoothing the clay pieces
- Paint brush
- Acrylic paint or spray paint
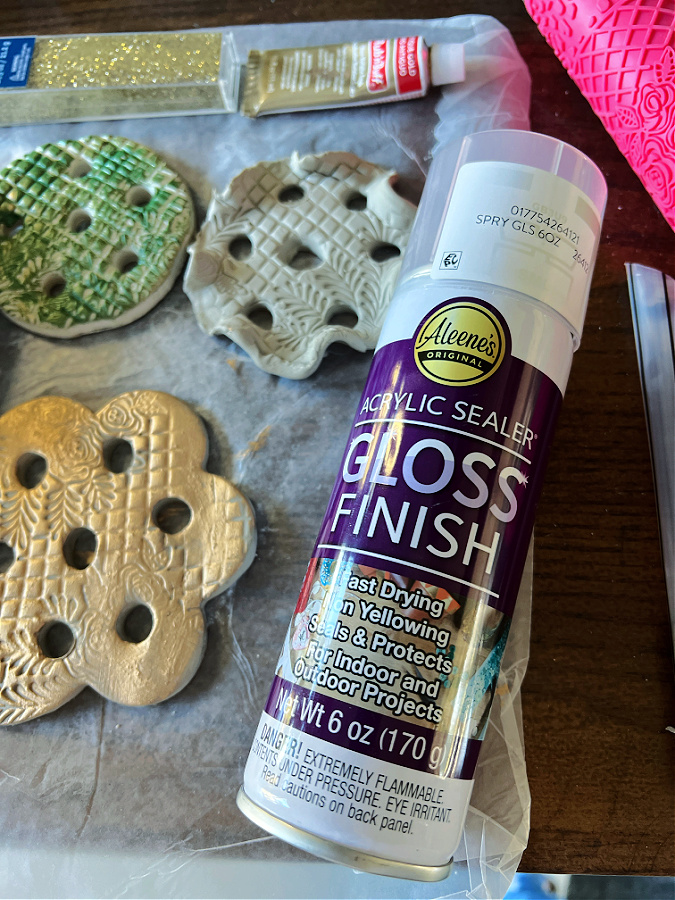
- Mod podge, polyurethane, gloss varnish, or another waterproof glaze sealer. These can easily be bought at your local craft store or online.
- Cut flowers
- Vase, dish, or seasonal container – for displaying your flowers
How to Make DIY Clay Flower Frogs
- Start by kneading your air dry clay to make it soft and easy to work with. It’s helpful to have a bowl of water nearby that you can dip your hands into occasionally to help keep your clay soft and pliable.
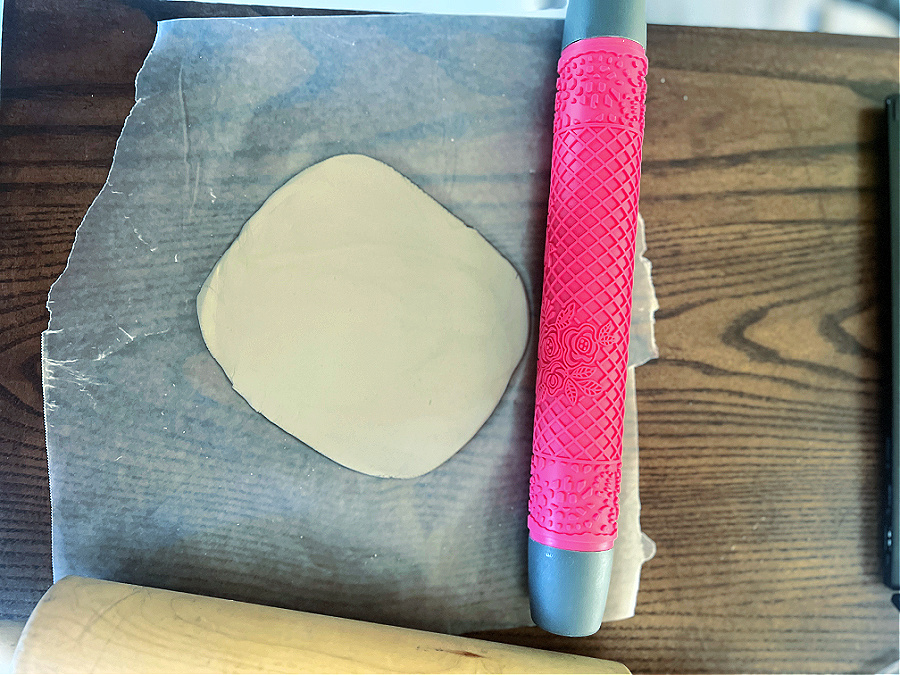
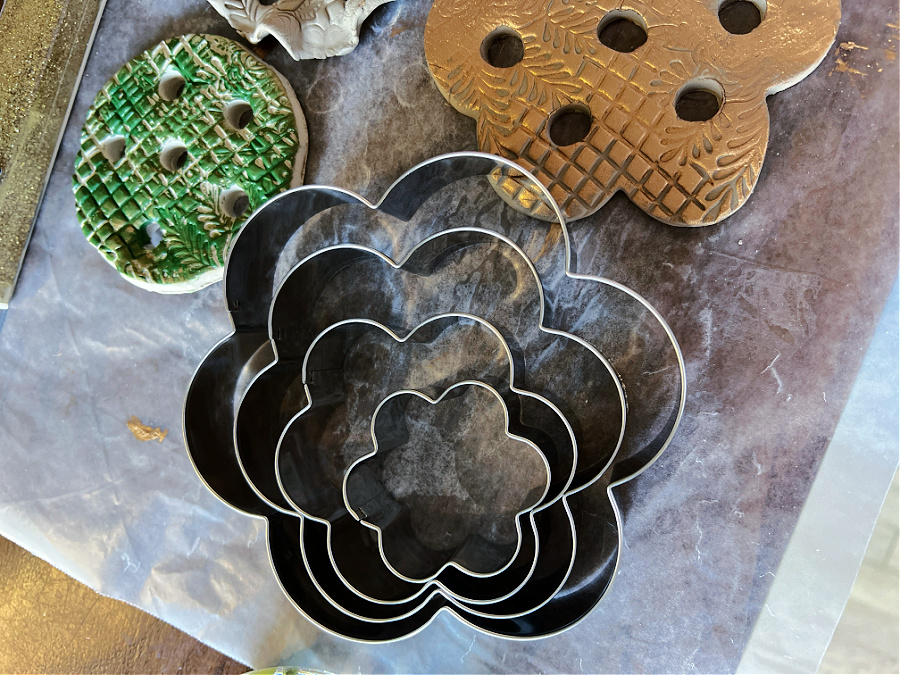
- Next, it’s time to make your shape! On a flat surface, roll out your clay. Rolling to about 1/4″-1/2″ thickness will create a sturdy flower frog. Then, cut it into shape. A cookie cutter can be an easy way to create fun shapes for your flower frog. Or, you can freestyle it using a craft knife. Cutting with a craft knife makes it easy to get the exact size you want. If you’re using a jar or vase, you can even set it on top of the clay and cut around it to get just the right shape. Experiment with different designs or make a scalloped edge if you like. Don’t be afraid to get creative!
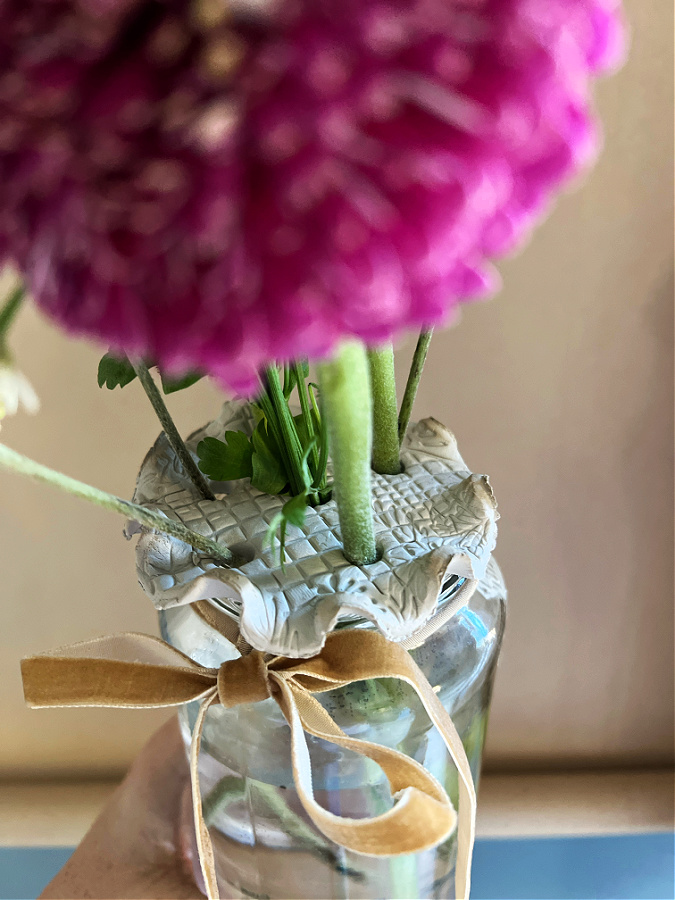
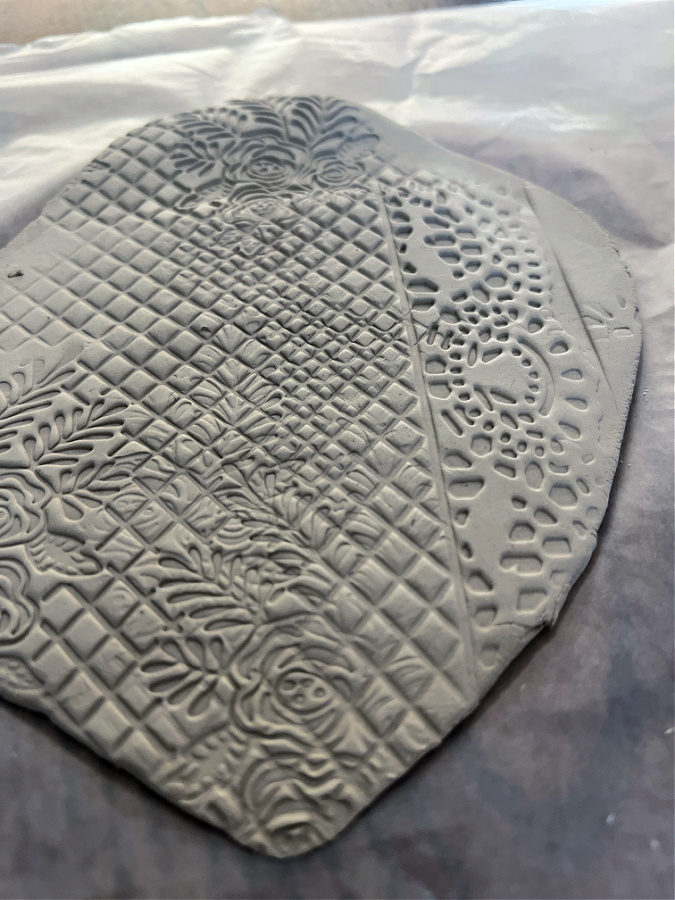
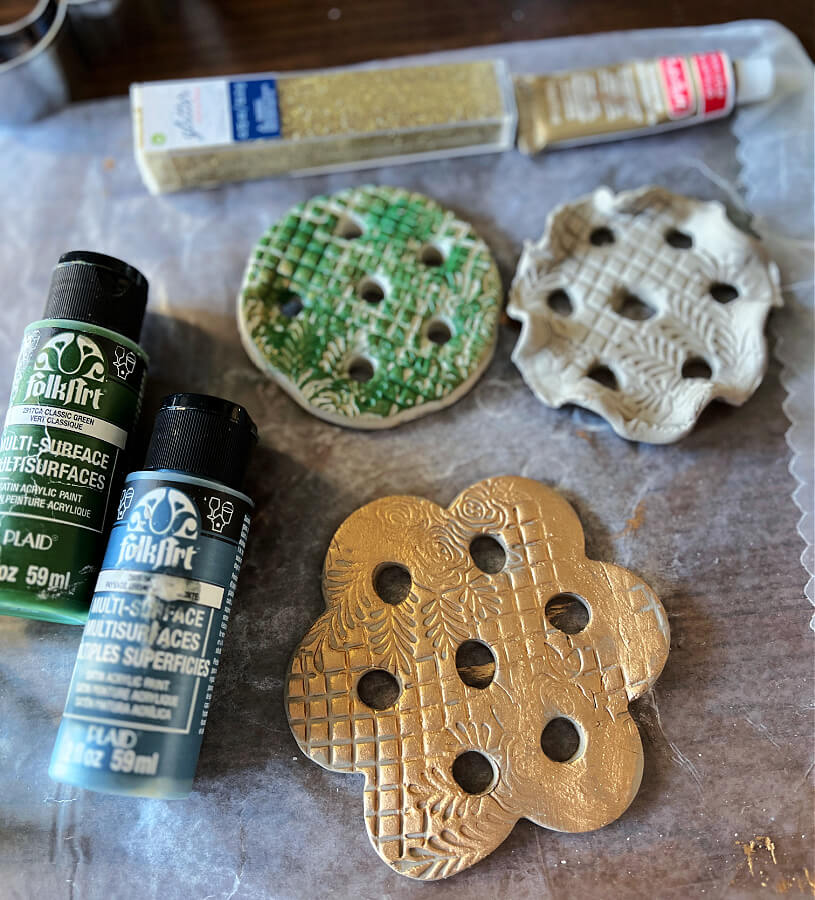
- Once your clay is rolled out and cut into shape, you can get fancy with pretty vintage designs if you want to. You can lay a piece of lace on top and lightly roll over it, sketch some pretty designs into the shape, use rubber stamps, or even press some flowers into it (and then remove them) to imprint them.
- Once you’re satisfied with the result, dip your hand or paint brush in water and use it to smooth out the clay, removing any bumps or imperfections. If you have to step away at any time during your project, cover your flower frog by laying a damp cloth over the work surface to keep it from drying out.
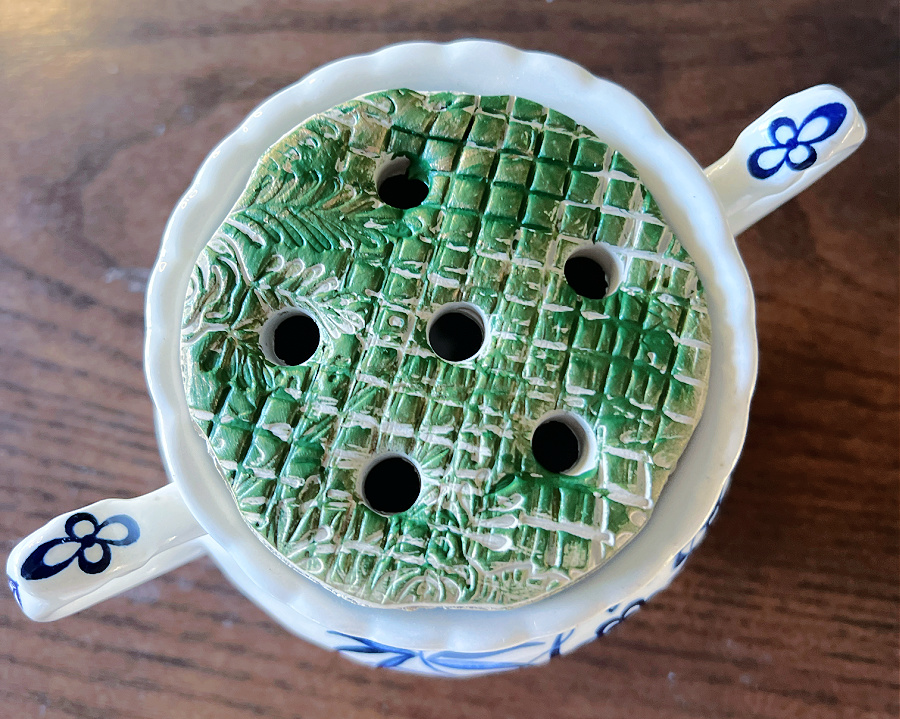
- Next, it’s time to poke holes in your flower frog so that you can insert your fresh flower stems. A straw or bamboo skewers work well to create your holes. Make sure they’re large enough for flower stems to fit through, but not so large that the stems fall over.
- Let the clay dry for 24-48 hours in a well-ventilated area. The next day, your flower frog should be solid and ready for use! At this point, you can keep it natural, or you can use acrylic paint to give it some color. When the paint is dry, use your mod podge or another waterproof sealer to coat the entire flower frog.
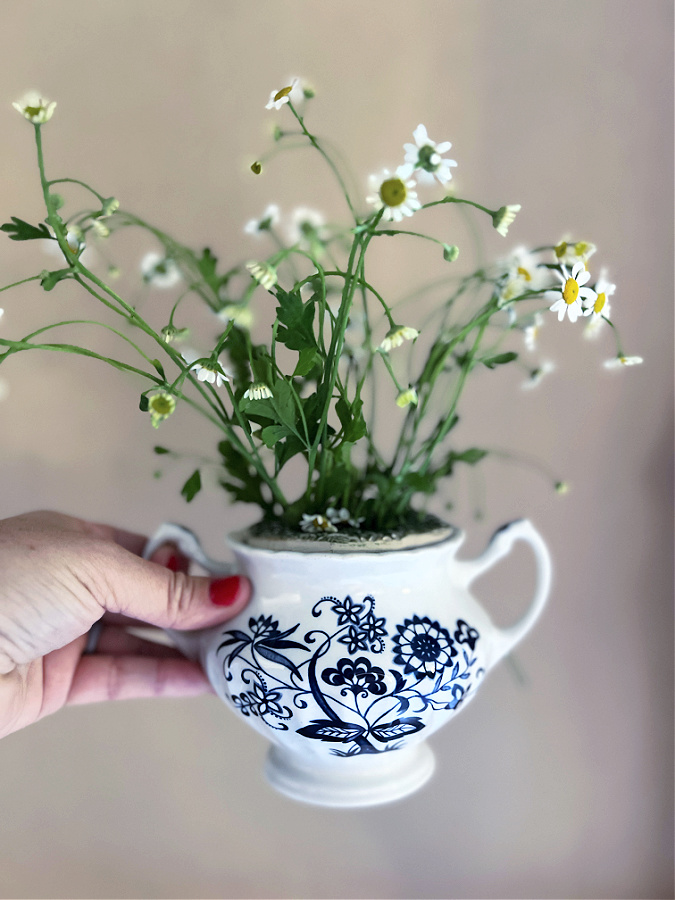
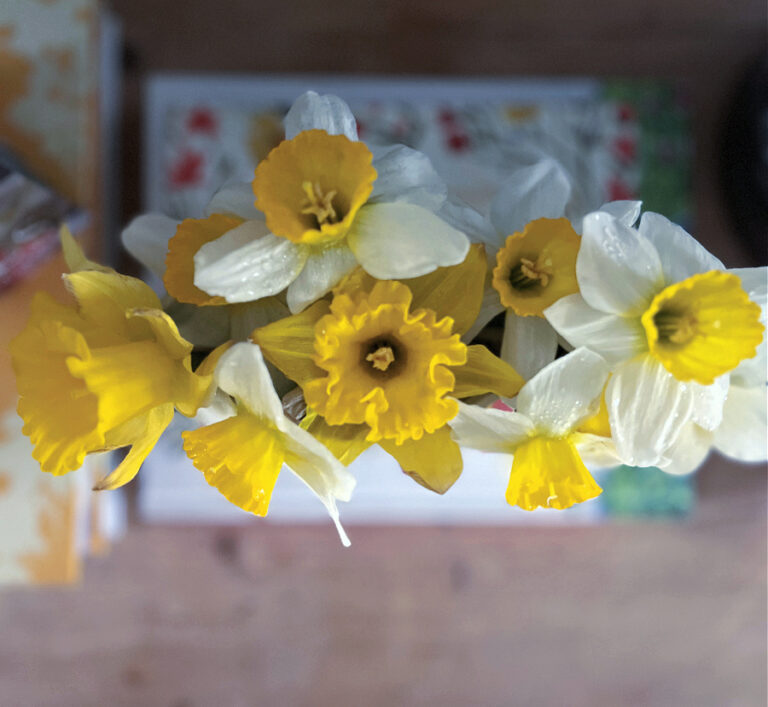
- Lastly, set it on top of your vase or container and insert your flowers! Beautiful!


I’d love to have you hang out with me some more! Feel free to follow along with me on any of the platforms linked below.
LTK | Facebook | Instagram | Pinterest | Amazon
I love the pattern on yours, how did you do that? I love your instructions, I made some plain ruffled ones.
Thank you! The pattern was on my roller! I should have mentioned that…oops! I love that you made some too!