

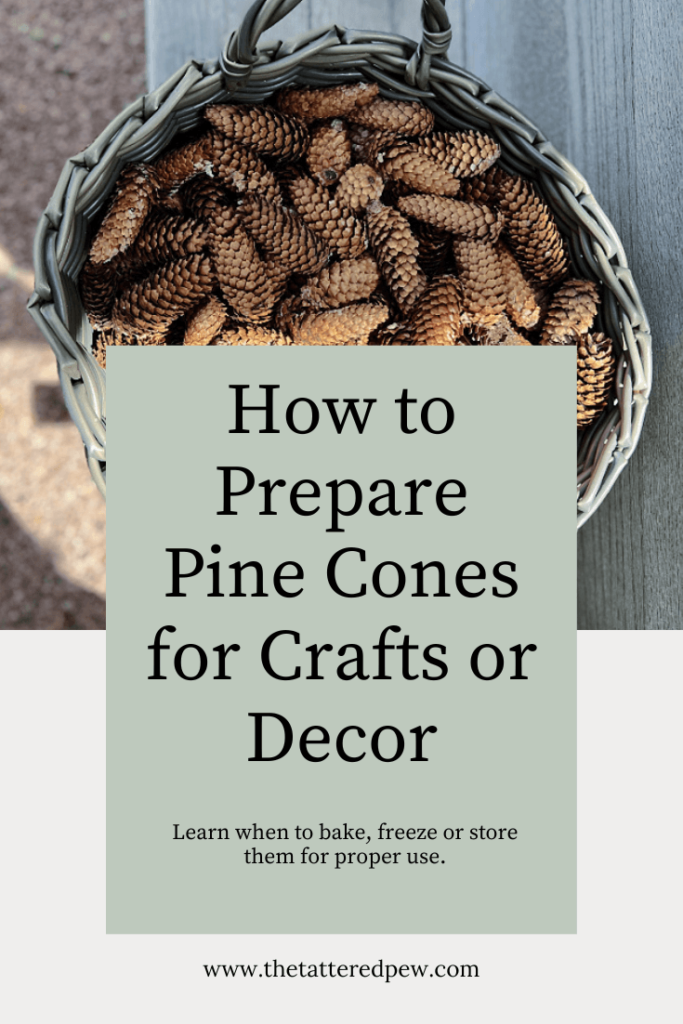
How to Prepare Pine Cones for Crafts or Decor
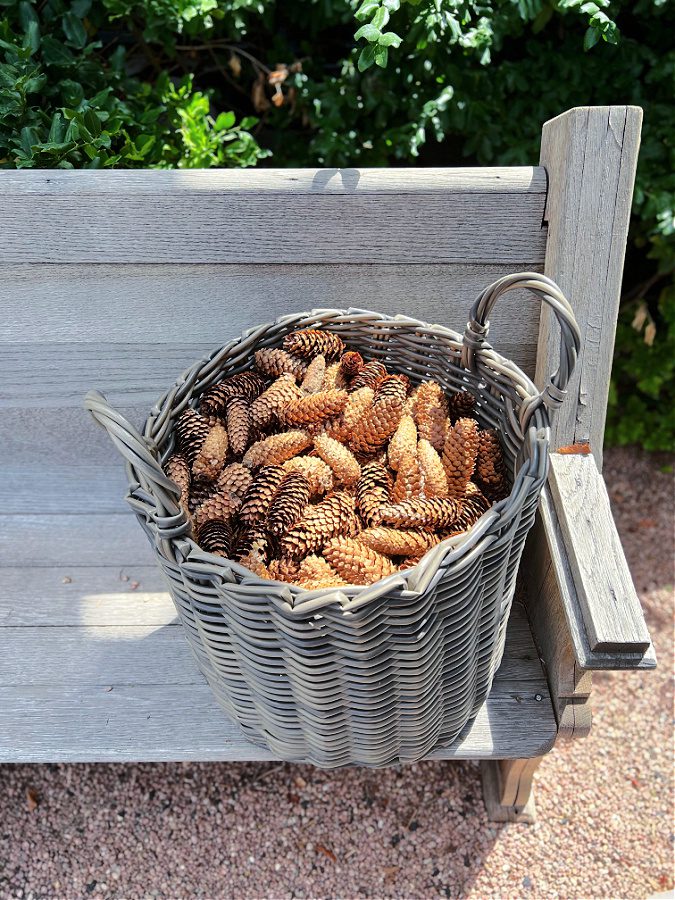
Our backyard is overflowing with pinecones and you can bet I plan on using them in my Fall and Winter decor. But the number one question that I get asked or that I myself have asked is, do you need to bake pine cones if you find them outside and plan to use them indoors? Today I will be sharing several ways on how to prepare pine cones for crafts or decor.
My answer might surprise you!
*As an Amazon Associate, I earn from qualifying purchases. This post contains other affiliate links too for your convenience. Click here to read my full disclosure policy.
Crafting With Pine Cones
One thing that I love about decorating, no mater the season, is that beautiful decor doesn’t have to be expensive. I am constantly on the hunt for items to use in our home and decor from our front and backyard.
This Fall I have decided that I will be using pine cones in my decor. I am loving all natural elements and I am loving their price too.
Supplies Needed to Clean and Prepare Pinecones for Crafts
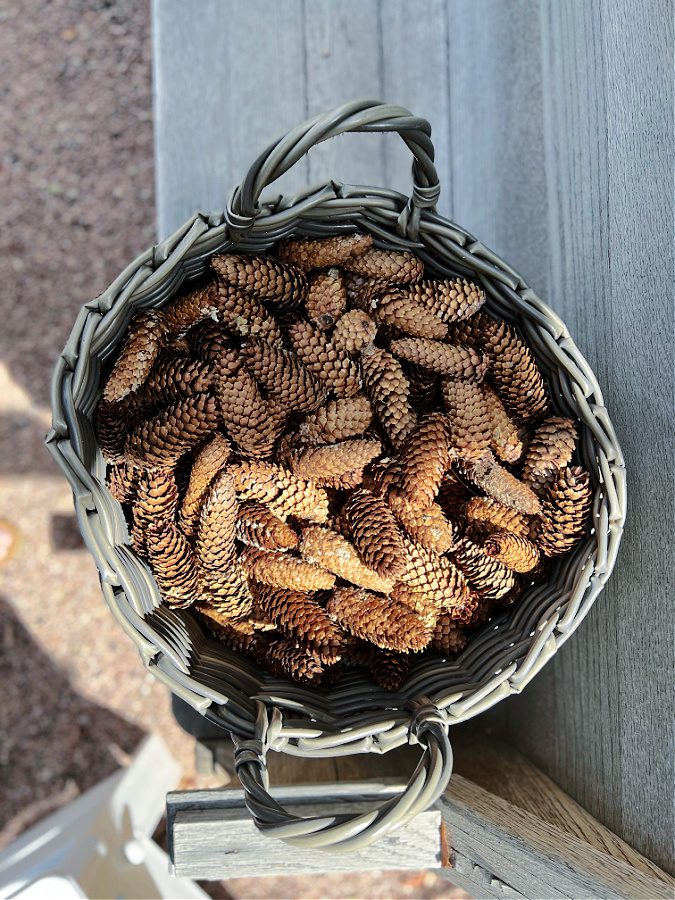
- Pine Cones: Gather pine cones from your yard or a forest, ensuring they are relatively dry and free of debris.
- Baking Sheet: A standard baking sheet is used for the baking method of cleaning pine cones.
- Aluminum Foil: Line the baking sheet with aluminum foil to catch any resin drips and make cleanup easier.
- Freezer-Ready Container: If you’re using the freezing method, you’ll need an airtight container or a sealed plastic bag to place the pine cones in before freezing.
- Oven (for Baking Method): Preheat your oven to a low temperature (around 200°F or 93°C) for baking the pine cones.
- Freezer (for Freezing Method): To freeze the pine cones for a pest-free cleaning process.
- Timer: To keep track of the baking or freezing time.
- Warm Water: You might need warm water for optional post-cleaning steps like sap removal.
- White Vinegar: If you need to remove sap from the pine cones, a mixture of warm water and white vinegar can help.
- Soft Brush or Toothbrush: A soft brush or toothbrush is useful for gently scrubbing away any remaining sap or debris from the pine cones.
- Essential Oils (Optional): If you want to preserve the pine scent or add a specific fragrance, pine-scented essential oil can be used.
- Airtight Container or Ziplock Bags: These are handy for storing cleaned and prepared pine cones for future use.
With these supplies, you’ll be all set to clean and prepare pine cones for any of your upcoming craft projects.
How To Prepare Pine Cones for Crafting or Decor
But before you use those pine cones you must ask yourself if you like bugs and sap and other gross things in your pine cones. If not then you most likely will want to clean them before you bring them inside. There are several ways to prepare your pine cones to use for crafts or decor.
Here are a few of the do’s and don’ts that I have found researching this process.
Do You Need to Clean Pine Cones Before Crafting?
This truly is a personal preference.
Ok, it’s no secret that I like to usually take the easy and simple route on most things ( remember my lazy girl’s guide to planting zinnias?) Originally I had no plan on cleaning my pine cones until my mom mentioned baking them.
I honestly didn’t even think about it.
I mean every other year I have literally just brought them inside and have had no problems. But once I started collecting them in my back yard I noticed they had a ton of sap and I for sure saw a few spiders.
But I myself didn’t end up cleaning them. Instead I just bagged them up and kept them in our hot garage for several weeks. This seemed to do the trick for mine. So if you are asking if you should clean your pine cones before using them I say do what works for you.
Soaking and Washing Pinecones
One way some people like to prepare their pine cones is to soak them. You can do this in a sink, large bowl or bucket. Simply mix 1/2 cup of white vinegar with 1/2 cup of water then soak your pine cones for about 30-40 minutes. Just make sure to not leave them in too long as they will close up. Remove them and rinse them thoroughly and then lay them out on a cookie sheet to dry out. They should be good to go in a day or two.
I like this method as well because it is a natural and safe way to clean your pine cones.
Freezing Pinecones for Crafts
TIP: You can also freeze them in ziploc bags! Freezing pine cones is a clever and simple way to prepare them for crafting.
To get started, gather the pine cones you’d like to use and place them in a sealed plastic bag or an airtight container. Freezing the pine cones helps to eliminate any lingering insects, larvae, or moisture that might be hiding within the crevices.
Pop the container into your freezer and leave them there for at least 24 hours, although a few days can work even better. This cold treatment will effectively kill off any critters and prevent them from making surprise appearances in your crafts.
After your pine cones have had their deep freeze, allow them to thaw naturally before incorporating them into your creative projects. It’s a simple and eco-friendly method to ensure your pine cones are clean and critter-free, ready to add a touch of nature to your crafts.
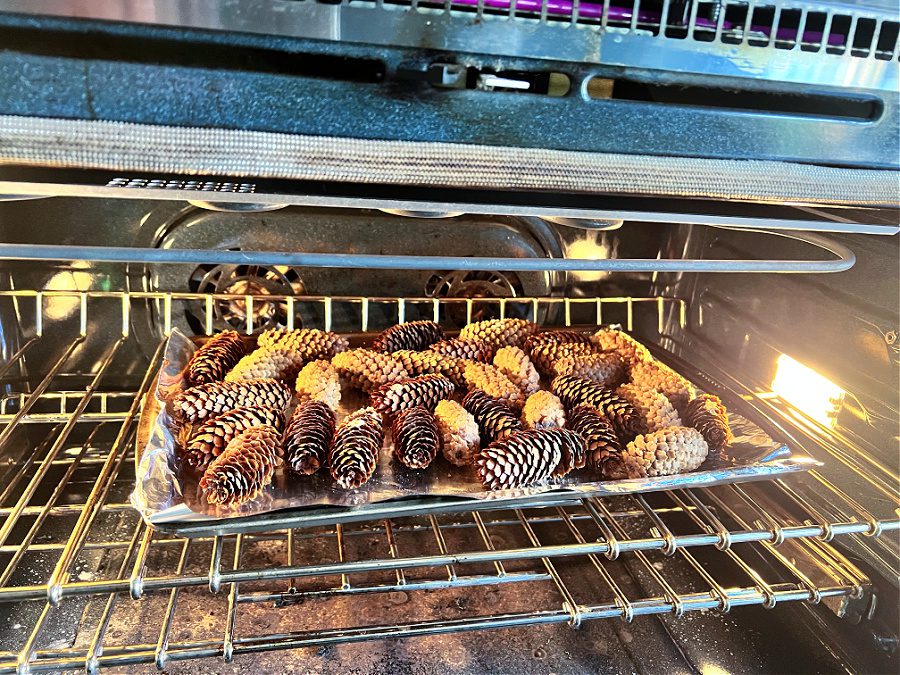
How to Bake Your Pine Cones
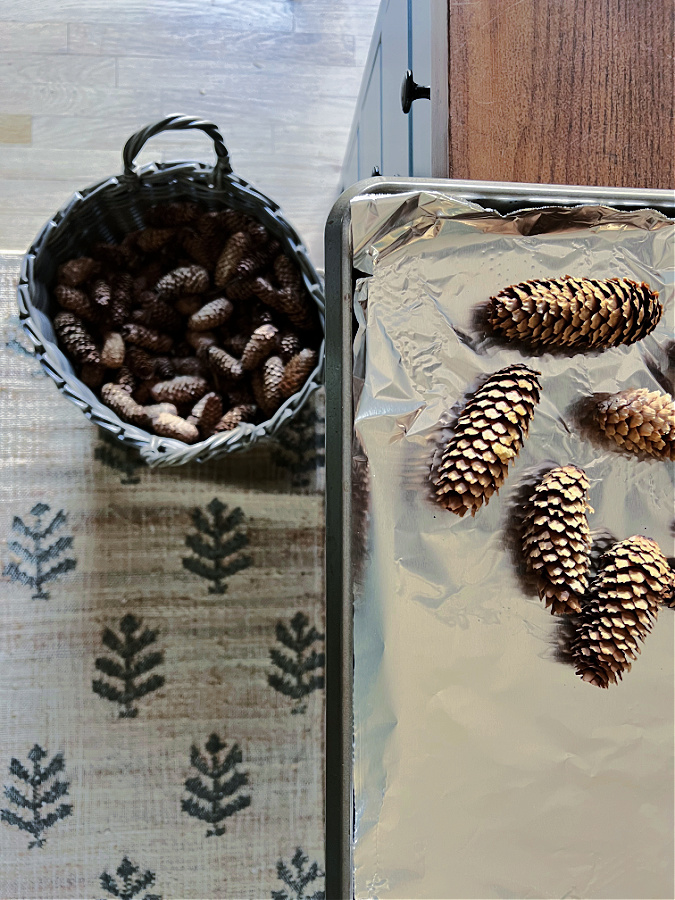
This method is the most popular method for cleaning your pine cones. Simply line your cookie sheet with parchment paper or foil and add you pine cones in a single layer. Set your oven to 200 degrees F and bake them for about 25-30 minutes. Make sure to monitor them closely!
- Gather Your Pine Cones: First, find some lovely pine cones. Whether you snagged them from a nature walk or your own backyard, make sure they’re clean and dry.
- Preheat Your Oven: Crank your oven to a low temperature, around 200°F (93°C). It’s like giving your pine cones a cozy little sauna.
- Line Your Baking Sheet: While your oven warms up, lay out some aluminum foil on a baking sheet. This foil will catch any drips and make cleanup a cinch.
- Spread ‘Em Out: Place your pine cones on the foil-covered baking sheet. Give ’em some space, so they don’t touch.
- Into the Oven: Pop your pine cones into the preheated oven, and let them hang out there for about 30-45 minutes. This gentle heat will zap any lurking critters and banish excess moisture.
- Cool Off: After their spa day in the oven, let your pine cones cool down. They should be nice and toasty, ready for your crafty ideas.
- Get Creative: Your baked pine cones are now prepped and ready for your crafting adventure. Paint ’em, glitter ’em, or add them to any project you have in mind. The possibilities are endless!
So there you have it – an easy and chill way to prepare your pine cones for crafting. Enjoy your creative journey!
This is a quick and simple way to prepare you pine cones and feel confident that they are ready for crafts and such.
Do you need to bake pinecones for crafting?
Do you have to bake your pine cones? No. But does it help? yes.
My honest answer is no. You definitly don’t have to as there are other methods like the ones I shared abover such as freexin o, washing or storing them in air tight containers.
However, do I recommend it? The answer is yes. It is a quick and efficient way to make sure your pine cones are critter and sap free and ready to be left inside for decor and crafts.
How to Bleach Pine Cones for Crafts or Decor
Have you heard about bleaching pinecones? I had not until I came across an beautiful blog post from my friend Yvonne over at StoneGable blog. She loves decorating with natural elements just like I do and she always has the best ideas!
The minute I saw her pictures I was smitten with how pretty pine cones are bleached! I have seen painted pine cones but I don’t think they compare to bleached one.
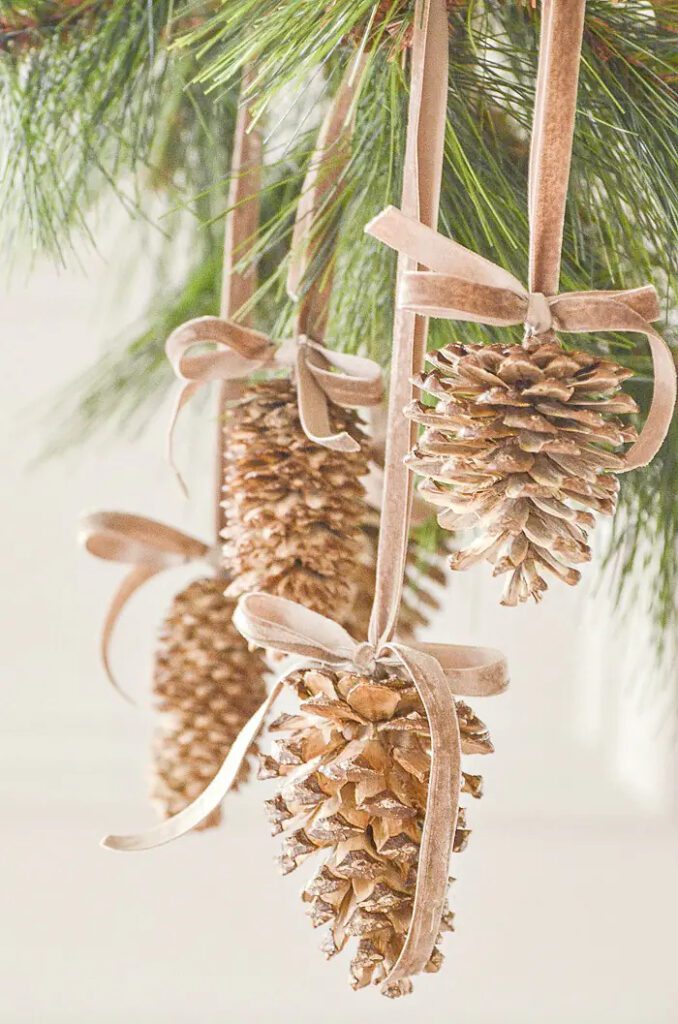
In order to bleach your pine cones Yvonne suggests mixing 2 parts bleach to 1 part water in a large container and fully submerging the pine cones. Let them stay in this mixture for 48 hours or more. Then take them out and lay them out to dry for a week or more. You will know they are dry when they open up.
Common Questions about Preparing Pine Cones for Crafts
Can I use pine cones straight from the ground for crafting?
While you can use pine cones you find outdoors, it’s a good idea to prepare them first. Baking or freezing them helps eliminate any bugs and moisture, ensuring they are clean and safe for crafting.
How do I clean pine cones before using them?
To clean pine cones, you can either bake them in a low-temperature oven (around 200°F) for 30-45 minutes to kill any insects and remove moisture, or freeze them in an airtight bag or container for at least 24 hours. Let them thaw before crafting.
Can I use bleach to clean pine cones?
Bleach can be too harsh for pine cones and may damage them or alter their natural color. Baking or freezing is a safer and more natural method to clean and prepare pine cones.
How can I open closed pine cones for crafting?
To open closed pine cones, you can soak them in a basin of warm water for a few hours or place them in a warm, dry area. The scales will naturally open as they dry. You can also gently twist or pry open individual scales with a craft tool or your fingers.
Can I paint or decorate pine cones without cleaning them first?
It’s not recommended to skip the cleaning step. Unprepared pine cones may still have insects or larvae inside, which can cause problems later on. Cleaning ensures they are safe for use in crafts or decor.
How do I get rid of sap on pine cones?
To remove sap from pine cones, you can soak them in a mixture of warm water and white vinegar for about 30 minutes. Afterward, scrub gently with a soft brush or toothbrush to remove any remaining sap.
How can I preserve the natural scent of pine cones?
To preserve the natural pine scent, you can add a few drops of pine-scented essential oil to a ziplock bag, place the pine cones inside, and shake gently. Seal the bag for a day or two, and your pine cones will carry that lovely aroma.
Can I store prepared pine cones for future use?
Yes, you can store prepared pine cones in an airtight container or ziplock bag to keep them clean and pest-free for future crafting or decor projects.
How long do prepared pine cones stay pest-free?
Prepared pine cones can stay pest-free for several months or even longer if stored properly. However, it’s a good idea to periodically check them for signs of pests or moisture to ensure their longevity.
What’s the best way to dry pine cones if they’re damp after cleaning?
To dry damp pine cones, place them on a baking sheet and let them air dry in a cool, dry area. Make sure they are not exposed to direct sunlight or high heat, as this can cause them to close up again.
My Favorite Ways to Use Pine Cones for Crafts or Decor
Like I mentioned before our backyard is covered in pine cones. We have several mature pine trees here in our backyard in Colorado and I adore them.
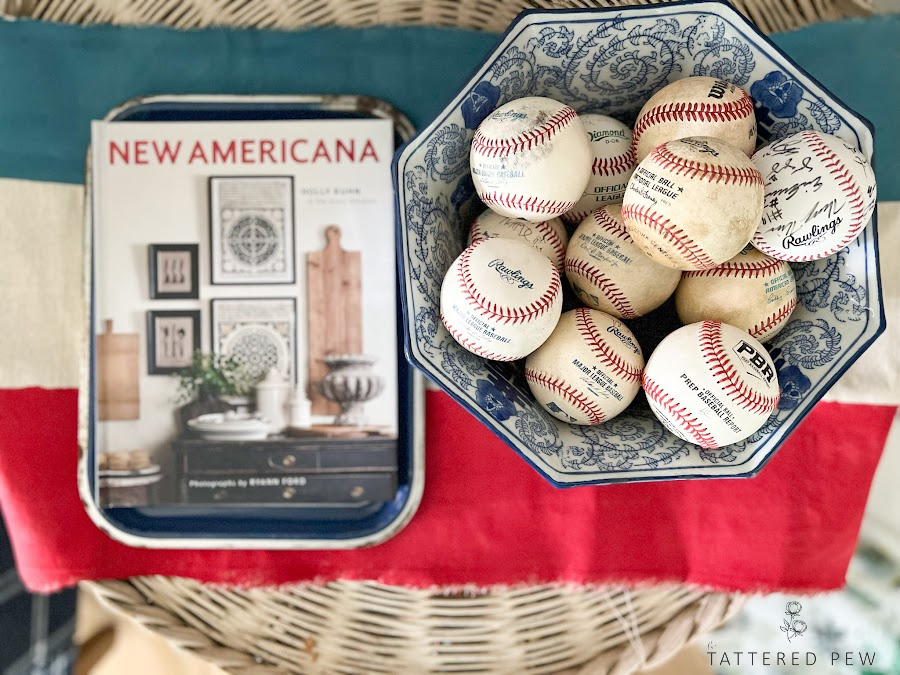
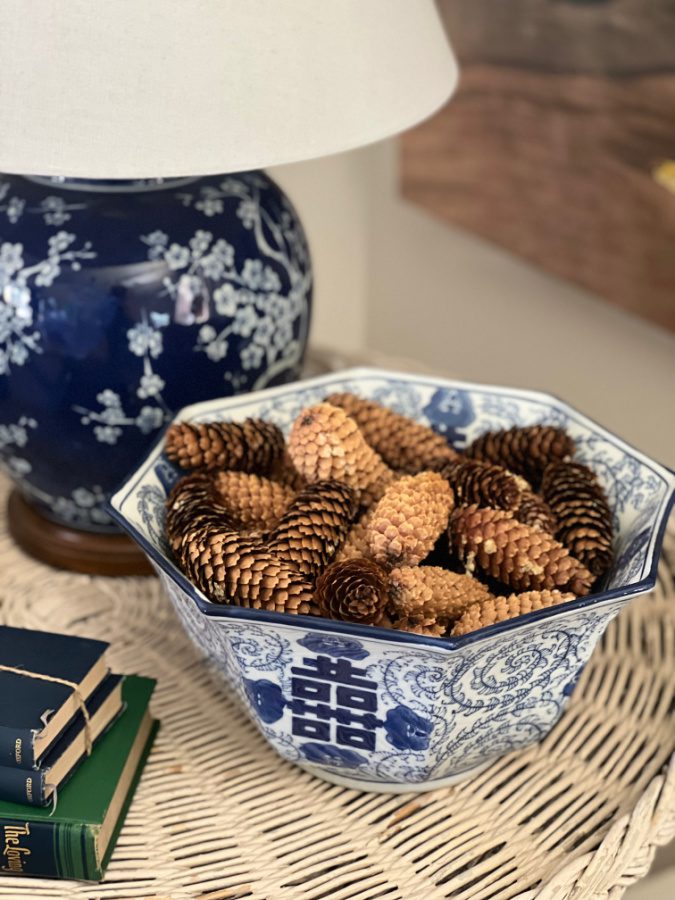
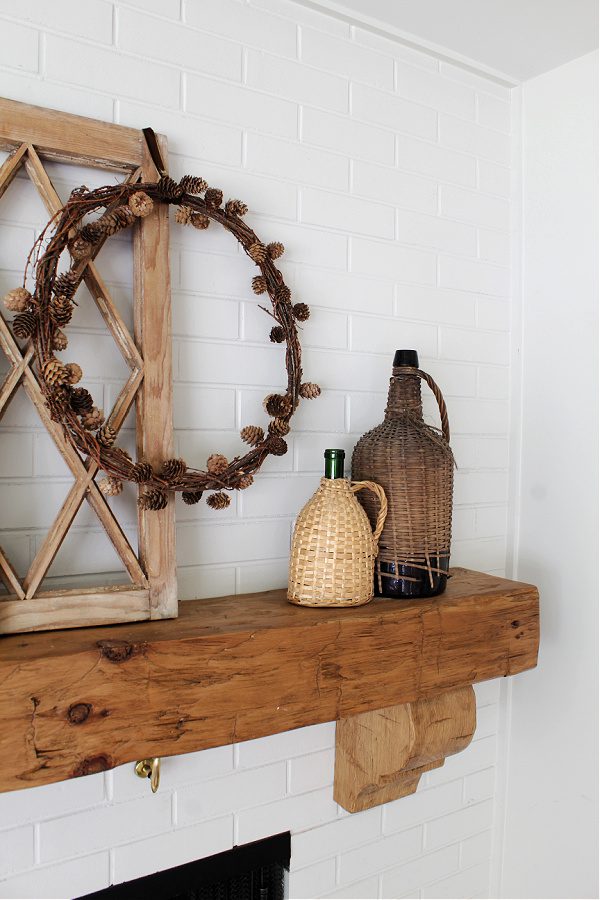
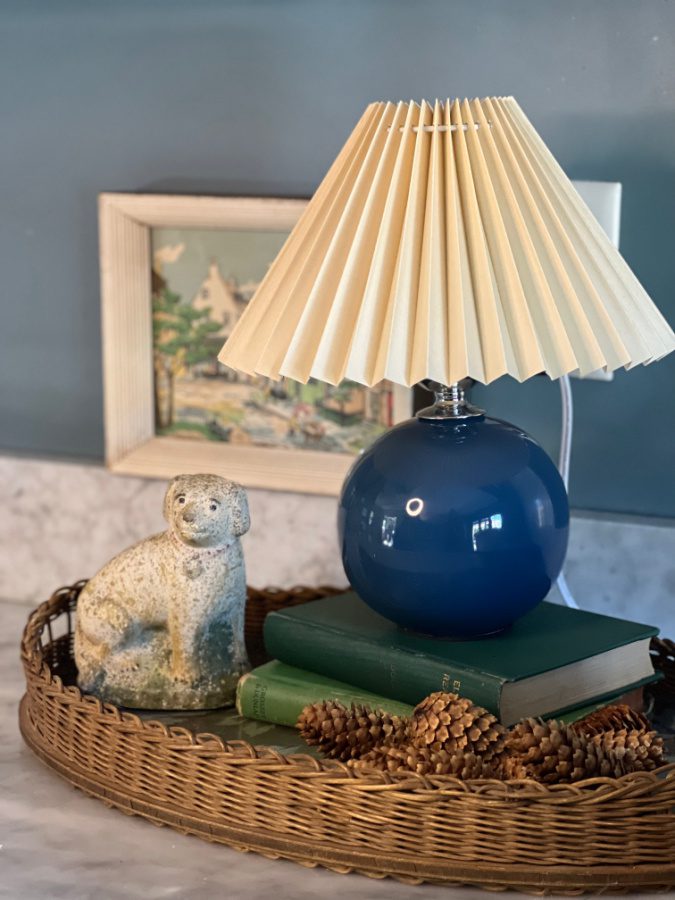
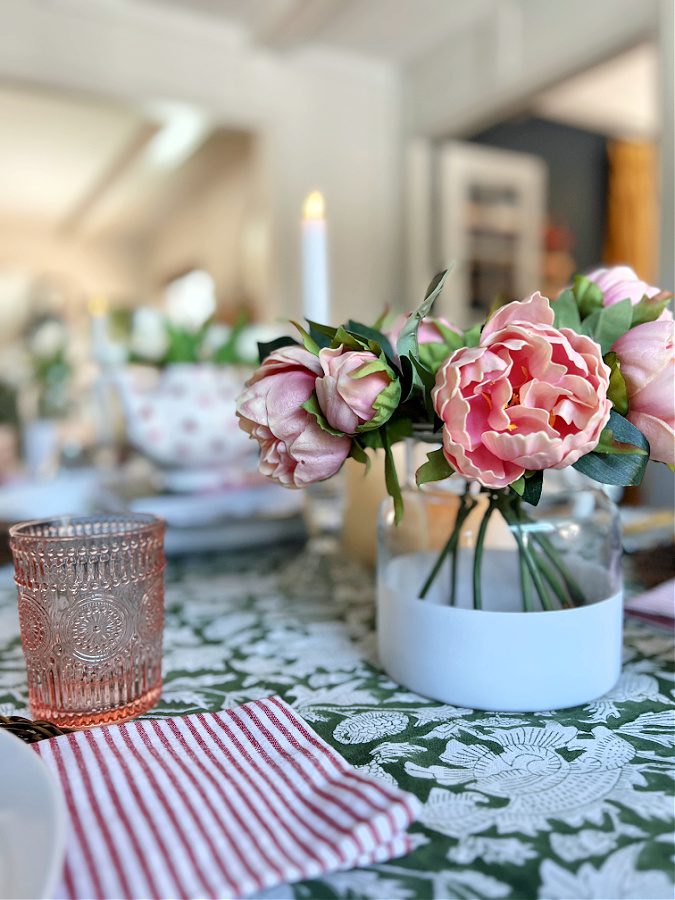
So for Fall I am bringing them inside and giving blues and browns the moment they deserve in my decor. There is something so classic about this combo!
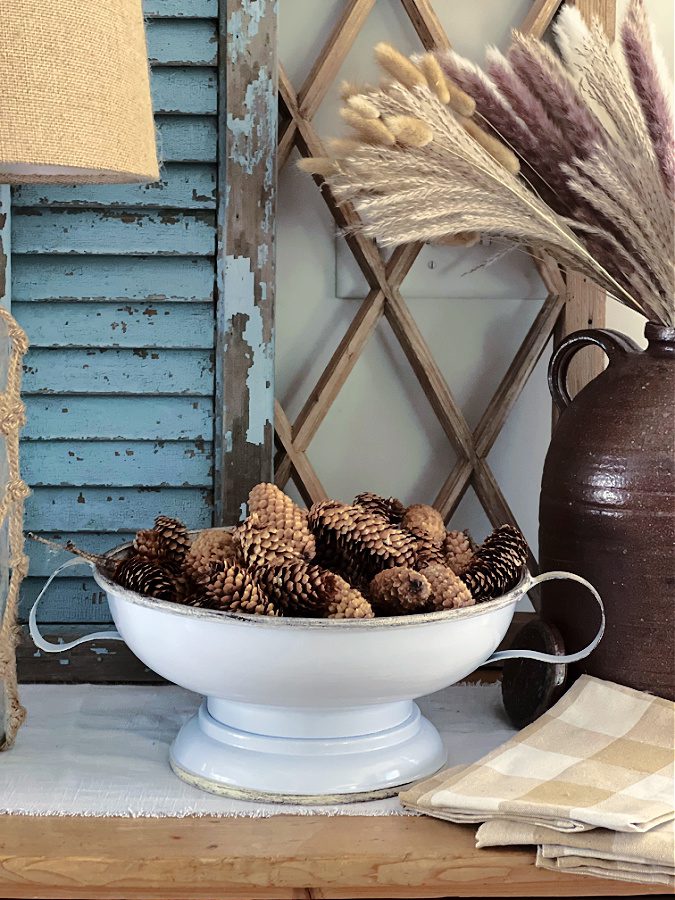
- Displayed in bowls
- add them to your ice votives
- stuffed in tall cylinders
- added to the bottom of lanterns on a porch
- used to hold place cards like these at Thanksgiving!
- Scattered down the center of a tablescape
- Made into a garland (I am making one for Christmas this year!)
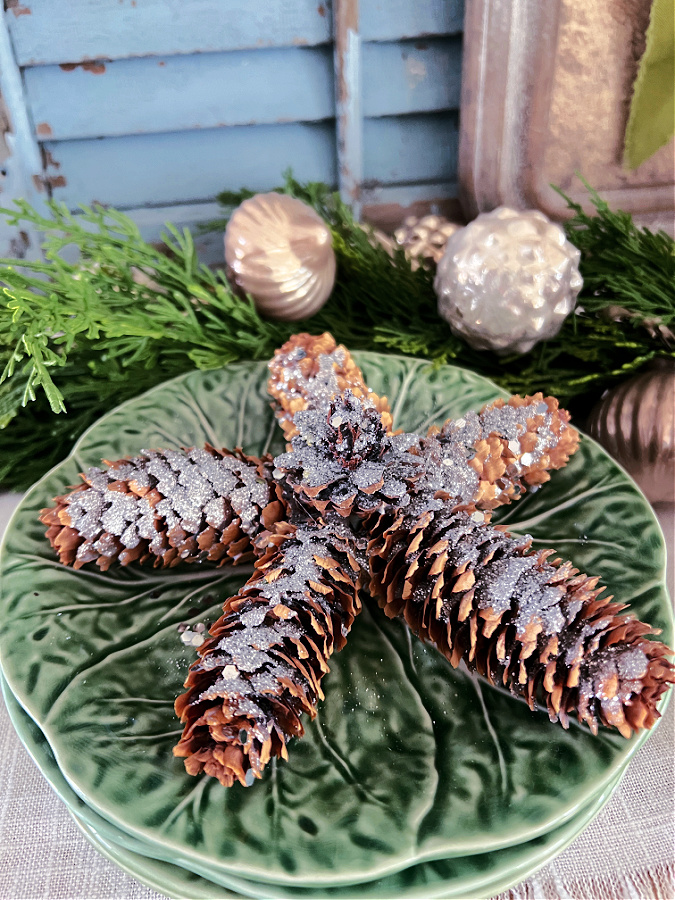
- Made into ornaments like these star shaped ones I made.
- Used as a filler in a large dough bowl
- wreaths
It looks like I could go on forever and probably could write an entire post all about ways to decorate with pine cones! I just adore them.
Fall Budget Decor
Before I finish up about talking about preparing pinecones for crafts pine cones I wanted to let you know that I am excited to be joining some of my blogger friends for a fun blog hop challenge. Our challenge was to come up with some Fall decor on a budget and our budget had to be $25 or less! Heidi from Eleanor Rose Home is our lovely host and she is sharing some great ideas.
If you are hopping over here from Robyn of Robyn’s French Nest, welcome! I loved her 5 free decor items she suggested using for Fall. She is the queen of decorating and I always learn a ton from her beautiful styling tips!
How to Prepare Pine Cones for Crafts or Decor
So this Fall if you are looking to add some affordable yet classic decor to your home don’t count out pine cones! Luckily there are several options for how to prepare pine cones for crafts or decor. You just have to decide which works best for you!
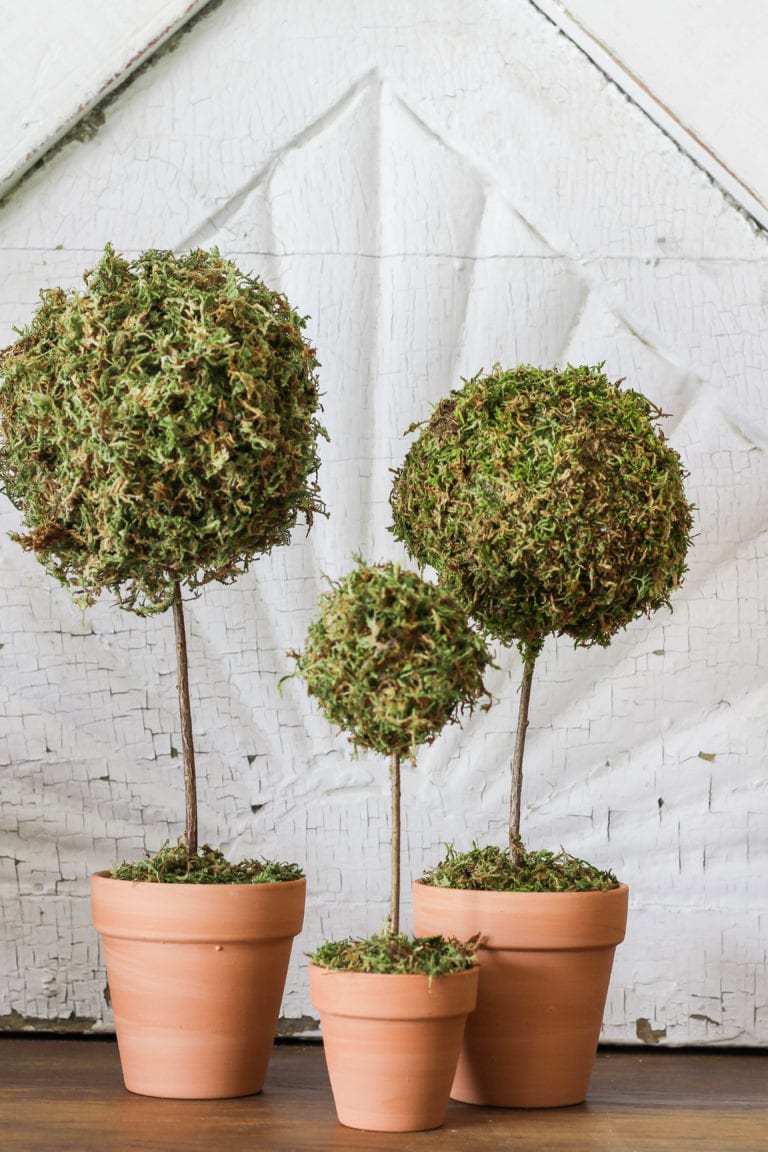
Now, make sure to hop on over to my dear friend Jennifer of Cottage on Bunker Hill’s post all about how to make a faux terracotta beaded garland! I promise it’s stunning!
I’d love to have you hang out with me some more! Feel free to follow along with me on any of the platforms linked below.
LTK | Facebook | Instagram | Pinterest | Amazon
xoxo,
Kelly
Did you like this post? PIN it for later!
More Fall Décor on a Budget Inspiration


Eleanor Rose Home | The Country Peony | Green Valley Gable | Stilettos & Shiplap | Cottage In The Mitten


Le Cultivateur | Midwest Life & Style | Robyn’s French Nest | The Tattered Pew | Cottage on Bunkerhill
Did you like this post? PIN it for later!


Thank you for the all information Kelly on preparing pinecones for decor, I typically just bring them inside too not thinking that I should clean them! Bleaching pinecones is on my list to try for late fall/early winter, I’ll have to try that method of bleaching. Pinned!
You bet I hope it helps! And I want to try bleaching too! Can’t wait to see what you do/
Great info. I will have to start baking my pine ones. Happy Fall!
Who would have known?
Great post Kelly. I love pinecones and last year I got a huge haul from my neighbor’s yard and cleaned and preserved them. It’s so easy isn’t it?
Yes, so easy!!!!
Such good info! I also have a ton of pinecones and love using them in my home. My secret…I have never cleaned them, but realize maybe I should! I love your tip on bleaching! Thanks for sharing and ALWAYS good to hop with YOU!😘
Kim I think we are alike in so many ways. I never thought of it either until my mom mentioned it. We have survived though, right?! Ha!
Love decorating with pinecones too! Another (easy and simple) trick to kill bugs is to put the pinecones in a ziploc bag in the freezer for a day!
Cindy this is genius! Would you be ok if I added that to my post?
I love these tips, Kelly. I had never thought about baking either, but it makes sense. And I had no idea about the bleaching. I may have to try that. Pinned to my DIY board. I’m definitely going to come back and reference this for the holidays.
Thank you, Jen!
Oh I love this! Great tips!
Thank you, Robyn!
Every year I say I’m going to bleach pinecones…and every year I never get to it!! I feel like this is my year…LOL!!
I will cheer you on….this is your year my friend!
This is so smart! I am definitely going to bake my pinecones from now on! Pinning for later when I start my projects!
Yay so glad it was helpful and thank you for pinning!
Holy guacamole! I’m super excited to have seen this post. We have so many pinecones around it’s hard to walk on the ground without crunching on one or stabbing a foot. Thanks for the info. I’m going to start preparing as soon as we get back to the farmhouse. pinned
Woo hoo! Happy pine cone preparing! 🙂
What a great post Kelly! I’ve got lots of pinecones in the backyard too! I never thought of bleaching them! How fun!
If you try it let me know!
Thank you so much for saving me from a worm infestation! Your tips are brilliant. Your styling and photos are also stunning! Thank you, Kelly!
Ha ha! You are so sweet. Glad I could save you!
We have pinecones galore and I love decorating with them. This post is a great help!
Yay so happy! Happy decorating!
Thanks for all the tips. I will definitely try some of them in the future. I’ve been wanting to do bleached pinecones for a long time – I love the color! On my “To Do” list, I guess.
Same! I have alwasy wanted to just haven’t done it yet. Let me know if you try it!