

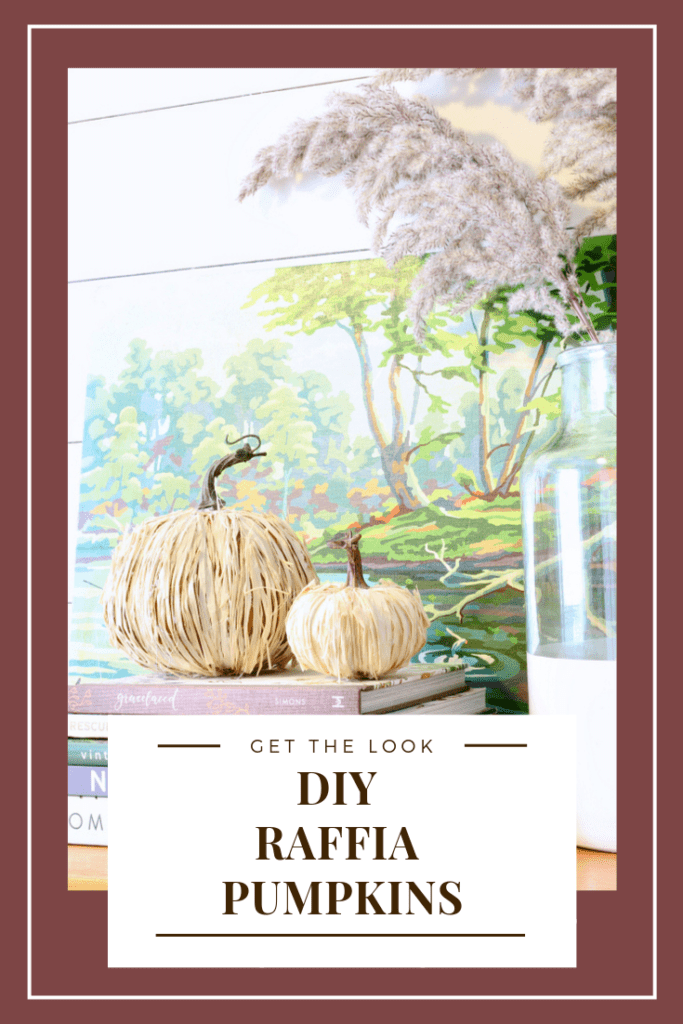
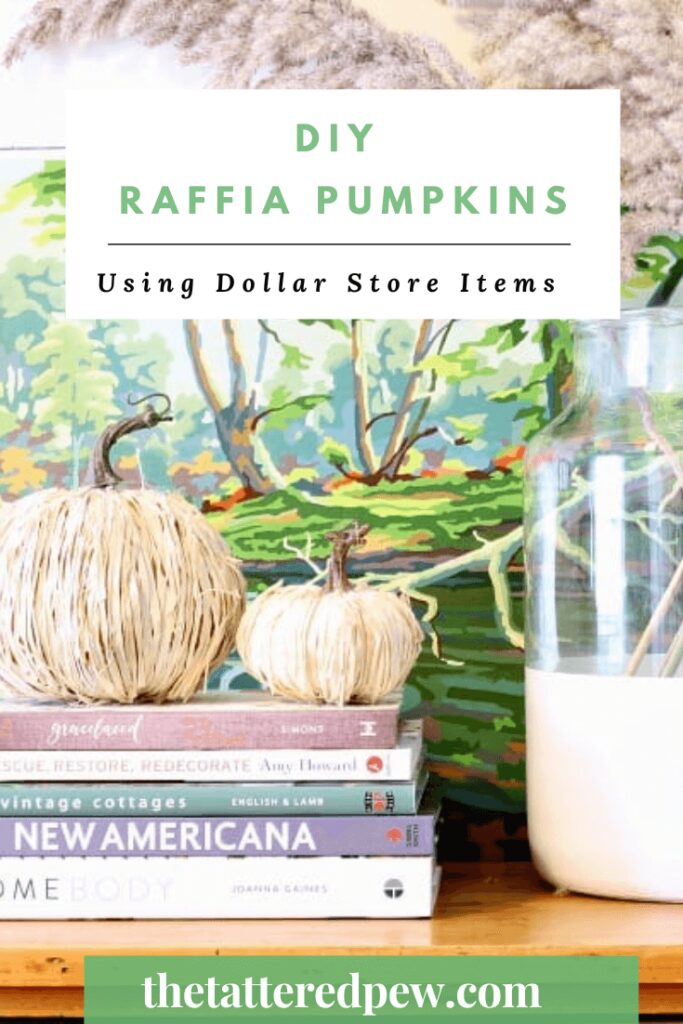
DIY Raffia Pumpkins
I am over the moon excited about my latest Fall project. Today I am sharing these darling DIY raffia pumpkins and how to make them. The best part is that they were so cheap and easy to make!
Also, I’m joining up with my friends to bring you different ways to decorate pumpkins. So make sure to scroll all the way to the bottom for 15 other creative pumpkin DIY ideas!
DIY Raffia Pumpkins
Ok, so I have to be honest with you. These pumpkins took me way longer to make than I ever imagined. Thank goodness I have tons of patience (it’s the kindergarten teacher in me) because these darling little pumpkins took me over an hour to make! The big one took me an hour and the small one took about 40 minutes. I wish you could have seen me sitting at my kitchen table at 11 pm the other night trying to finish these babies up.
It wasn’t pretty, just ask my husband.
But I am a girl who won’t quit and I wanted some inexpensive raffia pumpkins so gosh darn it I kept hot gluing the raffia until I couldn’t keep my eyes open. Just keeping it real for you guys! It was really hard to cover every little nook and cranny of each pumpkin. I feel that since the little pumpkin was white it hid the imperfections but the bigger one was a burnt orange and you can see little bits of the color popping through.
Thankfully they turned out beautiful. I didn’t know how beautiful until the next morning because it was so darn dark when I finished, but remember, I have the patience of a rock star! 😉
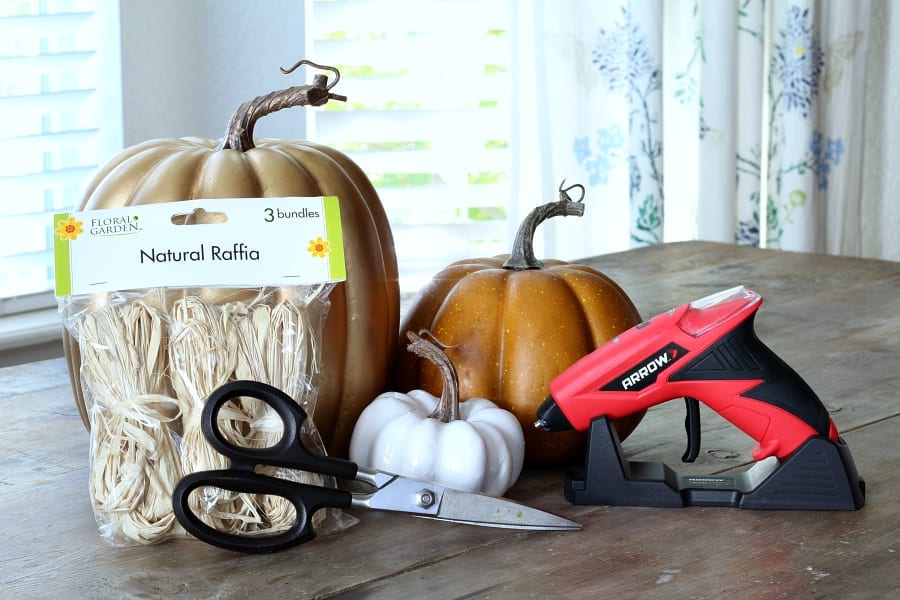
The Supplies
Here is what you will need if you want to try making these raffia pumpkins even after my confession above:
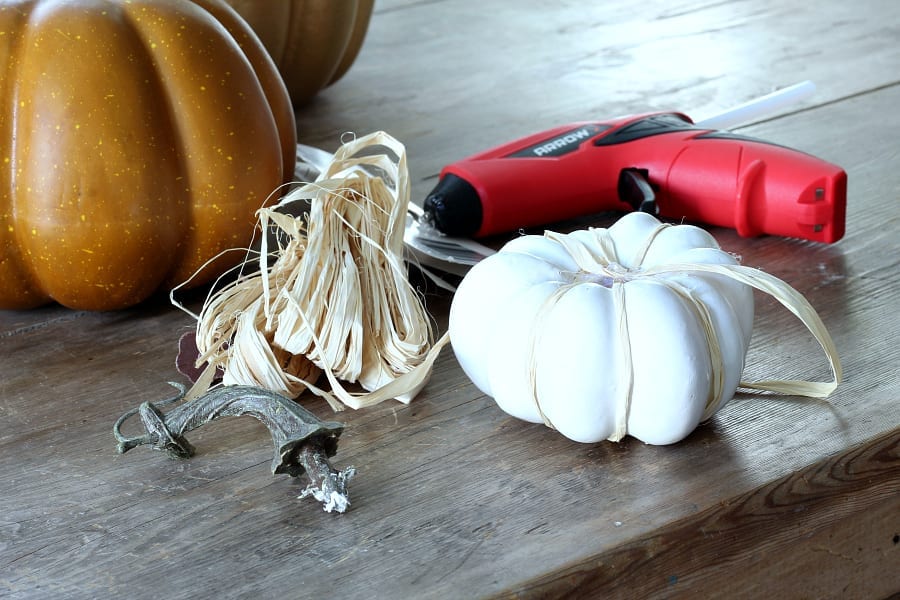
- Dollar Store Raffia (one bag per pumpkin)
- Scissors
- Hot glue gun and glue
- Inexpensive plastic pumpkins
The Steps
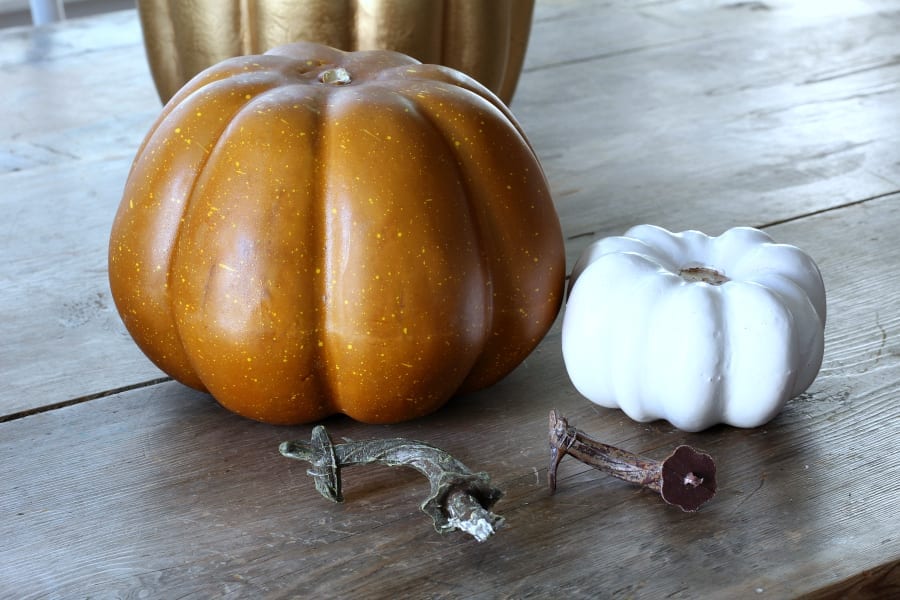
I found this raffia at the Dollar Store and these pumpkins at the grocery store. They were 50% and all together this project cost me only $10! I started by removing them stems from both pumpkins.
Next…
I glued strips of the raffia in the crevices of the pumpkins. I even tried wrapping the longer strips of raffia around the pumpkin. This helped a bit but really the glue was more necessary than I was prepared for.
Cutting the Raffia
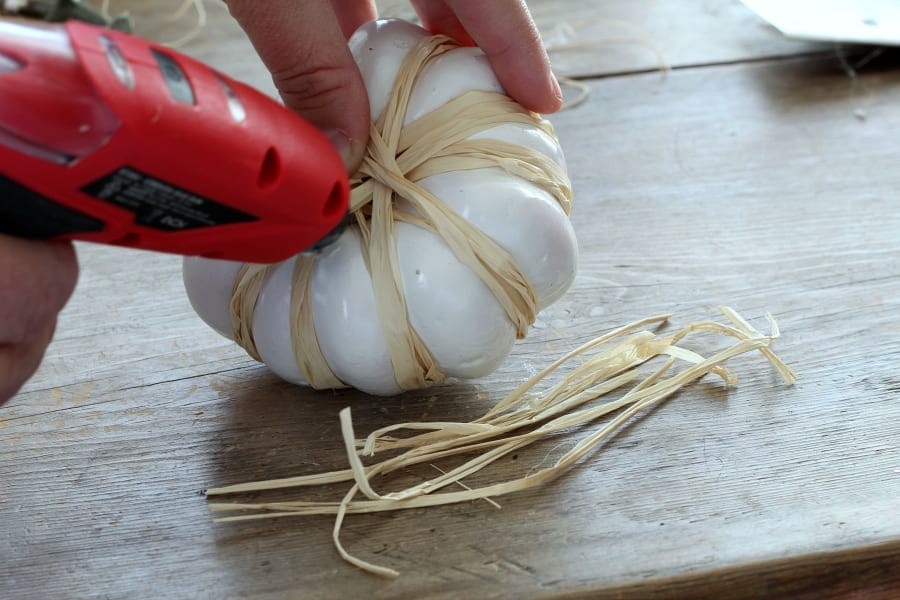
After the first few strips were glued on I measured from the top of the pumpkin to the bottom and cut several pieces the same length. My plan was to glue at the top and the bottom of each strip. This didn’t work so well and I had to add more glue along each strip of raffia to secure it to the pumpkin. This is what took me so long. As well as the fact that I didn’t want any of the pumpkin to show through so I loaded up the raffia on the small pumpkin.
Carve Out Some Time for This DIY
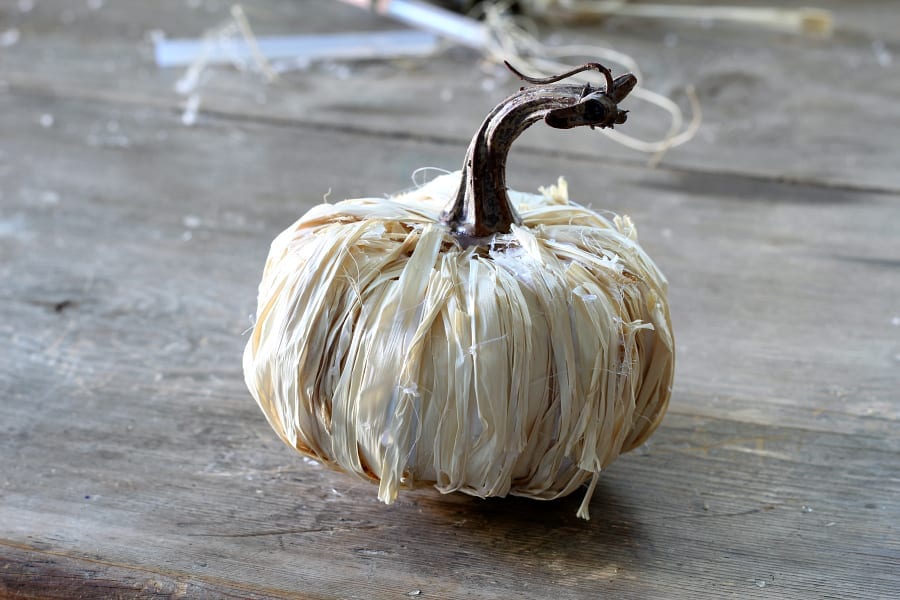
After wrapping and gluing the raffia for what seemed like forever I was happy with the outcome of my first pumpkin. I reattached the stem to the pumpkin and filled in areas with raffia that I had missed. There was a lot of hot glue used and my poor fingers were not happy with me.
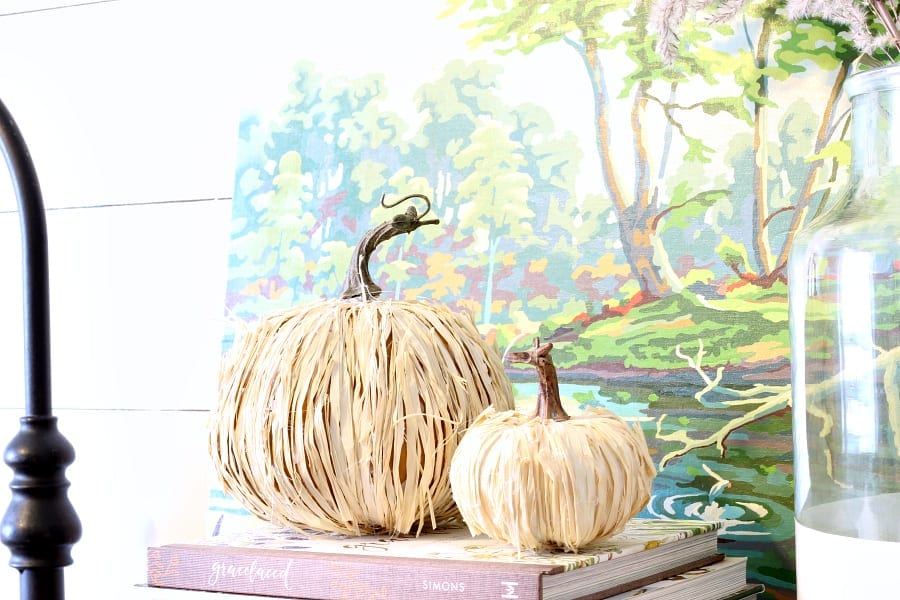
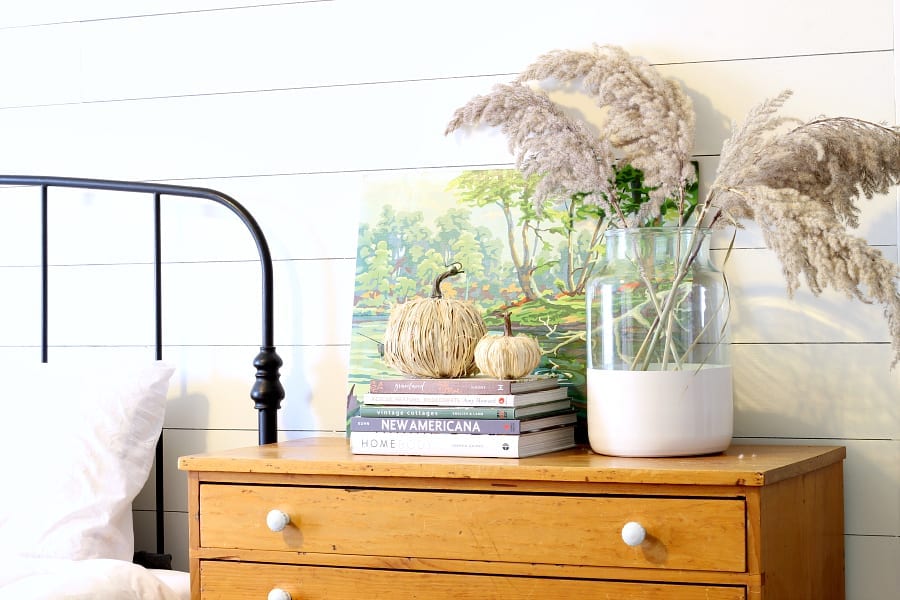
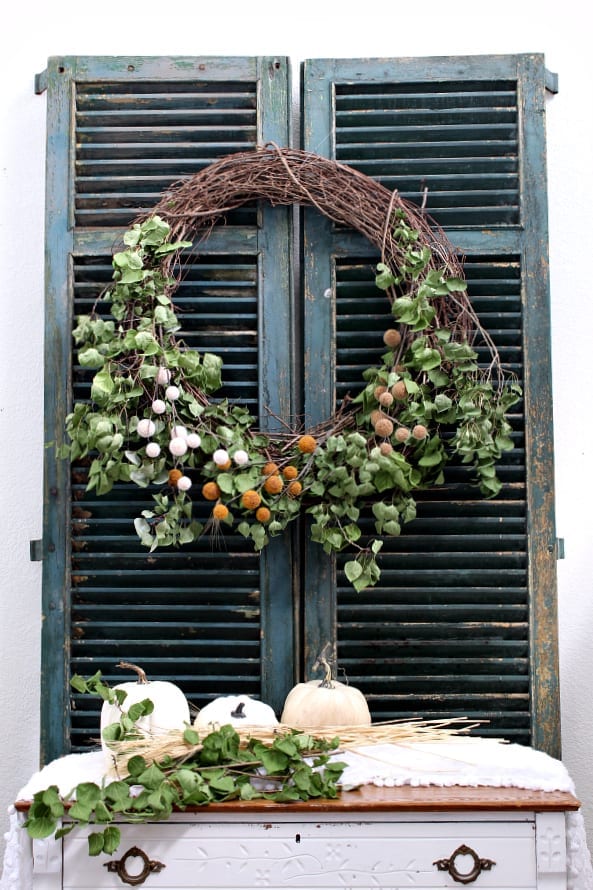
Natural Looking DIY Raffia Pumpkins
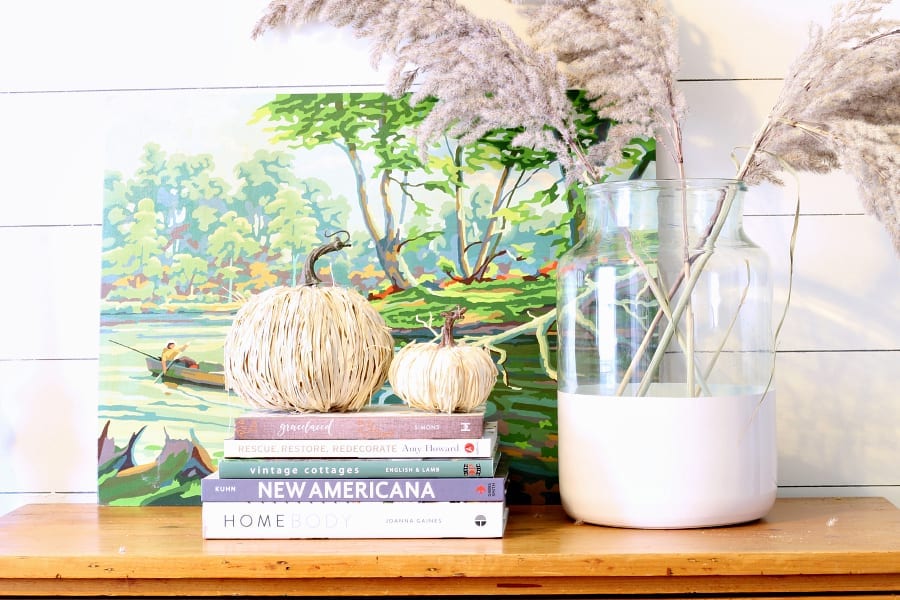
The little guy above was the first of my DIY raffia pumpkins and after this one I needed to rest a bit. I tackled the next one but as you can see I stopped at 2. 🙂 Thankfully I absolutely love them! The natural look is what I was in search of and I found it…it just took me awhile! Also, a special thanks to my friend Brooke from Brooklyn Finds for gifting me these gorgeous pampas grasses!
Have you ever had a love hate relationship with a project?! I know I’m not the only one! Right?!
Thanks for stopping by today. Please make sure to visit my friend’s pumpkin projects below and if you enjoyed my post I would love for you to subscribe HERE and visit me over on Pinterest, Facebook and Instagram!
xoxo,
Kelly
Here are my friend’s pumpkin decorating ideas!
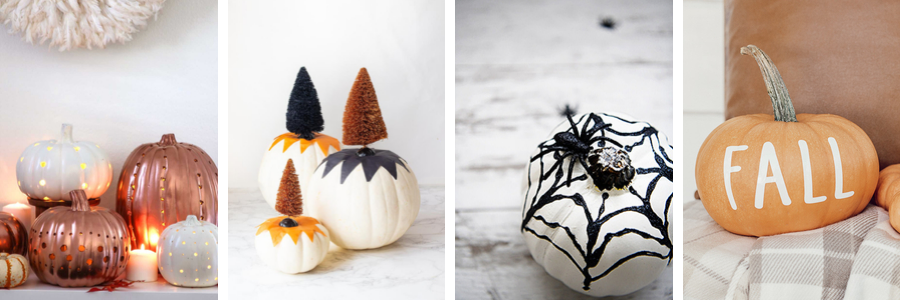
Pumpkin Decorating Ideas | Modern Glam
Decorating Pumpkin Ideas | Happy Happy Nester
Fall Pumpkins | Pink Peppermint Design
Vinyl Decals | Twelve on Main
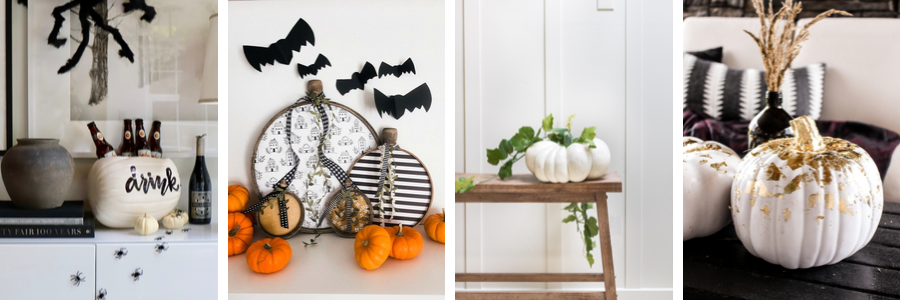
DIY Pumpkin Beverage Chiller | My Sweet Savannah
Embroidery Hoop Farmhouse Pumpkins | Tatertots and Jello
DIY Pumpkin Patch | Zevy Joy
Gold Leaf Pumpkins | Taryn Whiteaker Designs
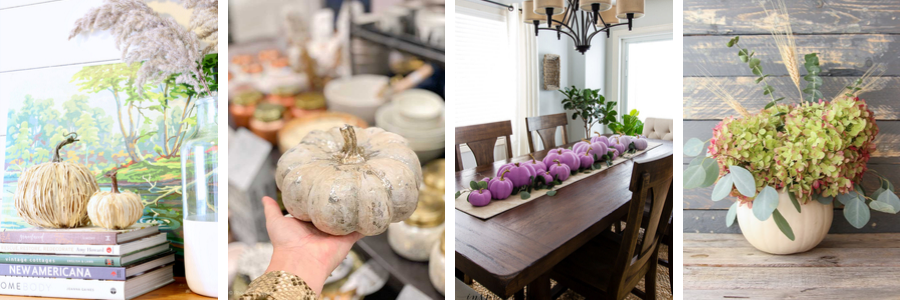
Raffia Pumpkins | The Tattered Pew
How to Make Gold Leaf Pumpkins | Hallstrom Home
Ombre Painted Pumpkins | Inspiration for Moms
Ways to Decorate with Pumpkins | The Happy Housie
Tissue Paper Pumpkin | Sincerely, Sara D
Did you like this post? PIN it for later!

They turned out great! Live and learn. What a pretty vignette!
Thanks…I know…why do I have to be so darn stubborn?! Ha!
I really like the raffia!
Thank you Rhonda! I love it too!
This is such a great idea, Kelly! I love the natural look of these and they turned out beautifully. Also, thanks for keeping it real. Authenticity is so much more interesting than perfection!
Thank you Candace! I figured I had to be real because if anyone tried them they would be rather upset with me! ha! And I agree…authenticity is way better than perfection!
I really LOVE these, Kelly! I have a few similar ones that I’ve purchased but now I want to make my own!!
Thank you Krista! You should make a few and tell me if you find an easier way than I did!
Kelly,
These are so adorable…and for only $10?! Wow!
Thank you Leigh…$10 is the best!
Kelly, these are so cute!! Love them! Pinned to remember how to make them!
Aww thanks Kristin! Such a fun one but require a bit of patience!