How to Winter Sow Seeds in Milk Jugs (Beginner Friendly Method)

*As an Amazon Associate, I earn from qualifying purchases. This post contains other affiliate links too for your convenience. Click here to read my full disclosure policy.
I have always wanted to try how to winter sow seeds in milk jugs and so I did! And guess what? I fell in love with how easy it is. This blog post will walk you through what winter sowing is all about and the steps to get you started! And of course, this is Lazy Girl approved or I wouldn’t be sharing it! And the good news is it works in zones 3-9 so this is a method that you most likely will want o give a go too!
Winter Sowing In milk Jugs: The Easiest Way to Start Seeds Outdoors
I don’t know about you but here in Colorado our growing season outdoors is so short! So I was looking for ways to start some seeds earlier that didn’t involve an expensive indoor set up with trays, heat maps and lights and winter sowing popped up!
I tried the Ziplock bag method of Winter Sowing but discovered that I really loved the jug method. I encourage you to try multiple ways to winter sow and see what works for you. I found the milk jugs to be the easiest way to start seeds outdoors.

What Is Winter Sowing?
Winter sowing is a method of planting seeds outdoors during the winter months, allowing them to naturally experience cold temperatures, snow, and moisture before sprouting in early spring. Yes the cold is good!
Many flowers and plants actually need a period of cold — called cold stratification — to germinate properly just like they do in nature. Winter sowing mimics how seeds fall to the ground in nature, rest through winter, and sprout when conditions are just right.
Some seeds are especially well-suited for this method, including cold-hardy annuals and perennials. I’ve rounded up my favorites in these posts:
- Winter Sowing Perennials: Cold-Hardy Flowers That Come Back Every Year
- 9 Easy Cold-Hardy Annuals to Try with Winter Sowing
Why Should I Use Milk Jugs for Winter Sowing?
Milk jugs act like tiny outdoor greenhouses. Once planted, they trap warmth and moisture while still allowing airflow — creating the perfect place for seeds to germinate when the time is right.
Here’s why I love this method:
- It’s incredibly beginner friendly
- You don’t need grow lights or indoor space
- No hardening off later (huge win)
- Uses recycled containers
- Perfect for unpredictable spring weather
- helps start seeds/plants earlier if you have a shorter growing season

When Do I Start Winter Sowing In Jugs?
Winter sowing typically happens between January and March, depending on your growing zone. The beauty of this method is that timing doesn’t have to be perfect. I am in zone 5b and I typically start the end of January but will also winter sow all the way up to March (these will typically be my tender annuals like cosmos or zinnias). The seeds just know what to do! As long as it’s winter and you can place the jugs outdoors, you’re good to go.
This method works well in Zones 3–9, making it especially helpful for gardeners in colder climates who want a head start for planting!
smarter not harder
START YOUR LAZY GIRL FLOWER GARDEN
Shop my Lazy Girl Guides for simple, beginner-friendly help.
Supplies Needed for Winter Sowing
You really don’t need much that why I love this method. I had almost everything at home already. I have linked some of the supplies for you below too if linkable.
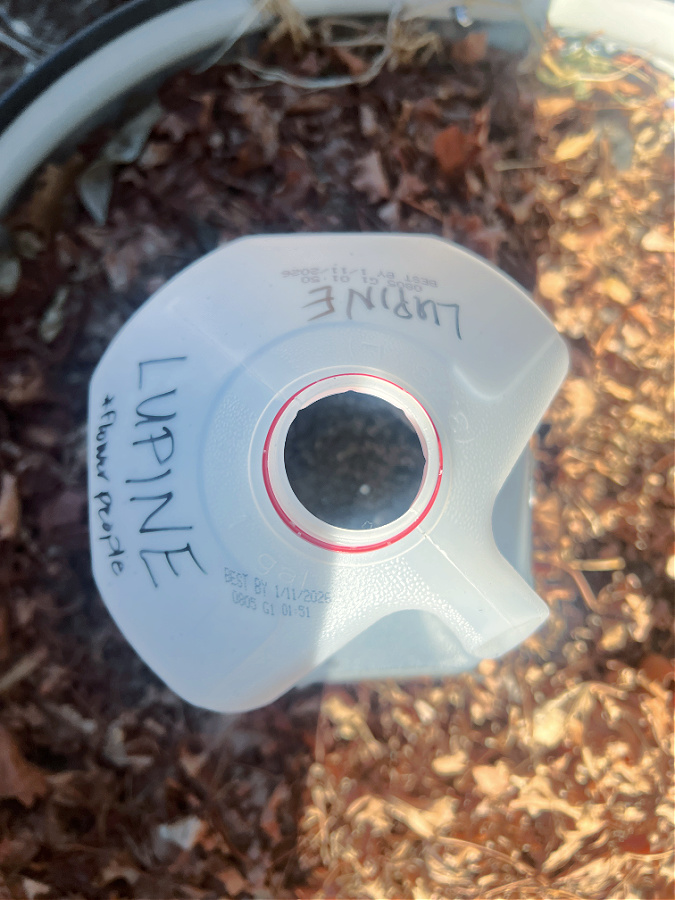
- Clean milk or water jugs. Some people have used berry containers or containers from the Dollar Store. As long as there are lids you can always add drainage holes, right? Hot tip: ask your local coffee shop or friends to save their milk jugs for you!
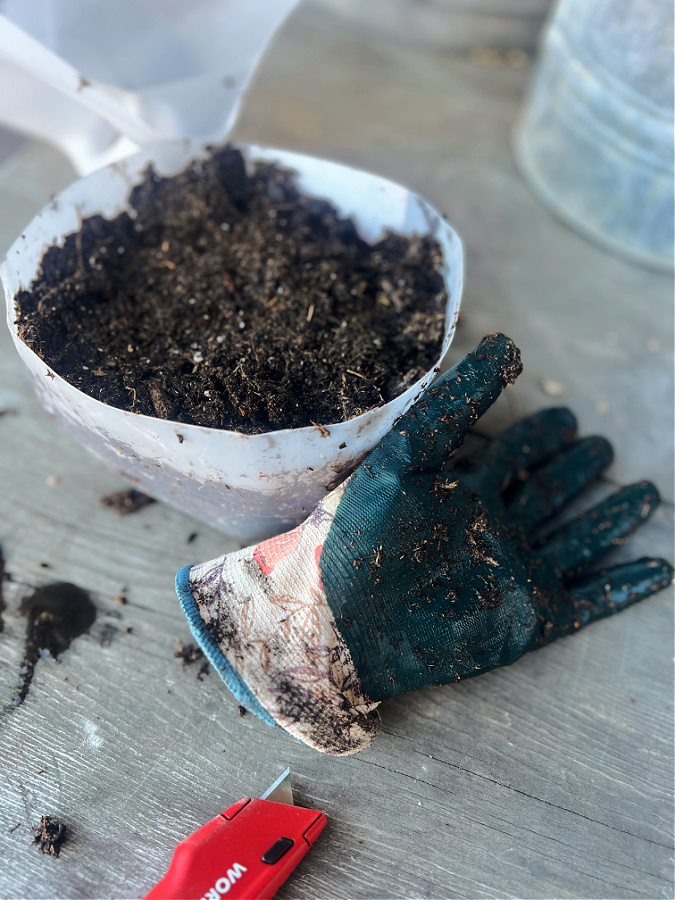
- Utility knife or scissors
- duct tape or painters tape
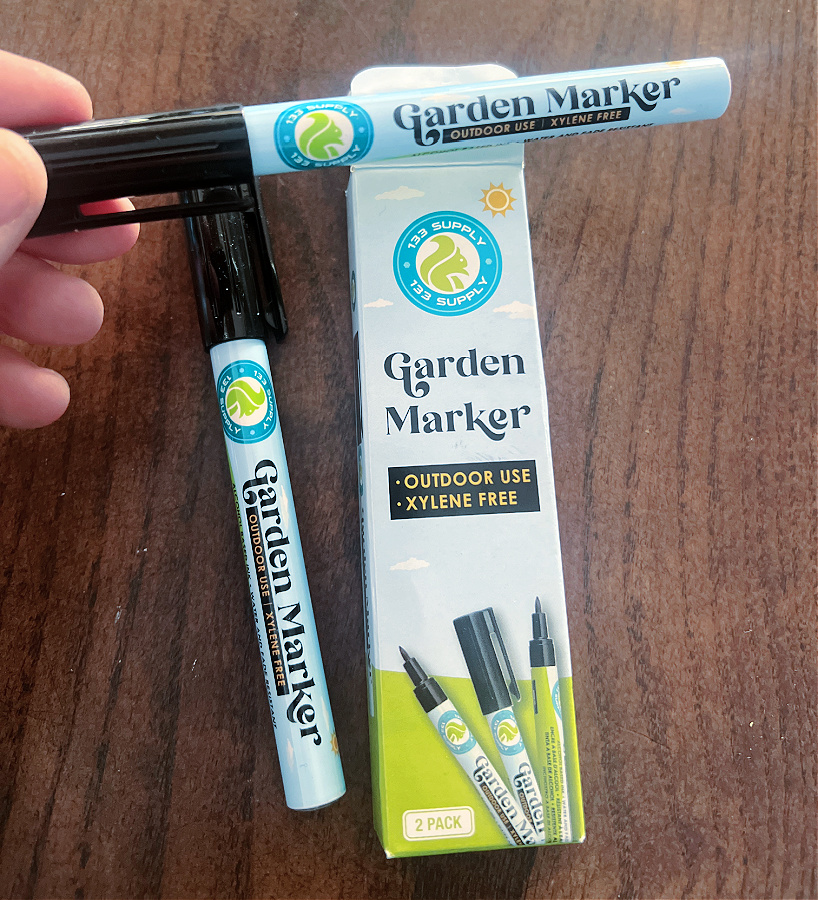
- Garden marker (these don’t wash off and are a must for me!)
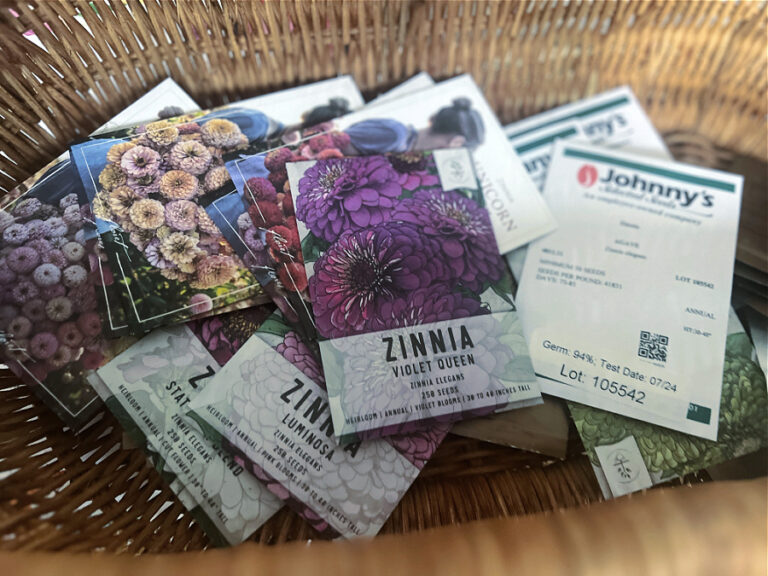
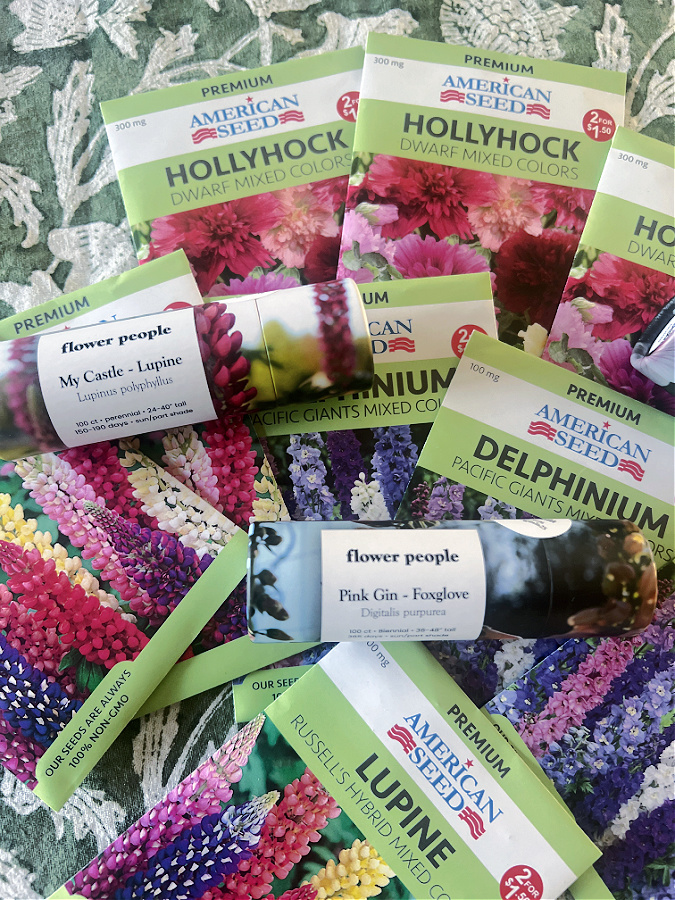
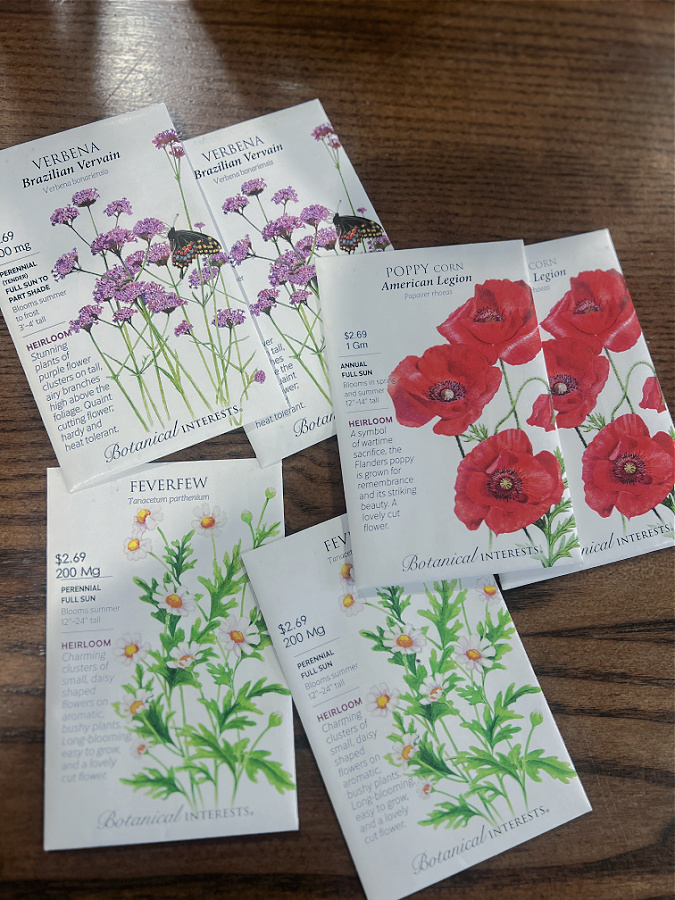
- Seeds
- potting soil
- water bottle and water

How to Winter Sow Seeds In Milk Jugs (Step-by-Step)
Step 1: Prepare the Jug
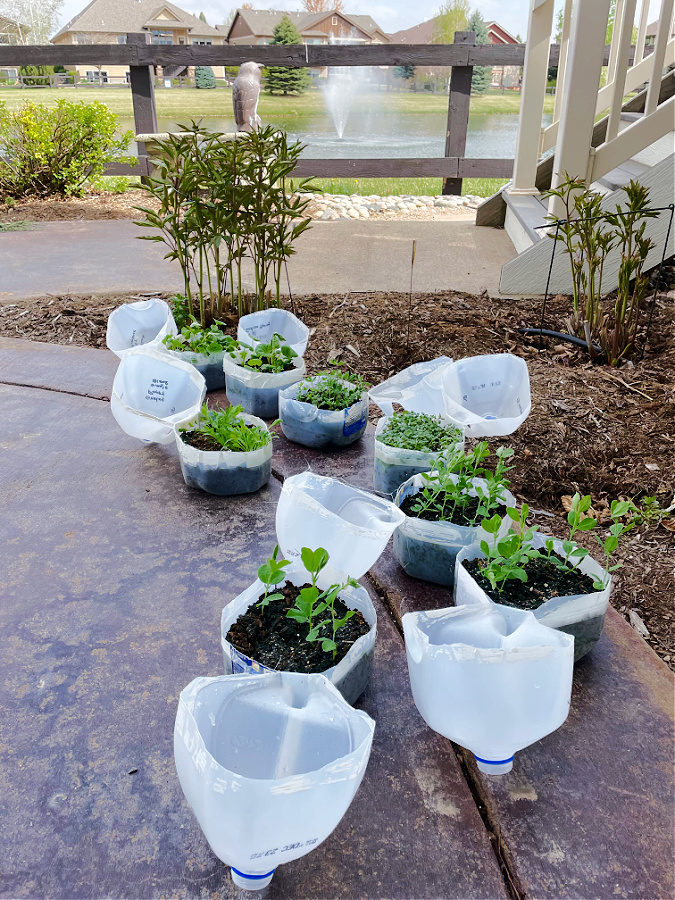
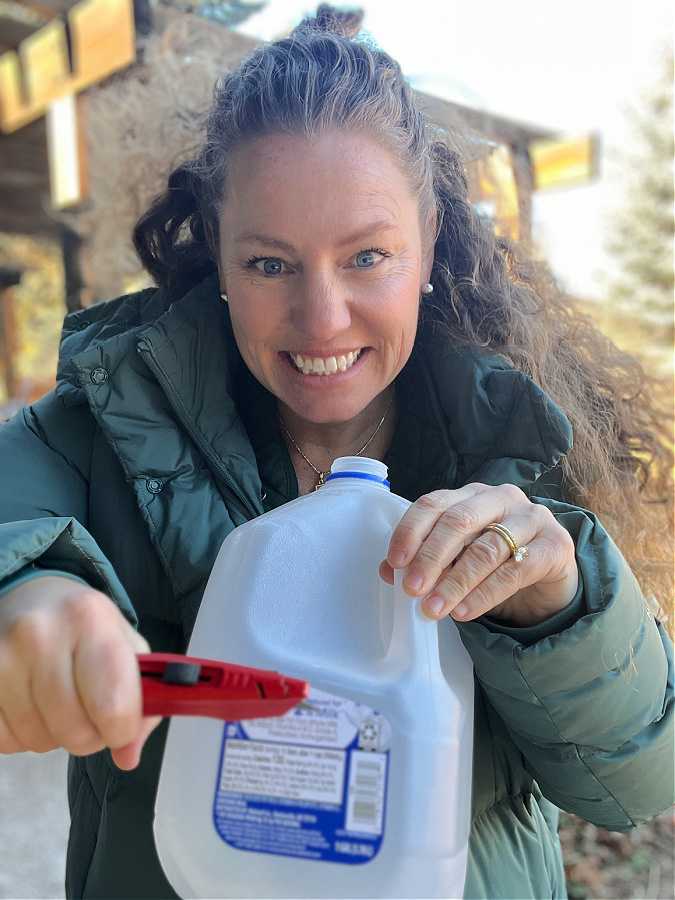
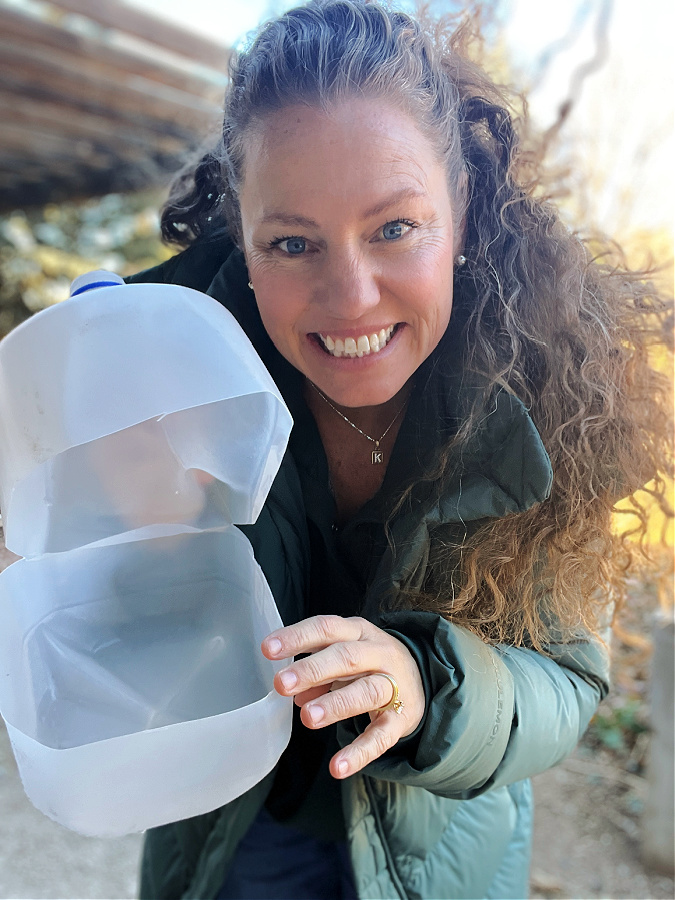
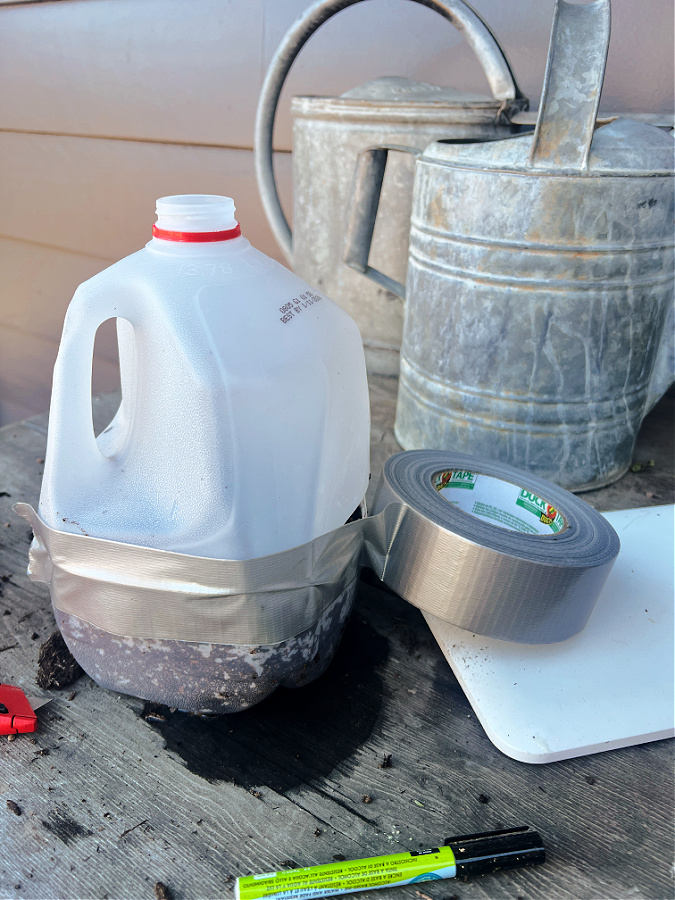
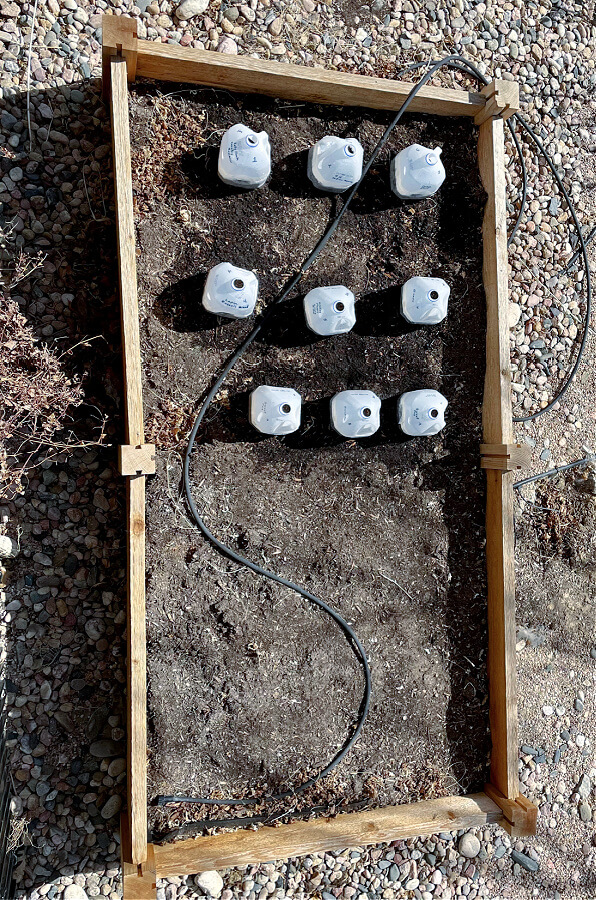
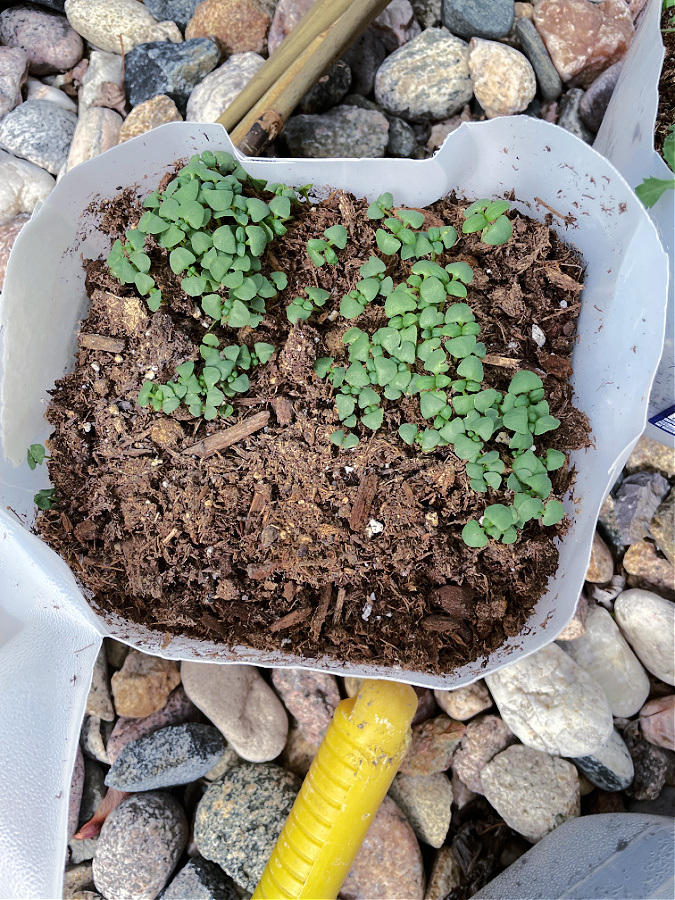
Make sure to wash your milk jug and let it dry. Next use scissors or a utility knife to cut almost all the way around your jug (just below the handle) making sure to leave a small section by the handle uncut so the top can open and close like a hinge. Next, poke 4-6 drainage holes in the bottom. This is super important so don’t forget!
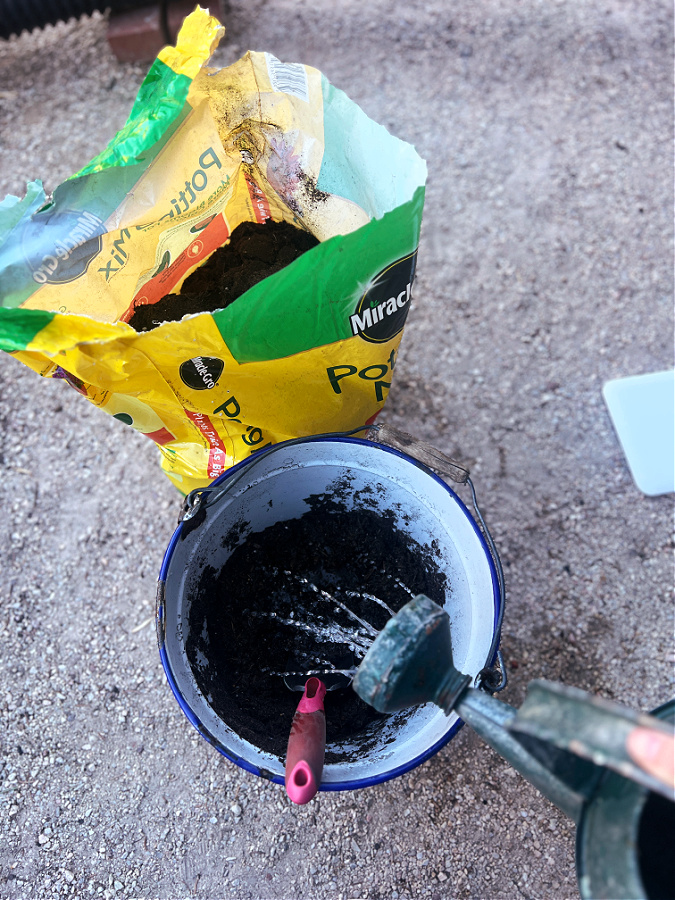
Step 2: Prep and Add the Potting Soil
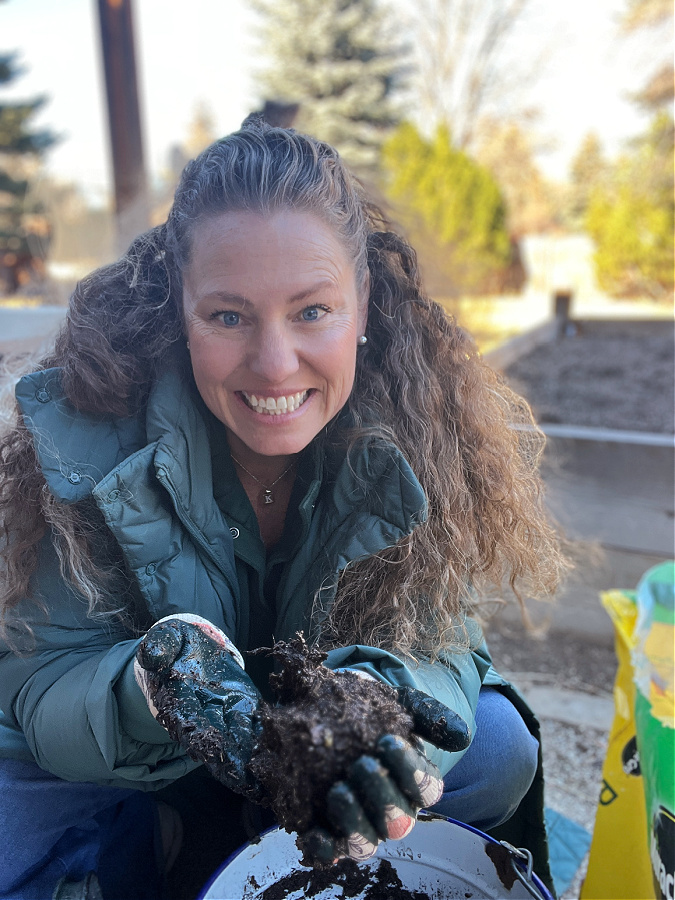
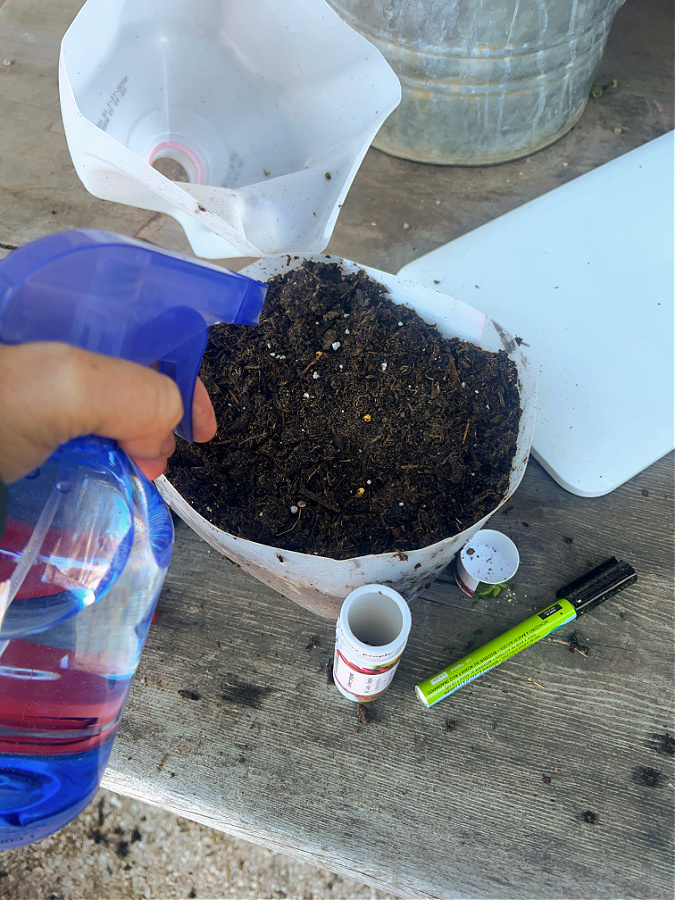
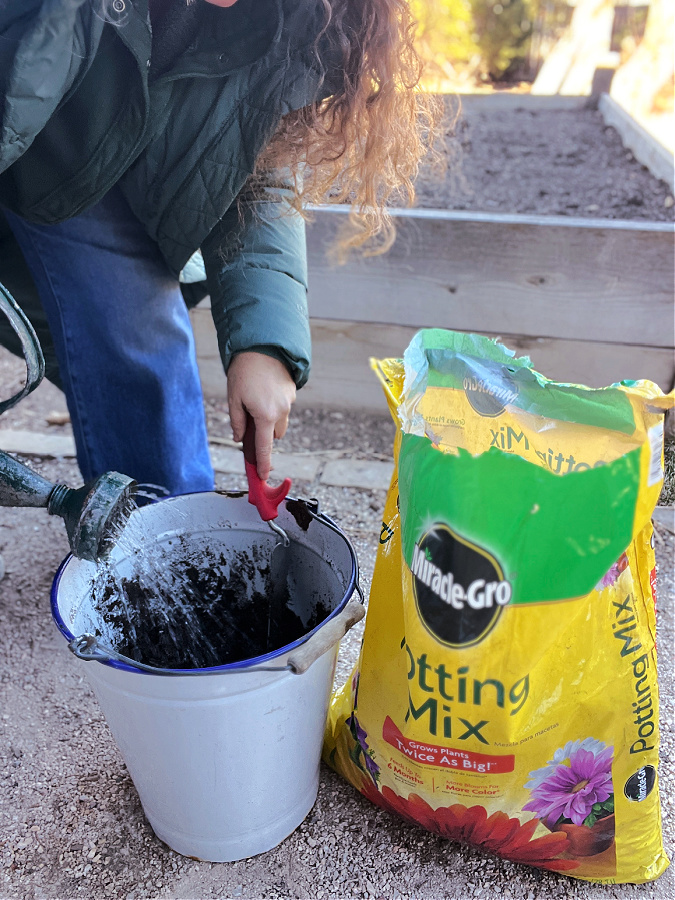
I love to use Miracle Grow potting soil and dump some into a bucket. Next, I add water to the soil little by little until I can squeeze the soil between my hands and make it into a ball that doesn’t fall apart. I then squeeze out excess water from the soil ball. Your soil should be damp! Next, I add 3-4 inches of soil at the bottom of the milk jug. No need to push down.
Step 3: Plant the Seeds & Spray
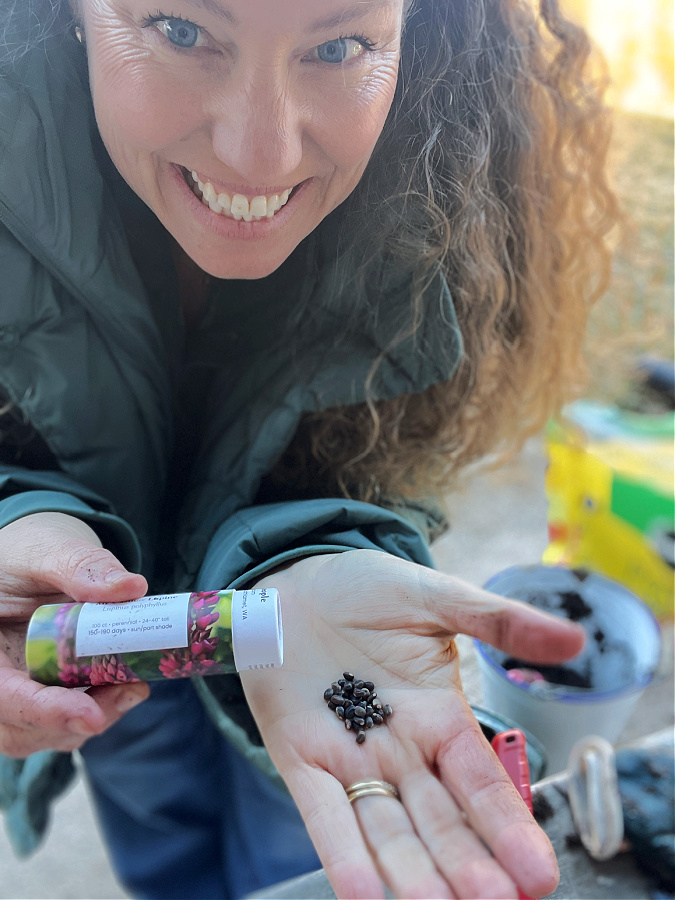
Now for the fun part! Sprinkle your seeds over the soil surface or space them loosely. This is not the time to overthink spacing — remember, lazy girl rules apply here. I usually use half the packet per milk jug if that helps. Lightly press seeds into the soil and cover with a small amount of soil only if the seed packet recommends it. Poppies need light to germinate so I don’t cover them! Before you close the jug, spray water to water the top soil with a medium amount of water. Soil should be damp.
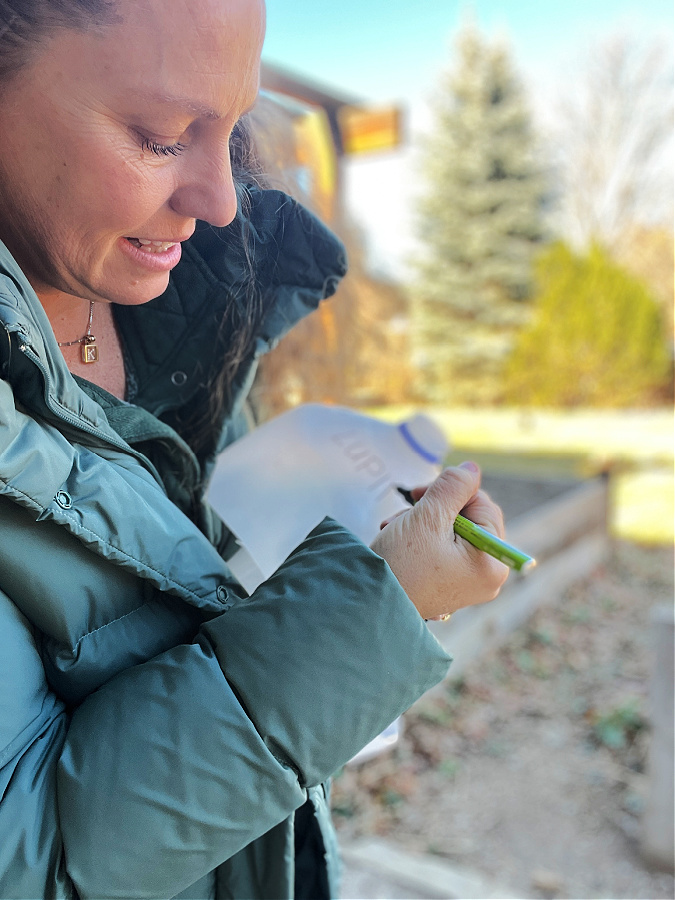
Step 4: Label & Close Up the Jug
Then grab your Garden Market and label the jug on the outside top or sides in a few spots with your seed type. You can also stick into the soil a plastic plant label inside too if you want. Finally, grab your duct tape and wrap it around your jug a few times to make sure your jug is now closed. Remove the top cap and set outside!
Then walk away and let nature do it thing!
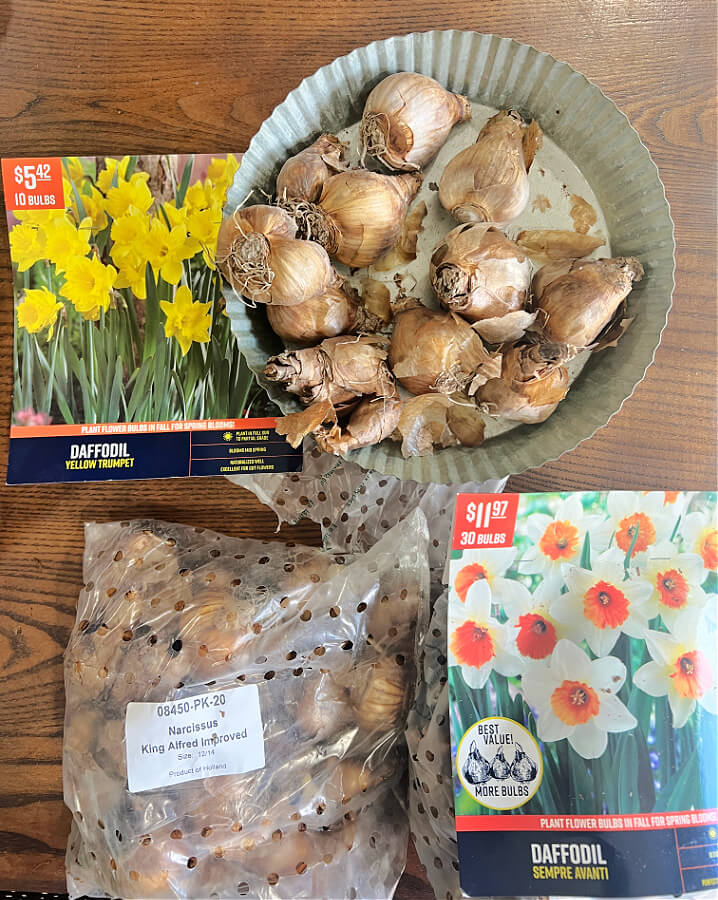
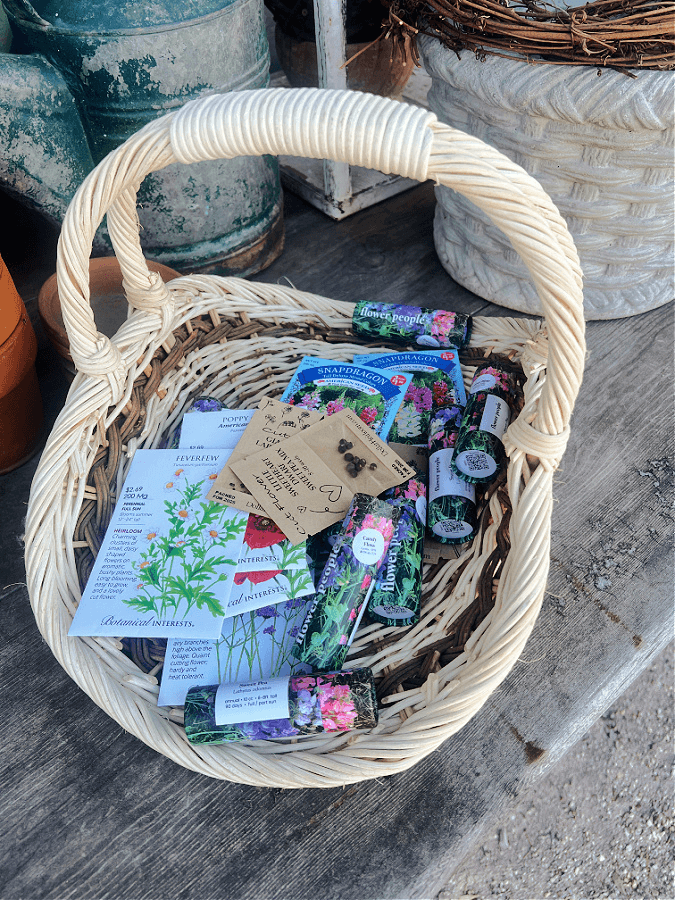
Best Seeds for Winter Sowing
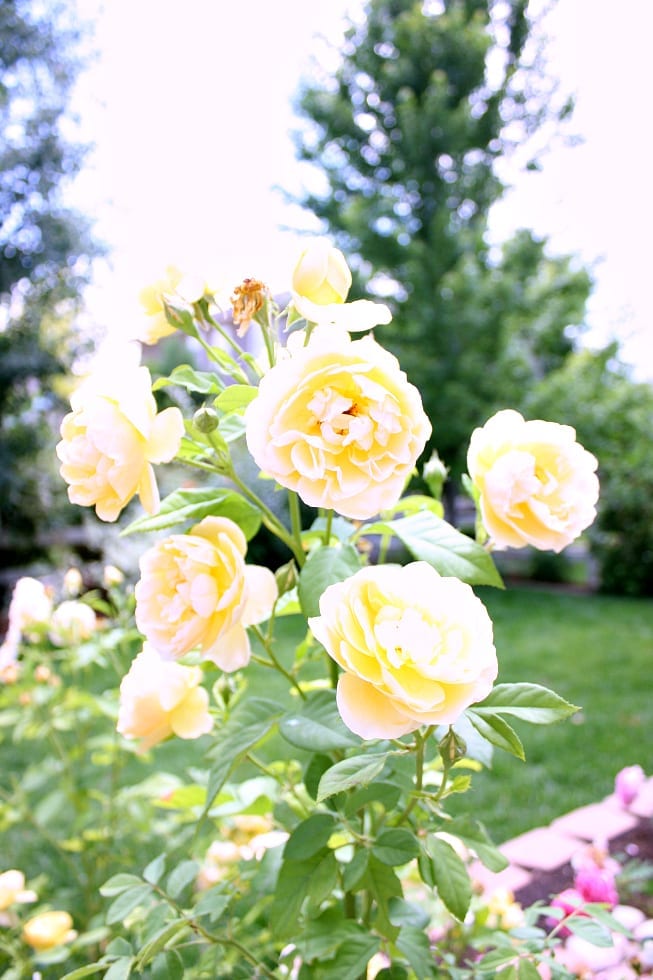
There are so many seeds that work with winter sowing. I have had friends try almost all types of annual and perennial flowers, veggies and herbs! If I try zinnias I will do them most likely in march but really they grow pretty quick when direct sowed in the warm weather after my last frost.
This year I am doing these cold hardy annuals and these cold hardy perennials because most take longer than my growing season typically allows for me to fully enjoy them. My mom is trying to talk me into herbs. Her basil did amazing last year! I need to branch out and herbs work so well with my favorite zinnias!
How to Care for Winter Sown Milk Jugs
Once your jugs are outside, there’s very little you need to do.
- Rain and snow will handle watering but you can check if you have had a dry winter (if they feel light use your squirt bottle to add water through the top!)
- Do not bring jugs indoors , they like the sun and need the weather (just make sure they are in a spot safe from wind and pets)
- Resist the urge to open them too early (peek in though of course through the top!)
If conditions are unusually dry, you can add a little water through the top without opening— but most of the time, nature has it covered. The milk jug will freeze and melt and you will see precipitation in the jug, this is good!
When Do I open My Milk Jug In the Spring?
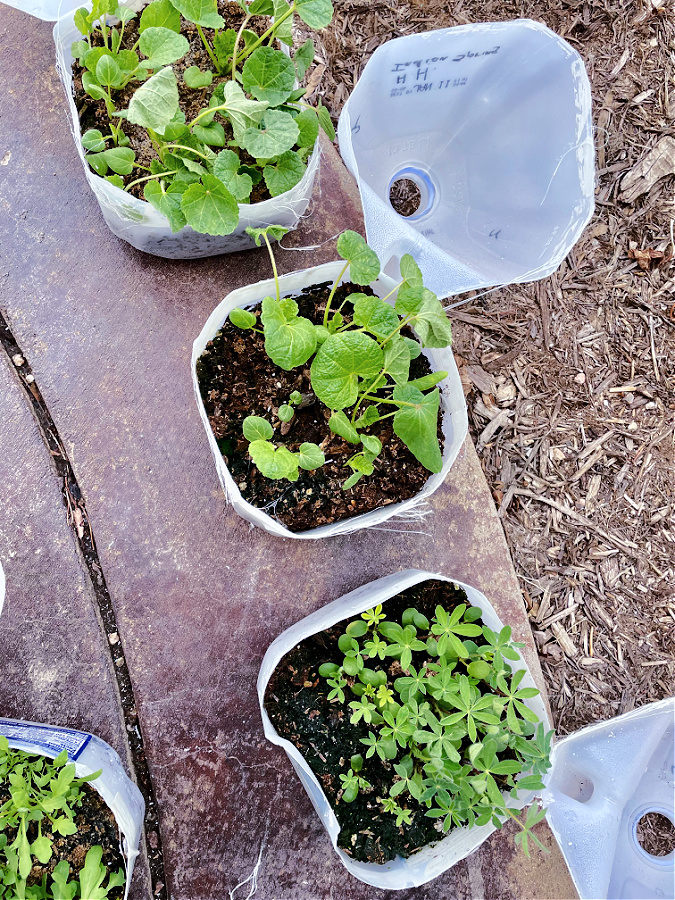
When temperatures warm up and seedlings are actively growing, you can begin venting the jugs by opening them during the day. I wait until they are a couple of inches tall. Once the risk of a hard frost has passed, you can fully open or remove the tops altogether. These seedlings are already tough and weather-acclimated, which makes transplanting much easier later. Can I get an amen?!
How Do I Transplant My Winter Sown Seedlings?
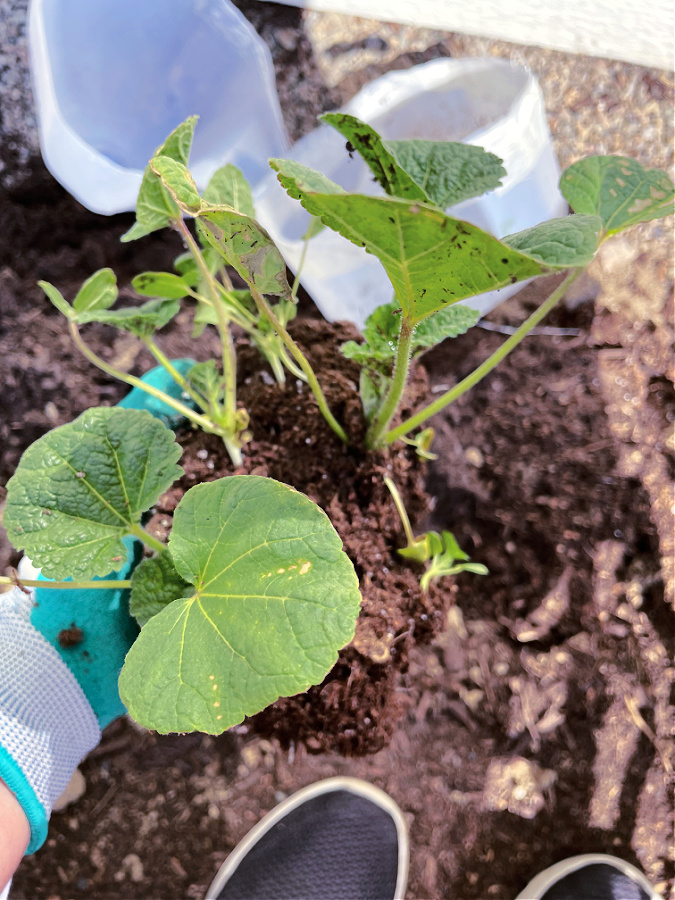
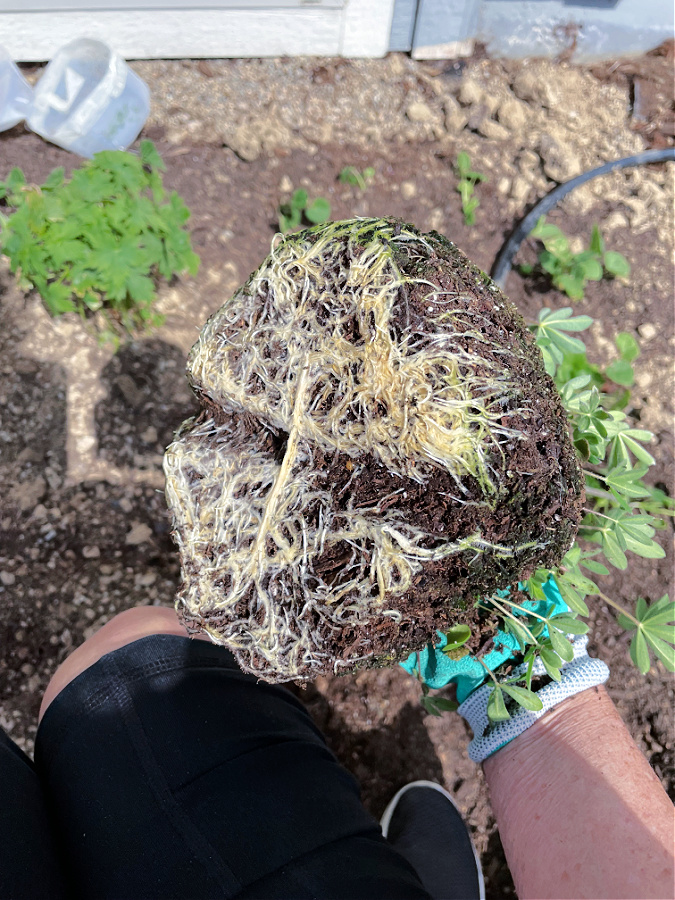
Finally, its time to get these beauties into the ground or raised bed! Once seedlings are a few inches tall and the soil is workable, you can transplant them into garden beds or containers. Because they’ve been exposed to outdoor conditions from the start, winter-sown seedlings tend to be sturdier and less stressed than indoor starts. But of course always pay attention to the weather and read directions on seed packets. Or ask your gardening friends or me on specific seeds!
Common Winter Sowing Mistakes
- Using garden soil instead of potting soil
- not enough water in soil when you plant
- Forgetting drainage holes
- Opening jugs too early
- Giving up before seeds sprout
- not checking if they need water
Some seeds take their sweet time. Trust the process!
Is Winter Sowing Right for You?
If you want an easy, affordable way to grow flowers without the stress of indoor seed starting, winter sowing in milk jugs might be exactly what you’re looking for. I’ve tried more than one winter sowing method over the years, including the ziplock bag approach, which works well if you don’t have outdoor space for jugs. You can read about that method here:
Winter Sowing Flowers: A Guide for Beginners
There’s no “right” way — just the way that works best for you. For me it’s all about just being willing to try. That’s what gardening is all about, right?!
Just Plant the Seeds
If you take nothing else from this post, remember this: You don’t have to do everything. You just have to start.
Winter sowing is a gentle reminder that growth doesn’t have to be rushed. Sometimes the best thing we can do is plant the seeds, trust the season, and let God and nature do the rest. Have fun!
If you have any questions for me leave them in the comment section below!
I’d love to have you hang out with me some more! Feel free to follow along with me on any of the platforms linked below.
LTK | Facebook | Instagram | Pinterest | Amazon