

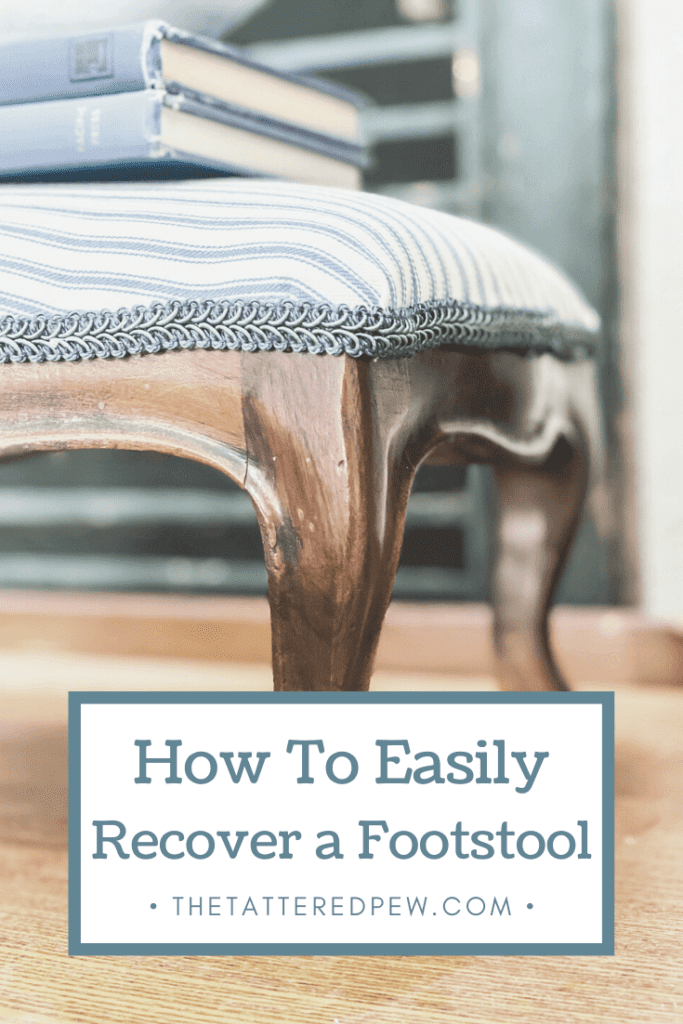
How To Easily Recover An Old Footstool
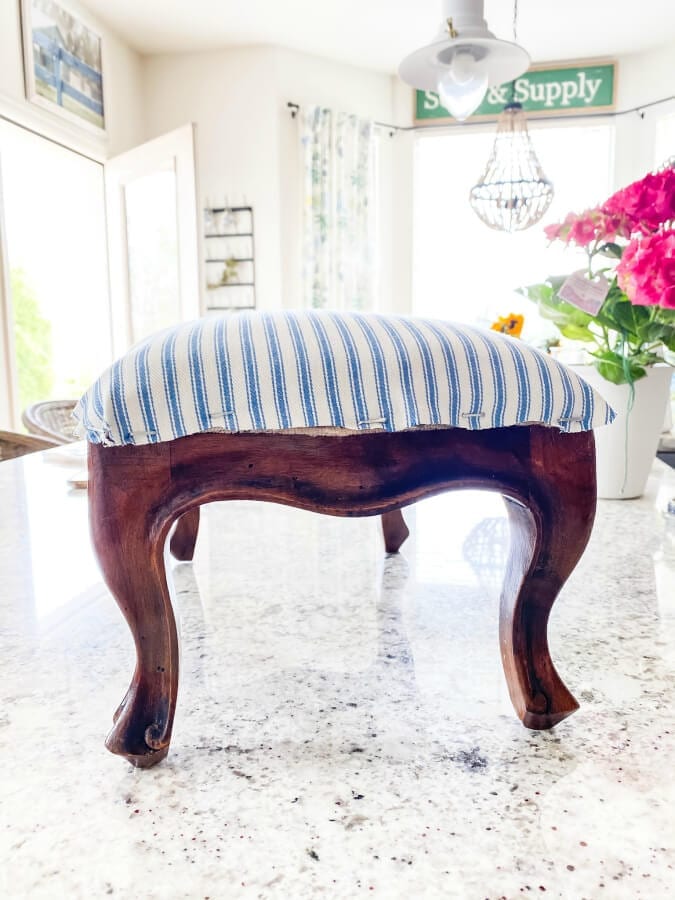
My mom and I always like to talk about how my grandma had timeless style. This darling vintage footstool belonged to her and is just one of the many pieces of hers my mom has kept. It has such great bones and we even discovered a stamp on the underside of the stool that states it’s from Italy! Today it will get a bit of a face lift and I will show you how easy it is to recover an old footstool.

*As an Amazon Associate, I earn from qualifying purchases. This post contains other affiliate links too for your convenience. Click here to read my full disclosure policy.
It’s that time again! I am blessed to be joining the Thrifty Style Team hosted by Julie of Red Head Can Decorate. This fabulous group of ladies posts the 2nd Friday of each month and you can scroll down to find each of their thrifty posts at the end of mine.

How To Easily Recover An Old Footstool
Here is a before of this sweet little stool.
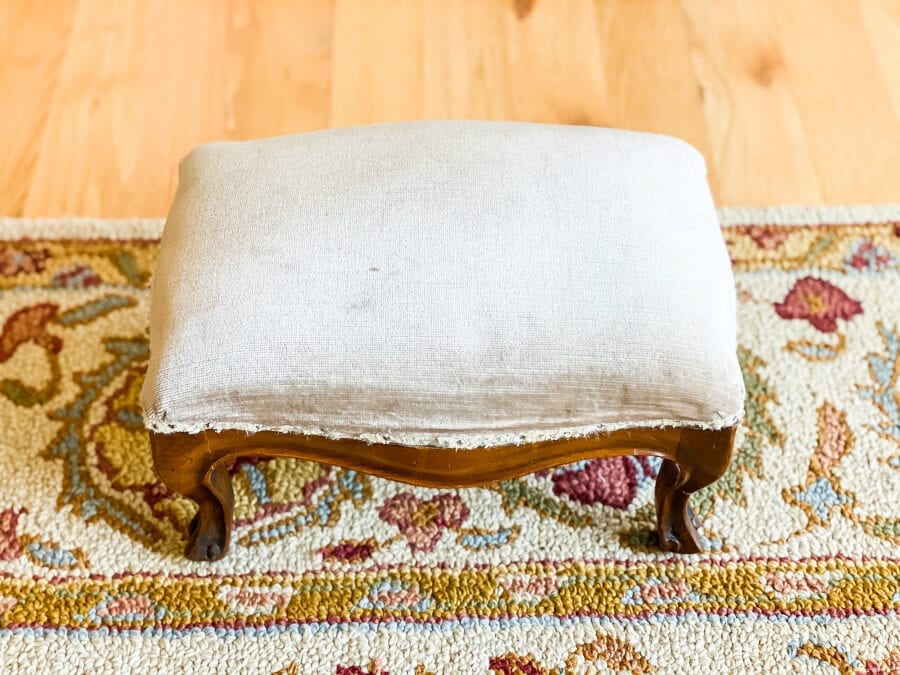
Not bad but definitely in need of some color and quick updating.
Materials You Will Need
*As an Amazon Associate, I earn from qualifying purchases. This post contains other affiliate links too for your convenience. Click here to read my full disclosure policy.
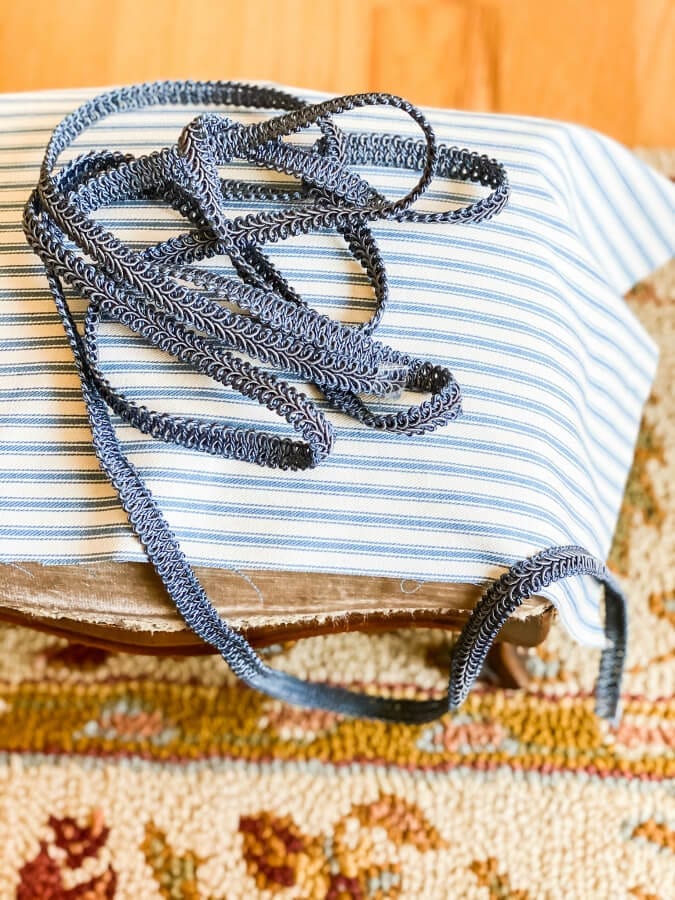
- a scrap of fabric (you can find blue ticking stripe like mine here)
- trim (similar here)
- staple gun
- hot glue gun
- fabric scissors
Fabric: Lining It Up
The first thing you want to do is find a scrap of fabric and then make sure that you have enough of that fabric.
Then, if you choose a striped fabric like mine, you need to make sure you have it lined up like you want. Stretch it a bit to see that it will cover each side if you were to pull it down.
I like to call this my trial run!
TIP: If I do this again I will not pick a striped or repeating fabric pattern. It was too had to get the stripes lined up perfectly when you pulled the fabric tight.
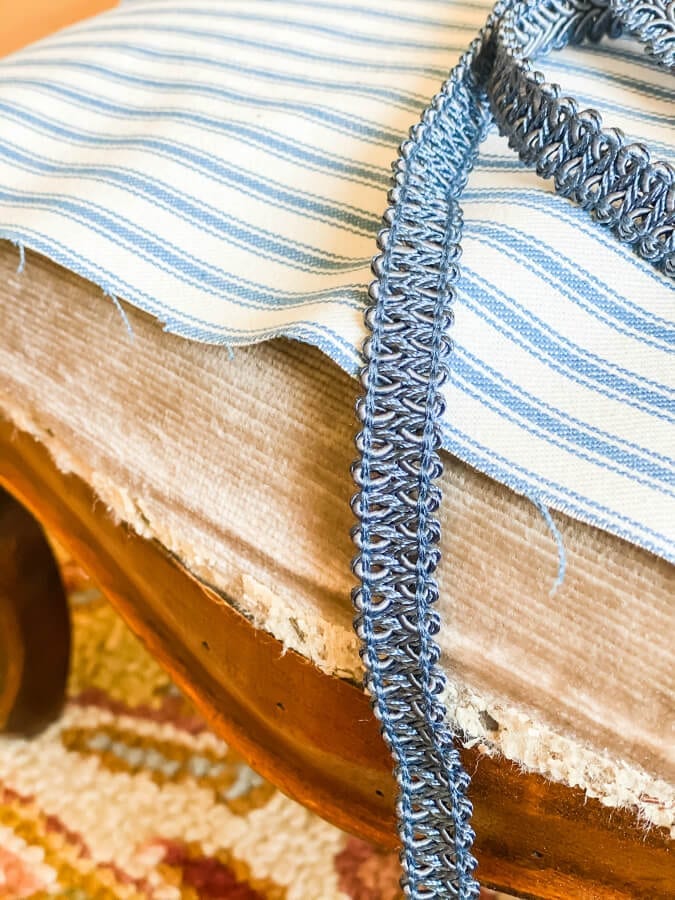
I made sure my fabric was longer and waited to trim it until I was done stapling. This ensured that my stool would be fully covered.
Stapling The Fabric
Once the fabric was lined up I stapled one staple in each side to hold the fabric in place. I did this as close to the wood frame as possible. From here I moved to the corners. These were the toughest because the fabric didn’t naturally pull this way. I had to move it around a bit until it was as straight as it would go. But once I got it stapled down I was able to continue stapling other sections down more easily. Each time I stapled I would pull the fabric taught.
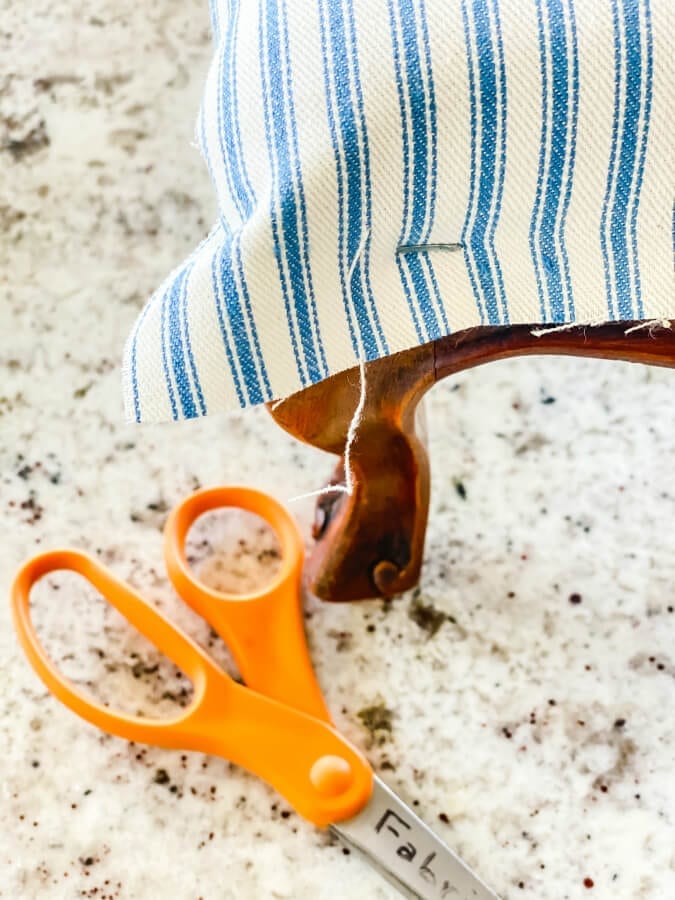
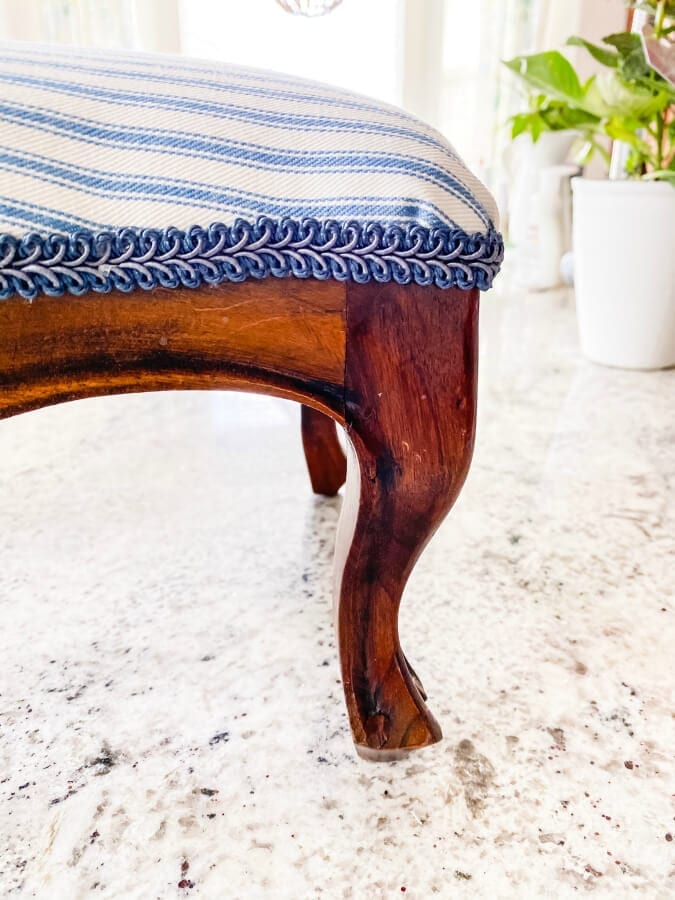
Here you can see that my staples are as close to the wood frame as possible and that I have trimmed as much of the excess fabric off. Stapling it takes the biggest chuck of time when recovering a stool.
TIP: Having patience will go a long way in this easy little DIY.
Now For The Trim
Finally, we are ready for the last part. It is time to add the trim and hide those ugly staples. Line up your trim for a “dry run”. Make sure to warm up you glue gun!
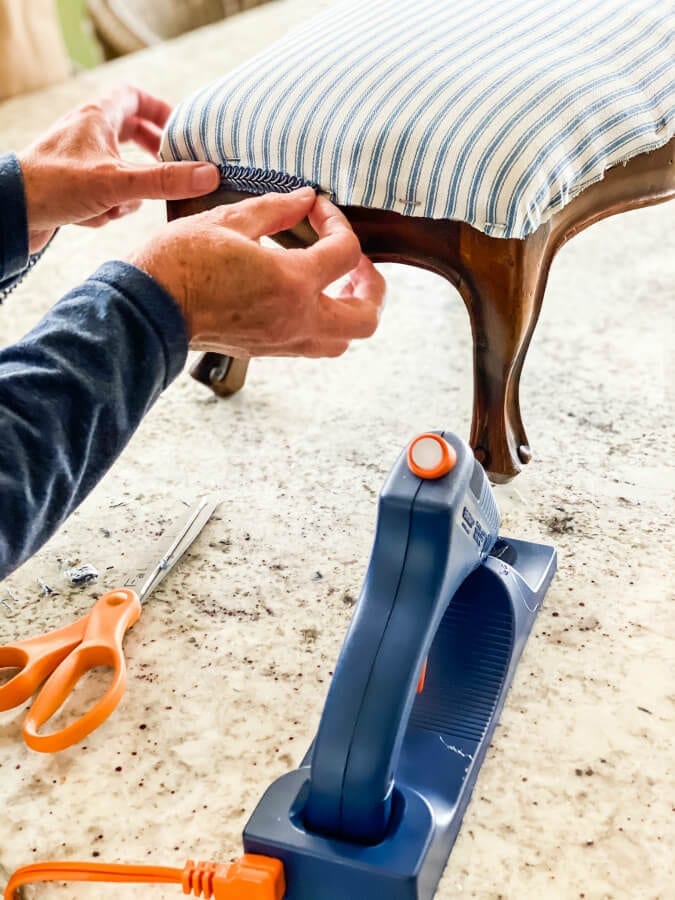
Start your glue on the end of your stool in the middle. This makes it easier to hide the seam and line up the trim once it makes it’s way around the stool. Also, make sure you are covering the staples as you go.
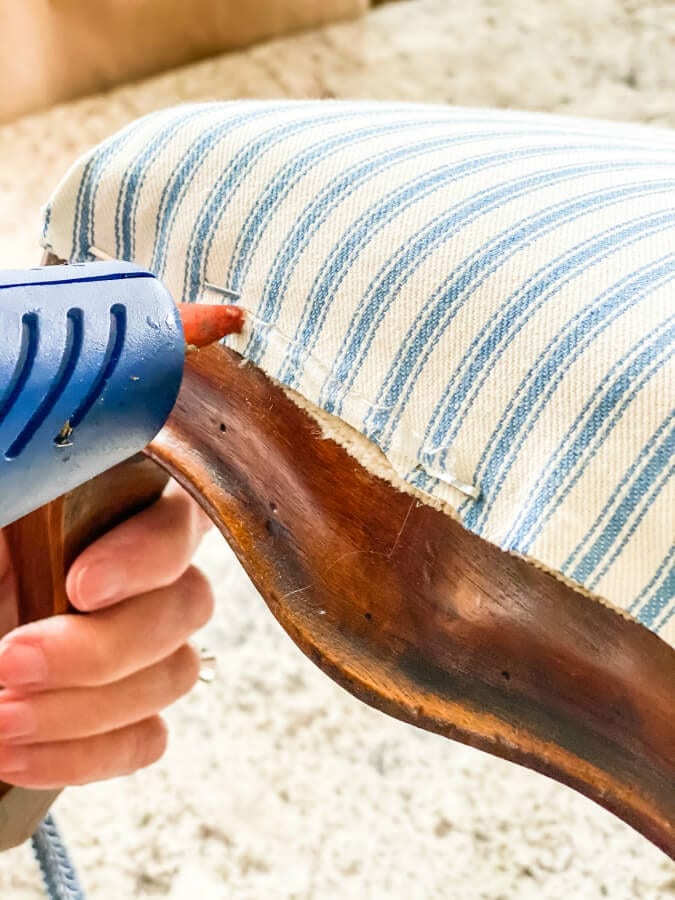
I used my scissors to press down the trim onto the hot glue as to not burn my fingers.
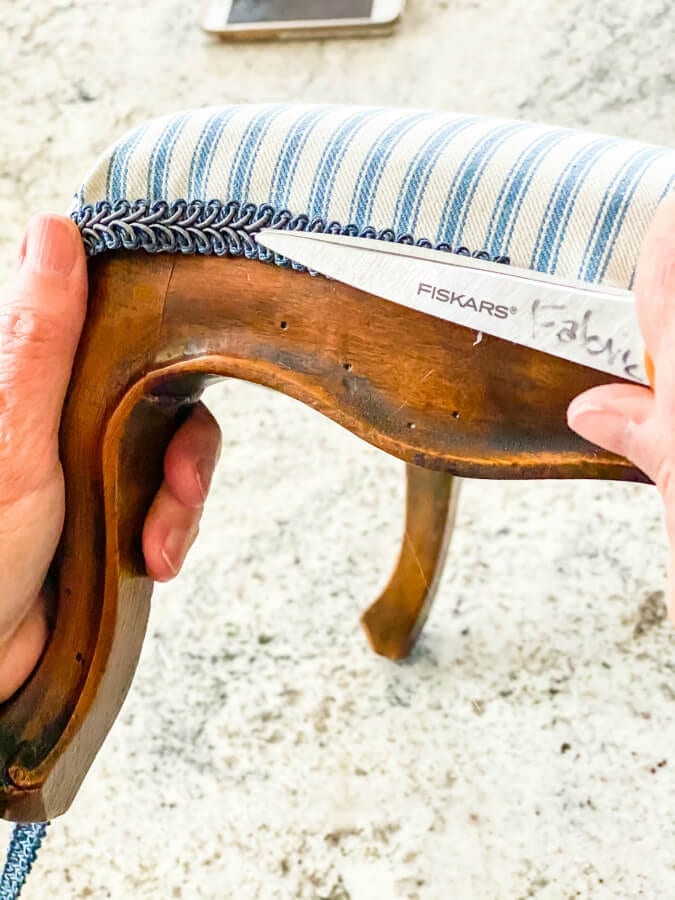
Once you make your way back to that first seam cut off the extra trim and glue it down. In the picture below you notice how hard it was to lineup those darn stripes!
A Lovely Vintage Recovered Footstool
Now it’s ready to show off!
Hopefully you enjoyed my little tutorial on how to easily recover an old footstool. Pretty easy , right?! The best part is that there was no sewing involved.
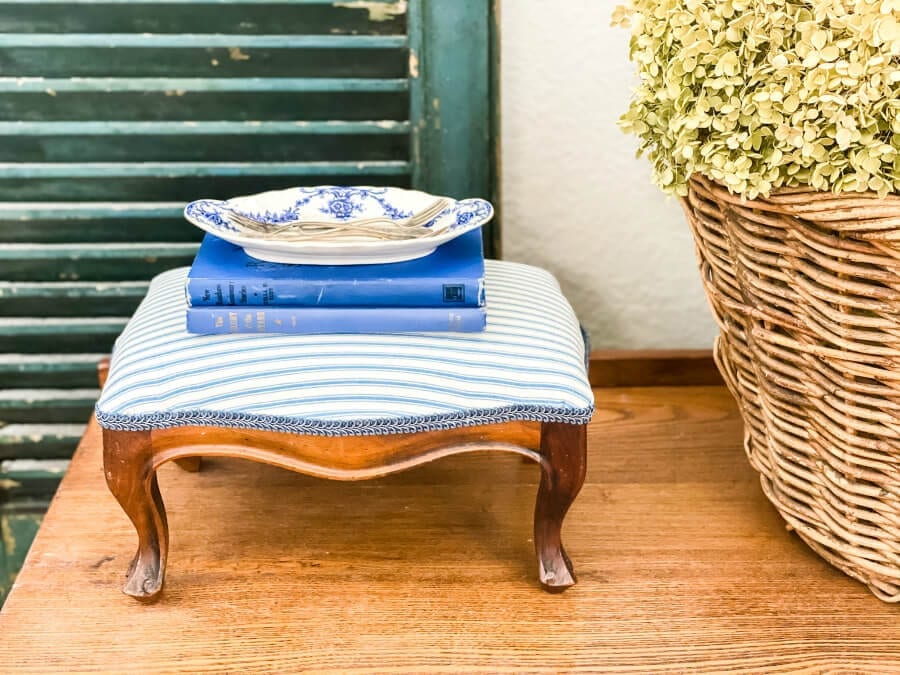
A fun and quick project with a huge impact!
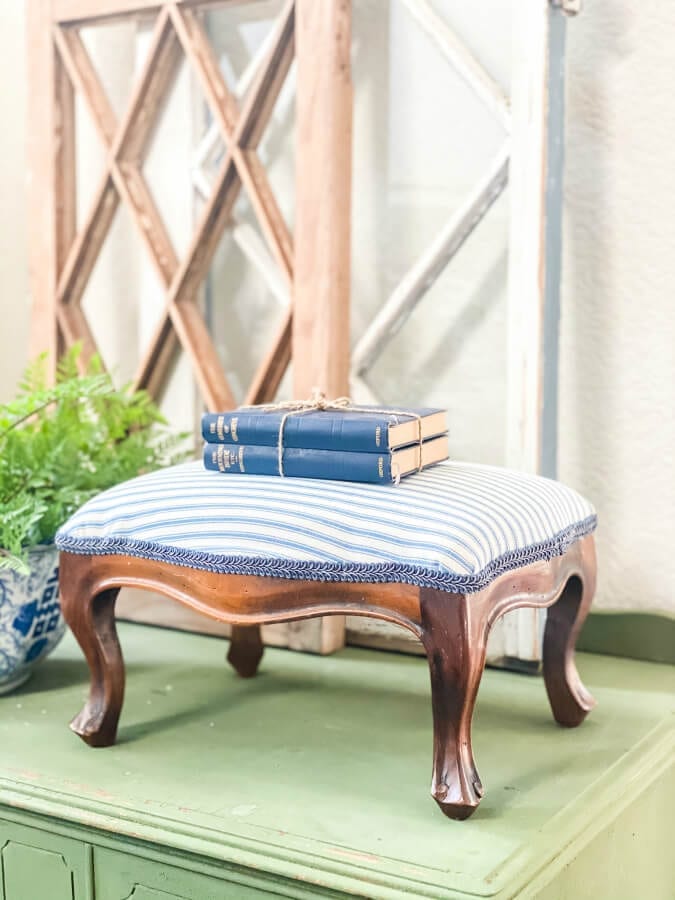
I think my grandma would love it and I think it turned out just darling! What do you think? Don’t forget to visit all the other Thrifty projects below as well!
I’d love to have you hang out with me some more! Feel free to follow along with me on any of the platforms linked below.
LTK | Facebook | Instagram | Pinterest | Amazon
xoxo,
Kelly
The Painted Hinge – How to Make Paperback Books Look Vintage
DIY Beautify – DIY Weathered Wood Pedestal
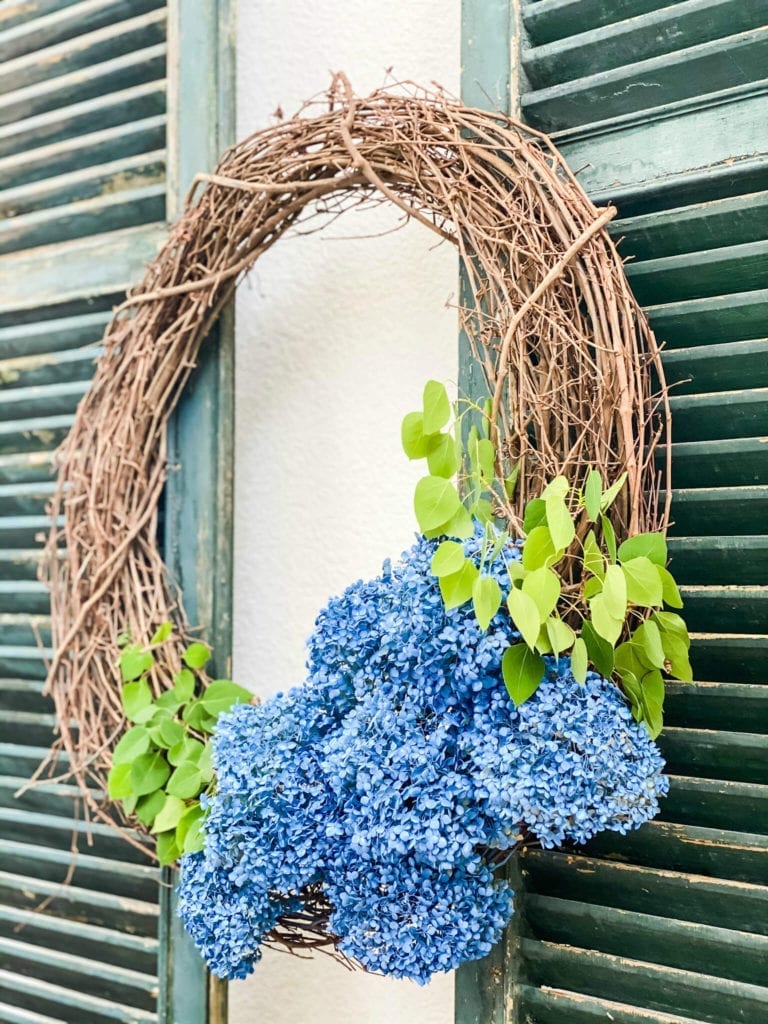
2 Bees In A Pod – Thrift Store Planters – Thrifty Style Team
Postcards From The Ridge – Tiered Tray Decor Ideas with Thrifty and Vintage Finds
The Creek Line House – Ten Plants to Grow for Home Decor
The How To Home – Upcycled Berry Basket
The Tattered Pew – How to Easily Recover an Old Footstool
Unskinny Boppy – How to Frame a Puzzle without Puzzle Glue
Sweet Pea – DIY Patriotic Vase
What Meegan Makes – Thrifted Mirror Gallery Painted with Homemade Chalk Paint
I Should Be Mopping The Floor – Ethan Allen Console Table Makeover
Did you like this post? PIN it for later!

Kelly – your stool makeover is perfection! We are big fans of blue and white, so we think it was the perfect fabric choice. Love that this family heirloom is from Italy. Oh the stories this little stool could tell!
Yes the stories this stool could tell! Thank you for your kinds words my friends!
Hi Kelly,
I love this and you did a great job! I can see stripes would be tricky but it looks perfect! FYI so in love with the feet on this stool! PINNED
Cindy
Thank you Cindy! Your encouragement means a lot. I agree, the feet are so charming! Thanks for pinning!
I’ve never met a ticking pattern I didn’t LOVE. Your stool looks so pretty…such a lovely makeover. xoxo
Thank you Kristi. There is just something so sweet about ticking stripe!
Your grandma would definitely be pleased with how her footstool looks now as it looks wonderful! Each time you put your feet on this pretty stool, you will think about her.
Yes I think you are right. Thank you Paula!
I have a my grandma’s vintage vanity stool that desperately needs a new cover. Your tutorial is just in time to help me out. I love the trim for added texture. Your grandma would love the fresh look.
Thanks for sharing.
Well how perfect is that? I’m glad it was helpful. Good luck and have fun with your stool.
Beautiful…..I love blue and white, my favourite! Well done!
Thank you so much! I feel like blue and white is so classic!
Such a beautiful little stool and I love the refresh.
Thank you Mary Beth!
I just adore this! That ticking fabric is beautiful and the blue trim is the perfect finishing touch. So happy to be part of this super-fun hop with you!
Thank you Michelle! So fun to join you as well. Love all of the fun projects!
Kelly, this stool is so special! I bet your Grandma is looking down & is so proud of you. Your tutorial will help so many, too! Pinned! XO
Thank you Julie, I bet you are right, she would be proud!
This is such a great project! I really want to try this! Thanks for the tutorial!!
Thank you Kristin! I bet you could find a cute stool for your cabin and recover it!
Oh how cute – and so special because it was your grandmother’s! The Queen Anne style – the legs – are very timeless, indeed.
Well done, and something you could do together. I love that.
Thank you Michelle!
Love the blue stripes! Wouldn’t it be fun to know about the life that little stool lived in Italy?
Hi Morgan! Oh yes, the stories this stool could tell!
I absolutely love this transformation Kelly, and the sweet story! ❤
Thank you Cindy! It was a fun little project!
I couldn’t resist commenting. Perfectly written!