

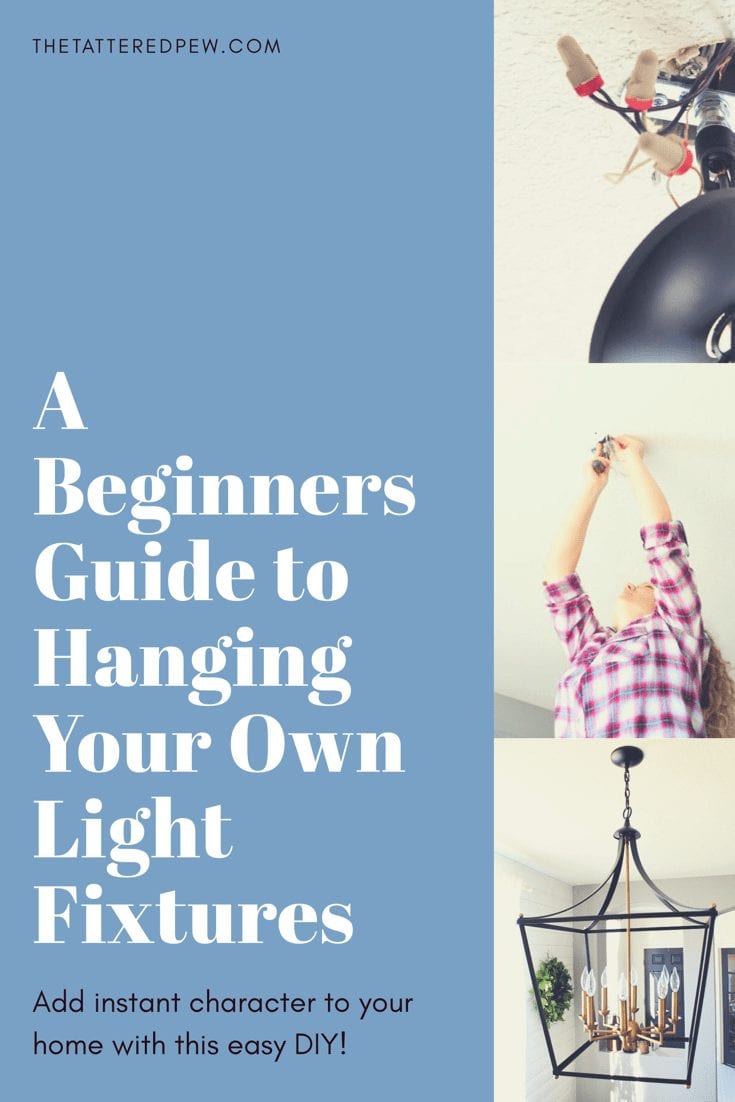
A Beginners Guide to Hanging Your Own Light Fixtures
Have you ever wanted to hang your own light fixtures? If so then this post is for you! I’m sharing a beginners guide to hanging your own light fixtures and of course all of my tips and tricks to give you the confidence you need to give this doable task a try! I promise it’s way easier than you think!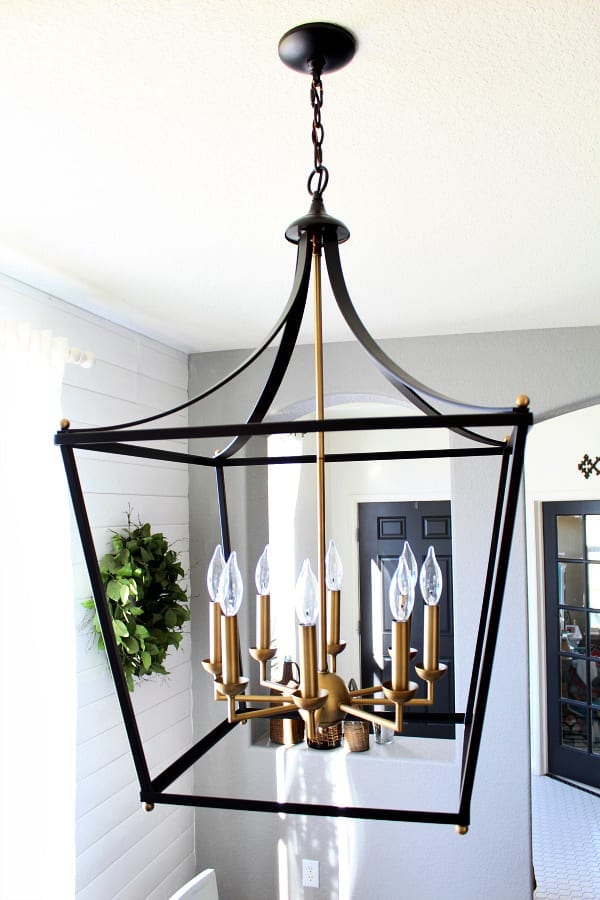
A Beginners Guide to Hanging Your Own Light Fixtures
There is no need to call a handyman or pay someone at Home Depot to change or hang your light fixtures for you. You can do this on your own! I have no electrical experience whatsoever and was able to change my own light with the help of my mom and some helpful google articles and videos. 😉 Let me be honest… I never thought I could do this on my own but I did know that I wanted this new gorgeous light and that I didn’t want to pay someone else to hang it. I’m glad to report that I didn’t have to pay anyone and that I was wrong! I could change and hang a light fixture on my own!
Here is What You Will Need:
- New light fixture (save their instructions!)
- screwdriver (phillips & flathead)
- wire stripper
- wire connectors/caps
- A helping hand
- light bulbs
First: Turn Off the Power
This is the most important step when hanging your own light fixtures. You must turn off the power to the area in your home where your light fixture is located. This means you need to be able to locate your electrical panel. Mine was located outside. It took a bit of trial and error to find my dining room because my panel was labeled wrong. But once I found it, it was easy to switch off! I tested it once I was inside just to be sure.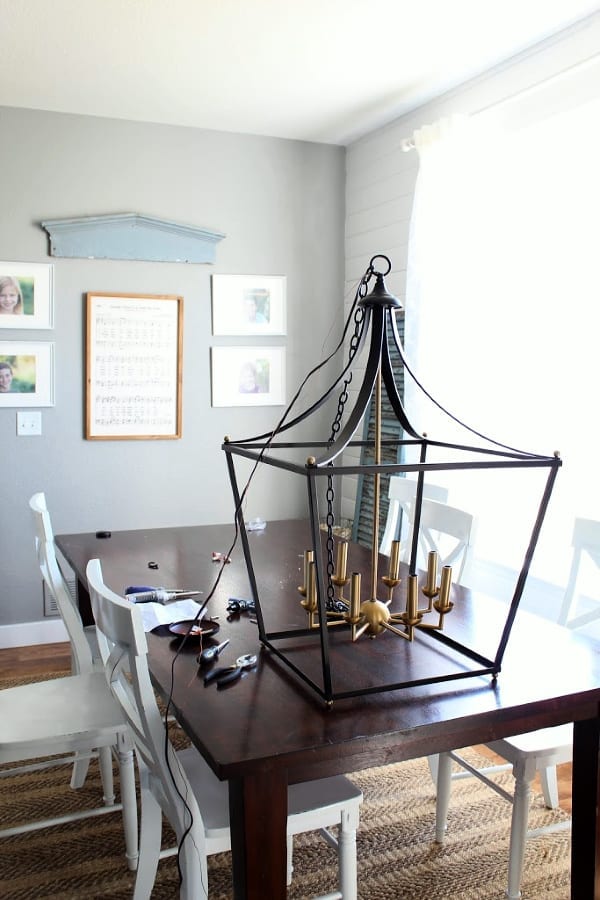
TIP: Lay down a drop cloth or towel underneath the fixture you are removing to catch any dust or drywall and to make clean up easier! (I forgot this step)
Next: Remove Existing Fixture & Read Instructions That Came With Fixture
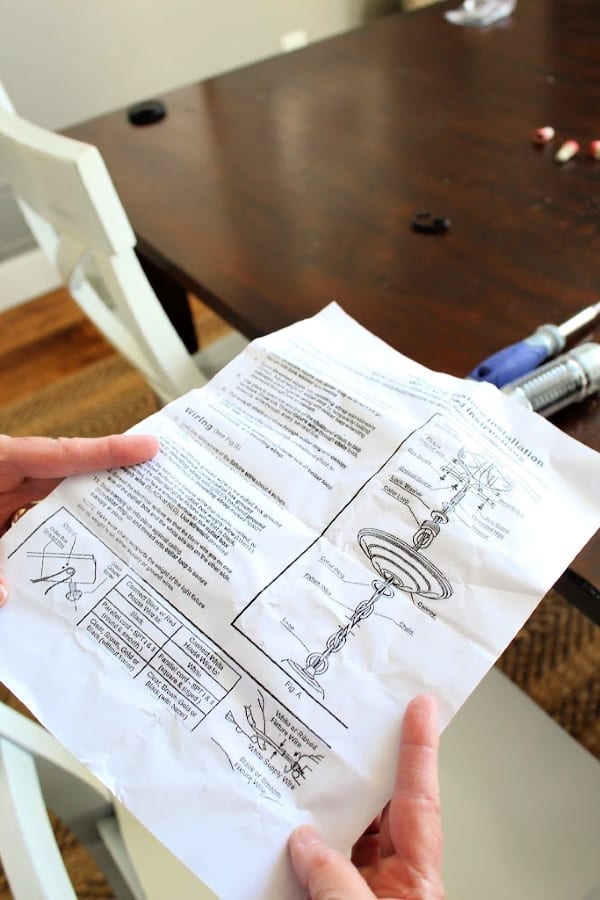
Most out of the box light fixtures, like mine, come with instructions specific to your light. Keep these handy because they are very helpful! After reading the instructions start by removing the canopy (rounded pieced) that is flush to the ceiling. Usually you just have to unscrew this part. Once you have it unscrewed you will see three wires and they will still be attached to your ceiling. There will be a black, green (or copper) and white wire. These wires are connected to wires in the ceiling and held together by a red wire connector cap. Unscrew this cap and separate the fixture wires from the ceiling wires. Now the old light fixture should be ready to be removed. You can fully remove the old fixture and get to the fun part!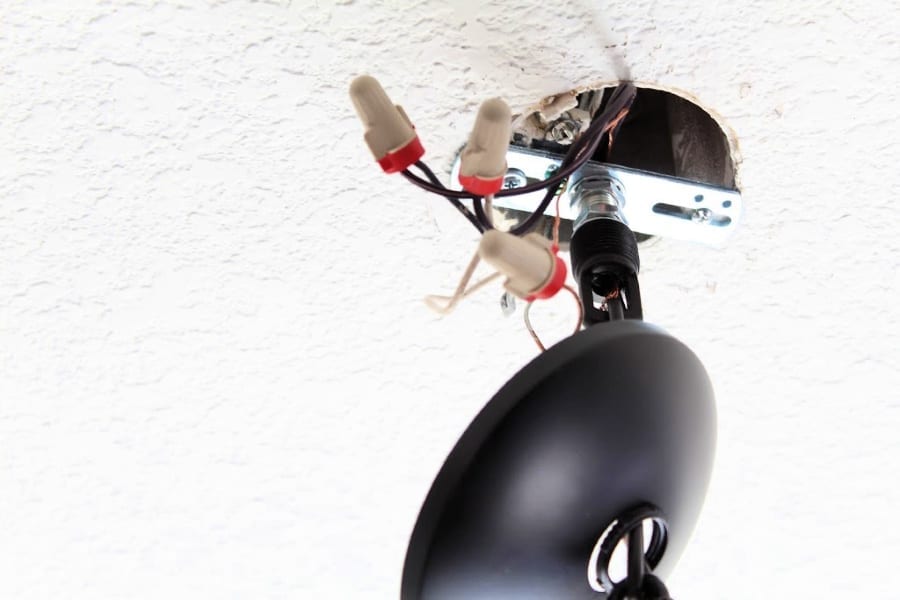
Tip: Having a helping hand nearby is always a good idea, especially if the fixture is heavy! Thankful for my mom!
Mounting Bracket/Strap
Most light fixtures come with their own mounting bracket or strap (its usually a rectangle shape). The light fixture I added did come with it’s own. (check your instructions that come with your fixture) Mine was bar shaped and looked almost identical to the one I removed earlier and the good news is that all electrical ceiling boxes are universal so all brackets fit. Thank goodness…this makes it easy for beginners like us. Screwing the mounting bracket in to the electrical box was the hardest part for me! My lantern was SO heavy and my darn screws gave me a run for my money; luckily my mom was able to help hold it for me. Not going to lie, my neck hurt so bad after this part!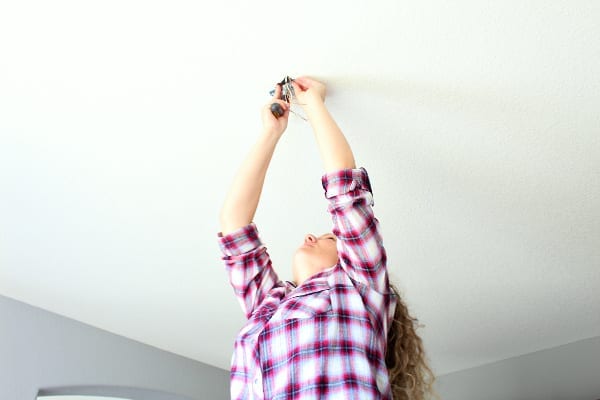
Connect New Fixture Wires
I was most nervous about this part and my advice is don’t be afraid to google this part for even more detailed directions or videos! That’s exactly what I did! Just to double check!
Remember, this is a guide for beginners and seeking out resources is always a good thing! Also, I was lucky to have my mom’s help; she has changed several lights!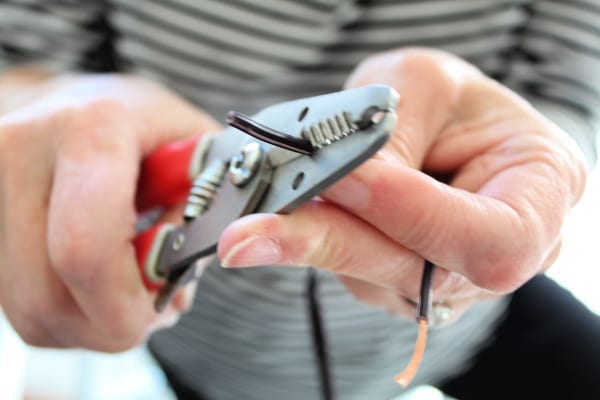
Typically, the black wires connect to each other, and the white wires connect to each other. A grounding wire, which is often green, connects to a grounding screw on the grounding bar. Use a wire stripper to remove the protective coating of the wires on the new fixture. (you can see my picture above) Wrap/twist the bare wire section of each new fixture wire to the bare wire section of its corresponding wire in the ceiling, and screw on the wire connectors/caps once both wires are twisted together. Connect the grounding wire to the green screw or grounding wire. (Copper wire=ground wire, connects to green ground screw) Now your new fixture should be connected to your existing electrical and you should be almost ready to roll. Now on to the final steps!
Secure Fixture and Adjust Chain Length
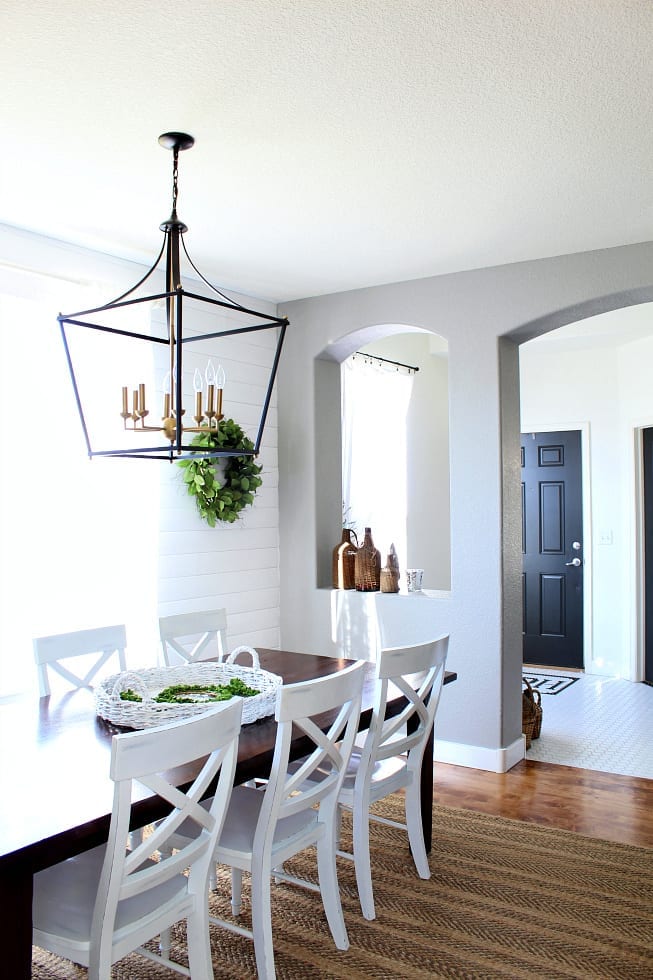
If there’s a chain for the fixture, like mine, and it doesn’t sit flush against the ceiling, now would be the time to adjust it to the proper length. Each fixture has different directions for doing this, so refer to your individual instructions. Once you have it adjusted then you can attach the light to you ceiling. Start by stuffing the wires back in to the ceiling light box and screwing or tightening your canopy. Once again, read your directions on your specific light fixture on how to attach it.
TIP: Hang a chandelier approximately 30 to 34 inches over a table with an 8 foot ceiling height. If your ceiling is higher than 8 feet, mount the chandelier an additional 3 inches higher for each foot of ceiling.
Turn On Power and Test It Out!
This is the fun part! Now you can add the light bulbs. Return to your electrical panel and turn the power back on. Step back and admire your hard work!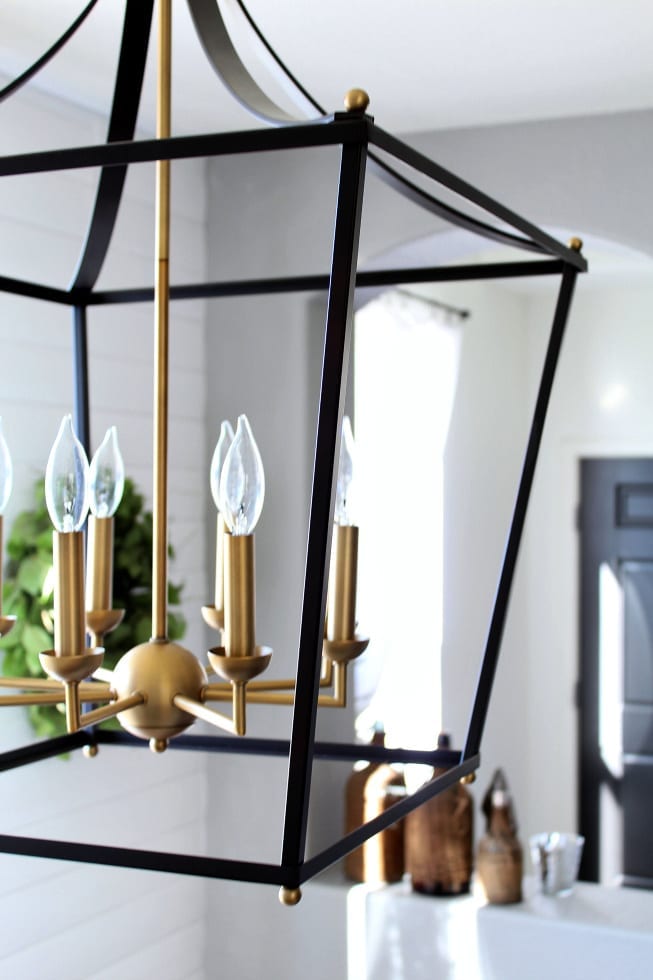
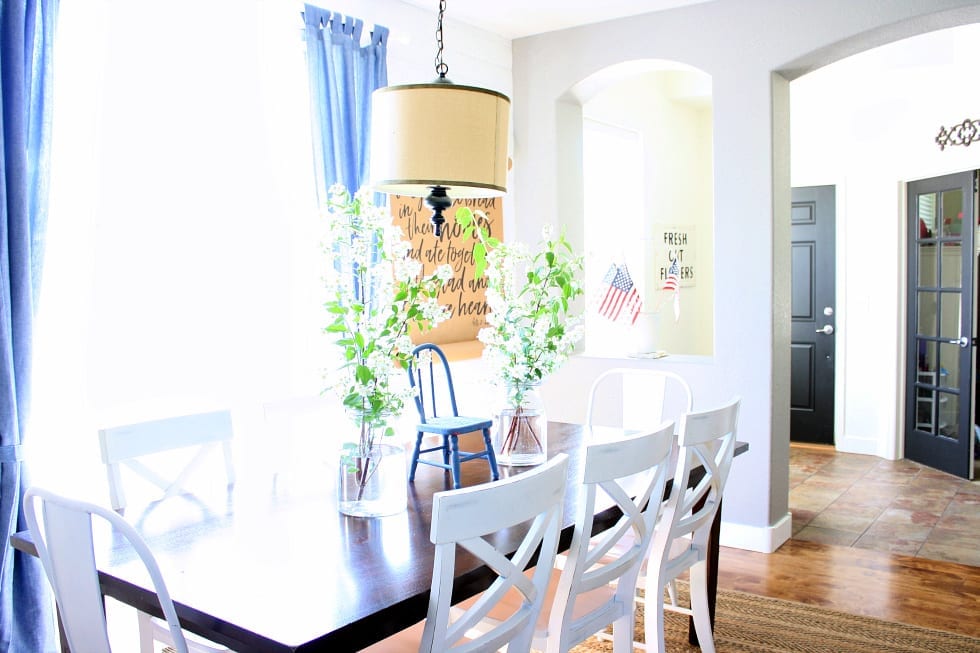
Before
After
You Can Do It: A Beginners Guide to Hanging Your Own Light Fixtures
Adding new lights fixtures to your home is one of the easiest ways to update your home and add instant character. It’s also a great way to make your builder grade home stand out from all the others. The best part is that even a beginner ( like me) can hang their own light fixtures! After I changed this light fixture in my dining room I felt incredible! Good luck, have fun and let me know if you have any questions!What did you think of my beginners guide to hanging your own light fixture?
xoxo,
Kelly
Did you like this post? PIN it for later!


Thanks Kelly
I’ve never dared to try!
You bet! I learned it all from the talented Tracy!!!
Way to go! Love that new lantern!
Well I owe you a lot of credit for teaching and helping me!!!
These look great. I never tried before but now I will surely do. Your lantern is lovely too
Beautiful lantern! I’ve been deliberating about updating my lighting fixture over our kitchen table, and this post is nudging me more in that direction. 🙂
Thank you! You should…I feel like it has changed our home and dining room so much. I changed the one in our kitchen too! SO easy and so fun!