

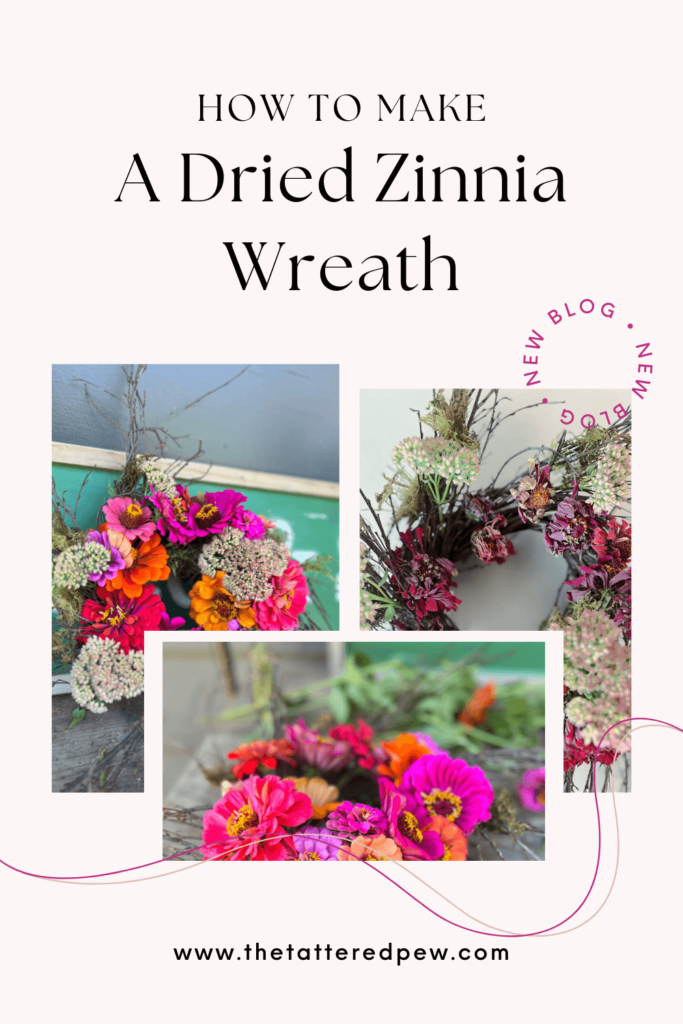
How to Make A Dried Zinnia Wreath

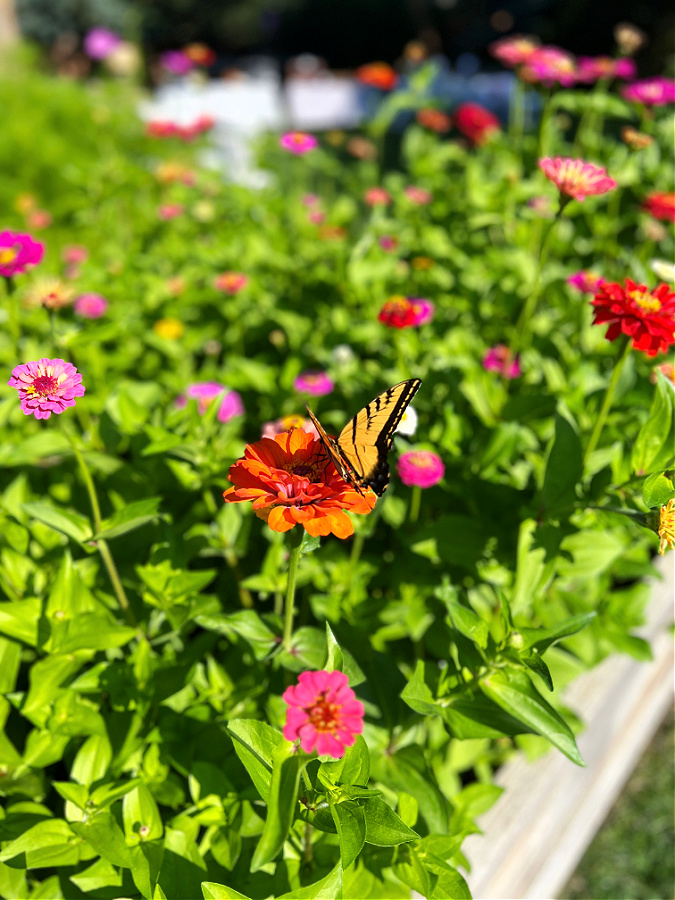
It’s no secret that zinnias have quickly made their way to top of my list of favorite flowers. I am constantly looking for new ways to use them beyond the garden. Today, I’m here to share a delightful and oh-so-easy project that’s perfect for adding a touch of nature’s charm to your living space. We’re going to dive into the art of creating a stunning Dried Zinnia Wreath using those vibrant jewel-toned zinnias from your garden, along with a few other natural elements.
And the best part is it will take you all of 10 minutes to accomplish! So, grab your gardening shears and let’s get started on this creative journey!

*As an Amazon Associate, I earn from qualifying purchases. This post contains other affiliate links too for your convenience. Click here to read my full disclosure policy.
Materials You’ll Need:
- Fresh zinnia flowers in jewel tones
- Moss
- Cut sedum (or other filler you might have)
- Wispy grapevine wreath
- Gardening shears
- A sprinkle of patience and a dash of creativity
Step-by-Step Guide:
This wreath is one that you can experiment and have fun with! Don’t be afraid to add in flowers, take out flowers and rearrange as you go!
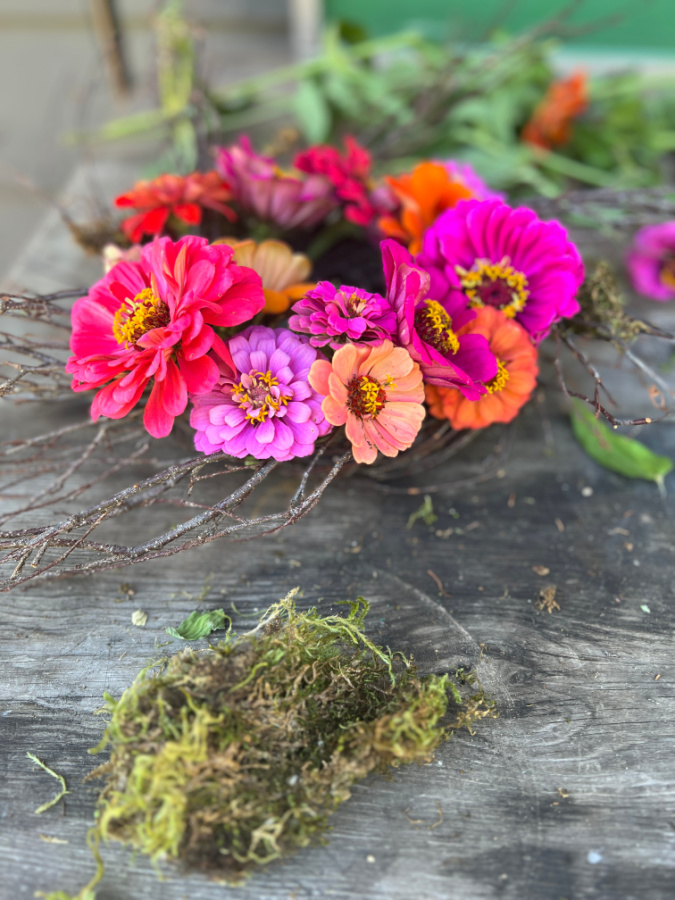
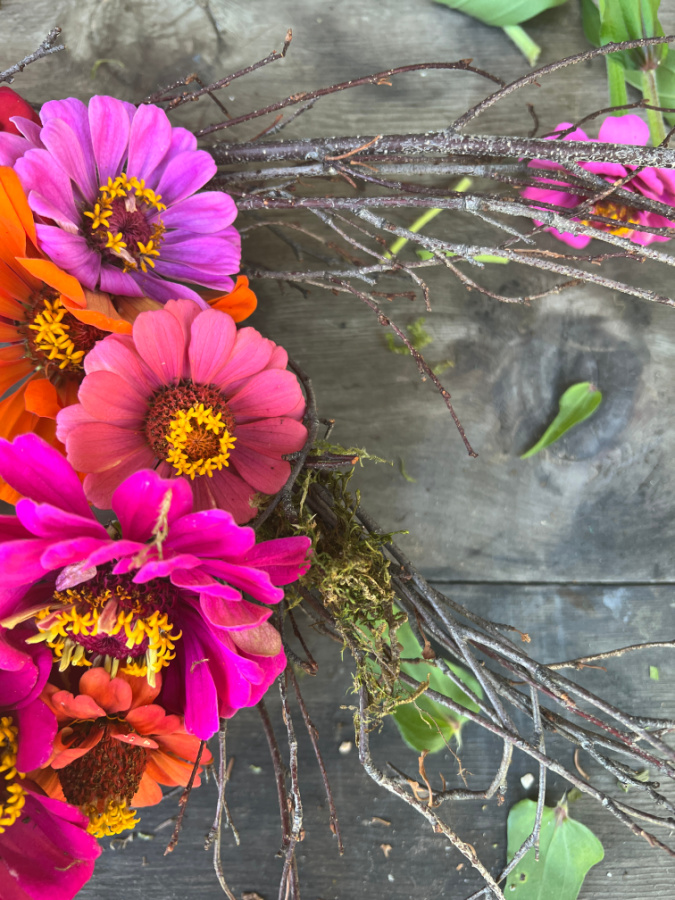
Any wreath form can work but I love the look of the wispy grapevine wreath and how you can just stick in your flowers and it will hold them.
Step 1: Harvest Your Zinnias
Start your creative venture by strolling through your garden and selecting the most stunning zinnias in those enchanting jewel tones. These will be the stars of your wreath, so go ahead and gather a handful of them.
Not only will their vibrant colors add visual appeal, but their petals will also bring a delicate charm to the finished wreath.
See my Lazy Girl’s Guide to Growing Zinnias E-Book for tips on how to easily grow your own zinnias!
Step 2: Prepare Your Workspace
Find a cozy nook where your creative energy can flow freely. Lay out all your materials within easy reach—your fresh zinnias, the wispy grapevine wreath, the lush moss, and the cut sedum.
Having everything ready will make the process smooth and enjoyable.

Step 3: Build the Base
Hold your wispy grapevine wreath gently but firmly. It’s the foundation upon which your masterpiece will come to life. Feel free to use a wreath form if you prefer, but there’s something enchanting about the organic feel of a grapevine wreath. It adds an extra touch of rustic beauty to the finished piece.
Step 4: Add the Zinnias
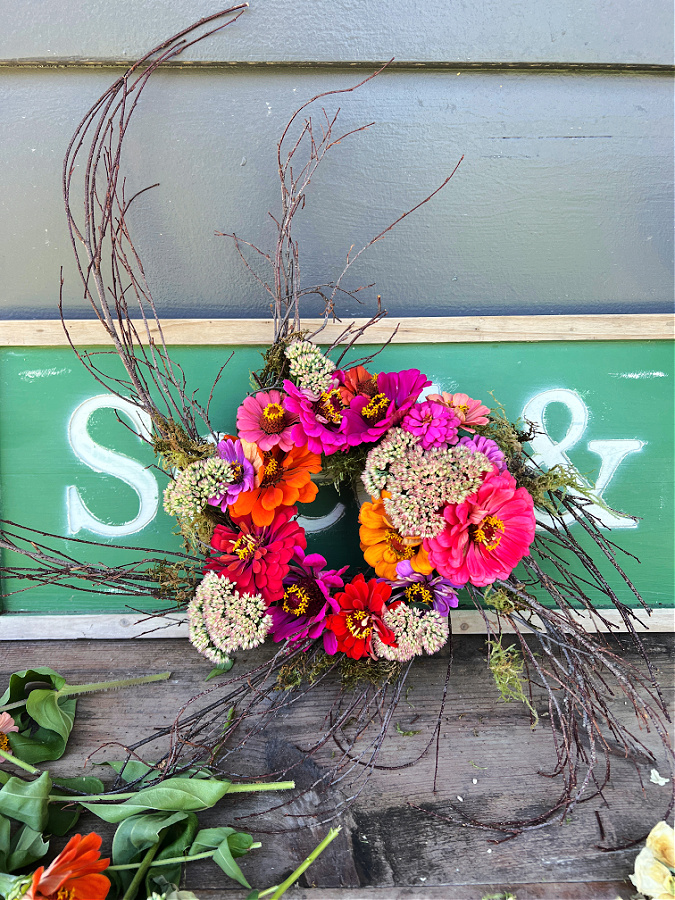
Take one of your freshly picked zinnias and position it between the twigs of the grapevine wreath. The naturally occurring spaces will hold the stems in place, securing the zinnia to the wreath. Continue this process, adding zinnias in a circle until you’re satisfied with the result. Lots of tucking and moving around. Let those jewel tones pop against the earthy backdrop. Don’t be afraid to layer the flowers on top of each other because as they dry they will shrink.
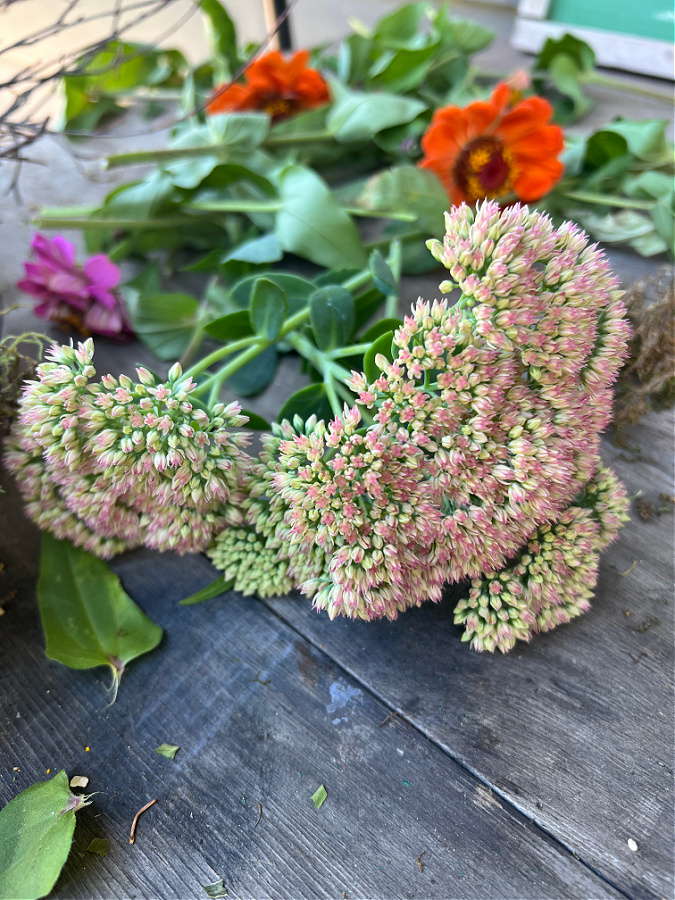
Step 5: Integrate the Sedum
Now, it’s time to introduce the cut sedum into the mix. Scatter these little treasures throughout the wreath, allowing them to mingle with the zinnias. The contrast between the delicate zinnia petals and the succulent sedum creates a dynamic visual that’s both soothing and captivating. Plus it dries beautifully! I was excited that my sedum was turning pink!
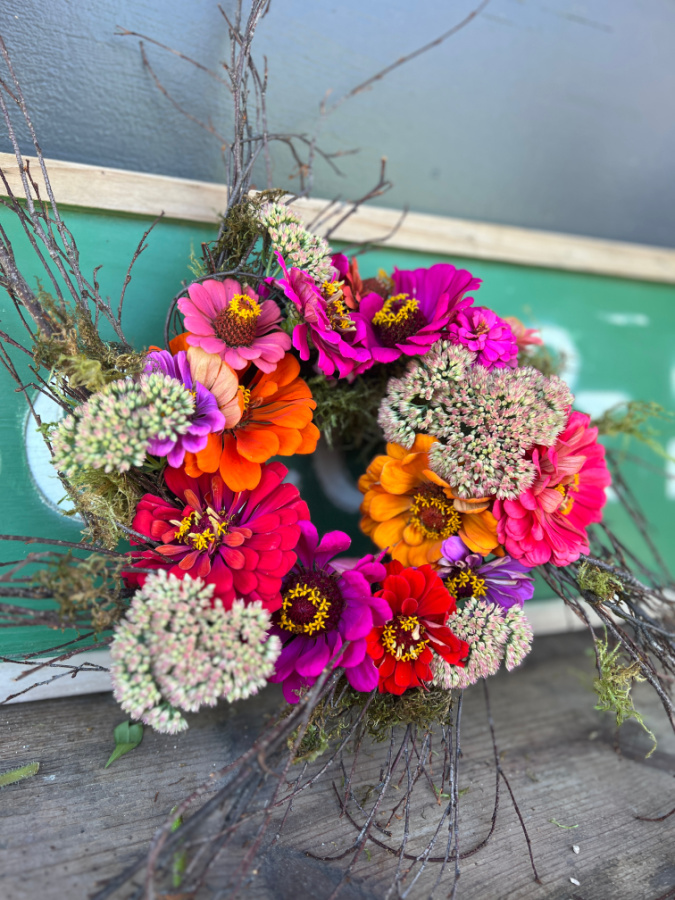
Step 6: Weave in the Moss
Bring a touch of wilderness to your wreath by weaving in strands of moss. This adds a soft and inviting texture that beautifully complements the zinnias and sedum. Simply tuck the moss into the crevices of the grapevine wreath, letting it peek through and create a sense of depth. Use as little or as much as you want!
Step 7: Let It Dry
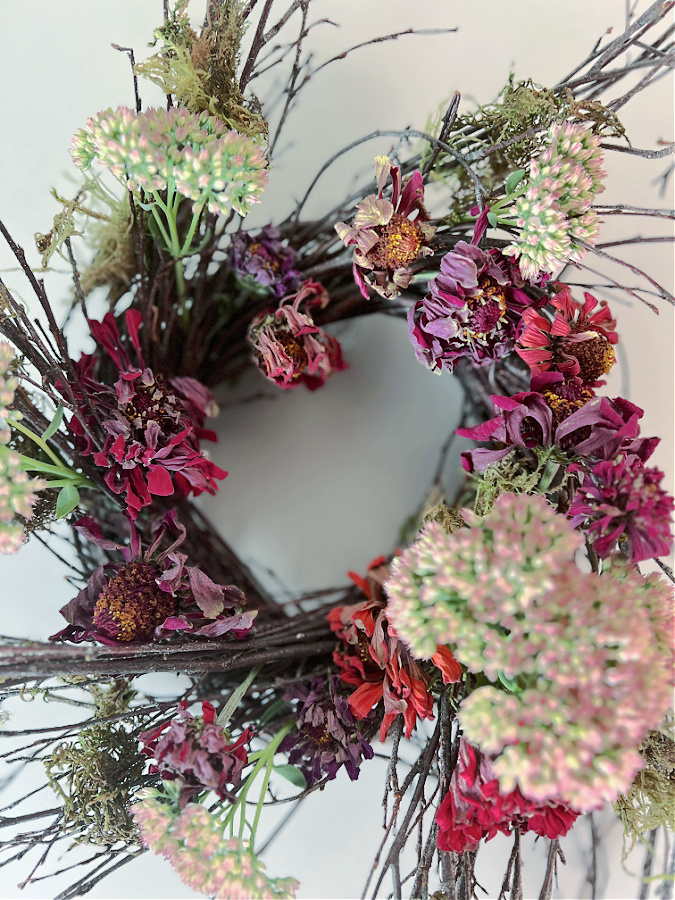
With the elements in place, find a cozy spot where your wreath can hang undisturbed for about a day. This allows the zinnias, sedum, and moss to naturally dry, preserving their beauty for months to come.
Step 8: Add the Finishing Touches
Once your wreath has thoroughly dried, return to it with a discerning eye. Some zinnias might have shifted or shrunk during the drying process, leaving small gaps. Fear not! This is your opportunity to fill those spaces with more zinnias. Gently insert them where needed, securing them in the grapevine twigs.
Or, leave it as is and enjoy its natural beauty!
Step 9: Find the Perfect Spot
Now that your Dried Zinnia Wreath is complete, it’s time to find its forever home. Whether it graces your front door, adorns a cozy corner of your living room, or hangs proudly on your patio, its rustic elegance will undoubtedly draw admirers.
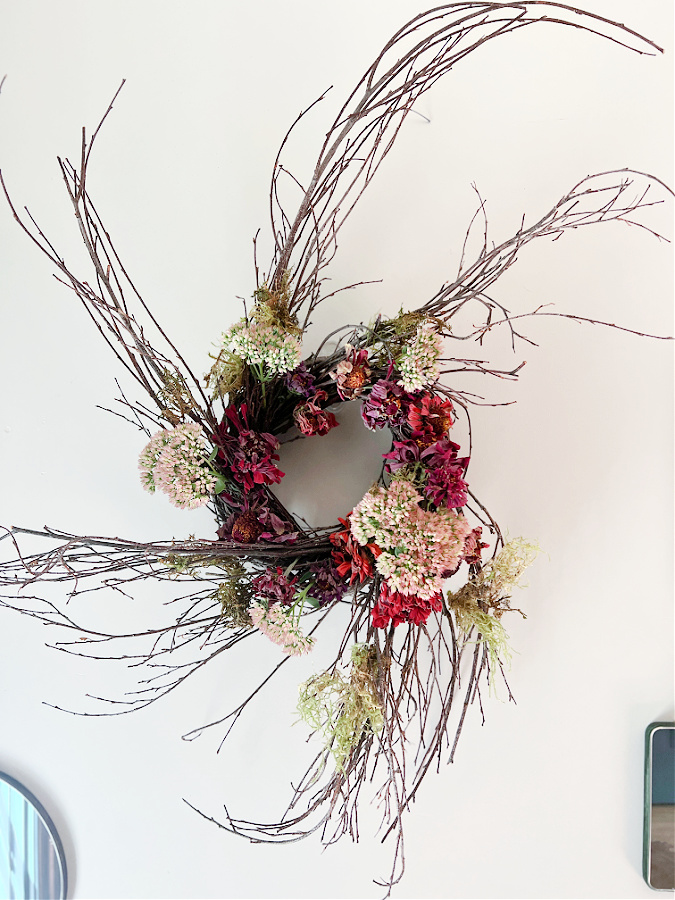
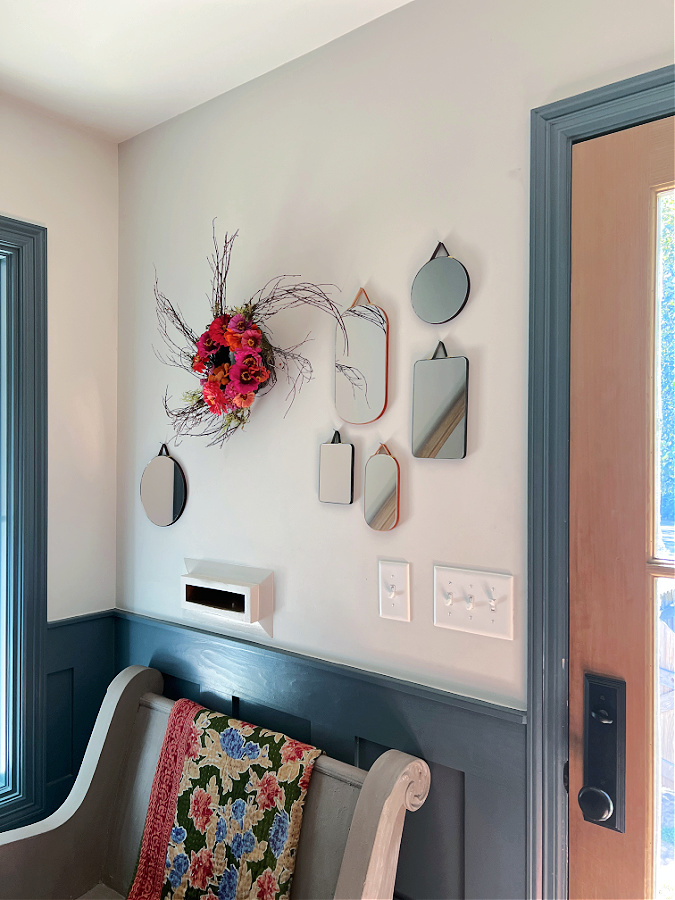
I hung ours above my pew in our entry in the center of my mirror arrangement!
Step 10: Embrace the Admiration
Stand back and admire your handiwork. The Dried Zinnia Wreath not only celebrates nature’s beauty but also your creative spirit. Revel in the fact that you’ve crafted something truly unique, and be proud!
And there you have it, friends! A simple and elegant way to capture the fleeting beauty of your garden’s zinnias and create a Dried Zinnia Wreath that will charm all who lay eyes upon it. Remember, crafting is all about embracing the process, so don’t be afraid to let your creativity flow freely. Happy wreath making!
FAQ – Dried Zinnia Wreath Crafting
Can I use zinnias that are not from my garden?
Of course! While using zinnias from your own garden adds a personal touch, you can absolutely use store-bought zinnias. Just ensure they’re fresh and vibrant for the best results.
How long will my Dried Zinnia Wreath last?
With proper care, your wreath can last for several months to a year. Keep it away from direct sunlight and excessive humidity to maintain its colors and integrity. If you want the color to last you can try placing your zinnias in silica gel to preserve their color!
Can I use a foam wreath form instead of a grapevine wreath?
Absolutely! Foam wreath forms provide a smooth surface for attaching elements like zinnias and moss. The choice between foam and grapevine is a matter of personal preference and style.
Should I remove the zinnia stems before attaching them to the wreath?
It’s generally a good idea to remove excess stem length before attaching zinnias. This makes the attachment more secure and prevents the wreath from becoming too heavy. But you do need to leave some of the stem so it can stick in to the wreath.
Can I add other dried flowers to the wreath?
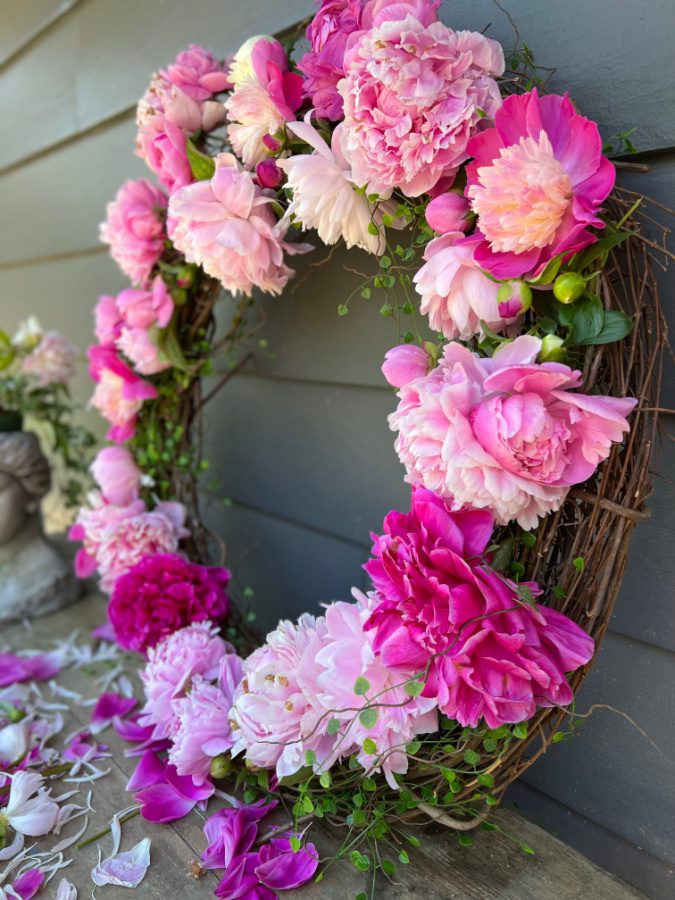
Absolutely! The beauty of crafting is your ability to customize. Dried flowers like lavender, baby’s breath, hydrangeas, peonies, or even dried leaves can complement zinnias beautifully.
How do I prevent mold from forming on the moss?
While moss can enhance the wreath’s appearance, it can also trap moisture. Ensure your wreath is in a well-ventilated area and not exposed to excess moisture, which can lead to mold growth.
Can I add a ribbon or bow to my wreath?
Definitely! Adding a ribbon or bow can provide an extra touch of charm. Simply attach it to the wreath’s frame, ensuring it doesn’t interfere with the wreath’s balance.
Can I hang my Dried Zinnia Wreath outdoors?
While the wreath is designed for indoor use, you can hang it outdoors in a sheltered area, such as a covered porch, where it’s shielded from direct sunlight and harsh weather conditions.
What’s the best way to clean a dusty wreath?
Gently use a soft brush or a hairdryer on a low, cool setting to remove dust. Avoid using water, as it can rehydrate the dried elements and potentially lead to mold.
Can I make a Dried Zinnia Wreath with artificial zinnias?
Absolutely! If you’re looking for a longer-lasting option, artificial zinnias can be a great choice. Follow the same steps, and you’ll have a wreath that can be enjoyed year-round.
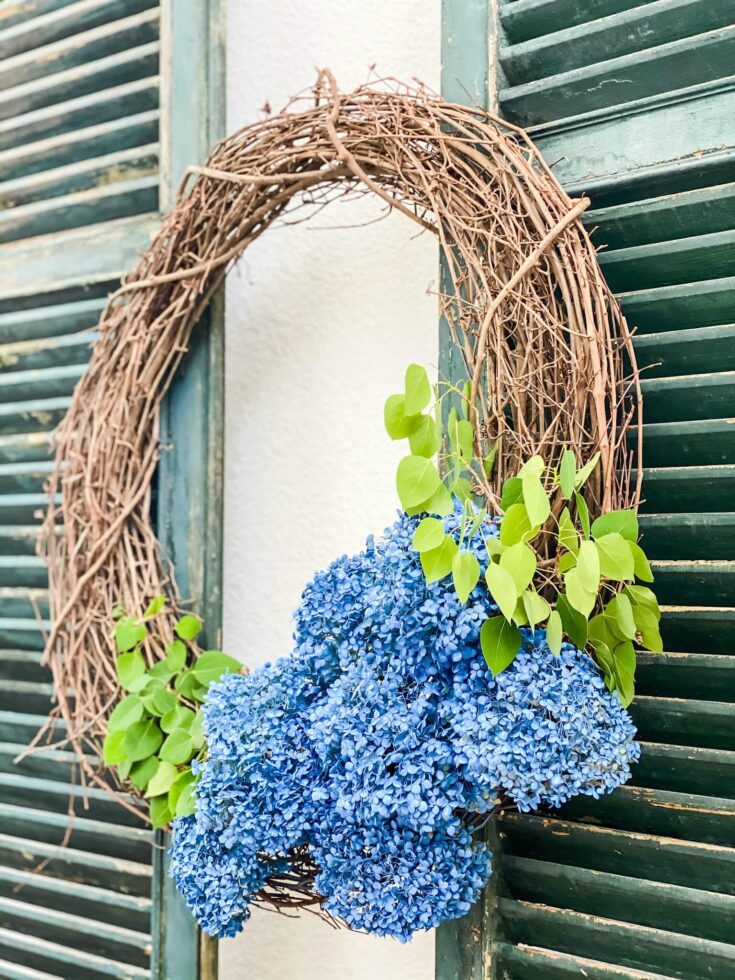
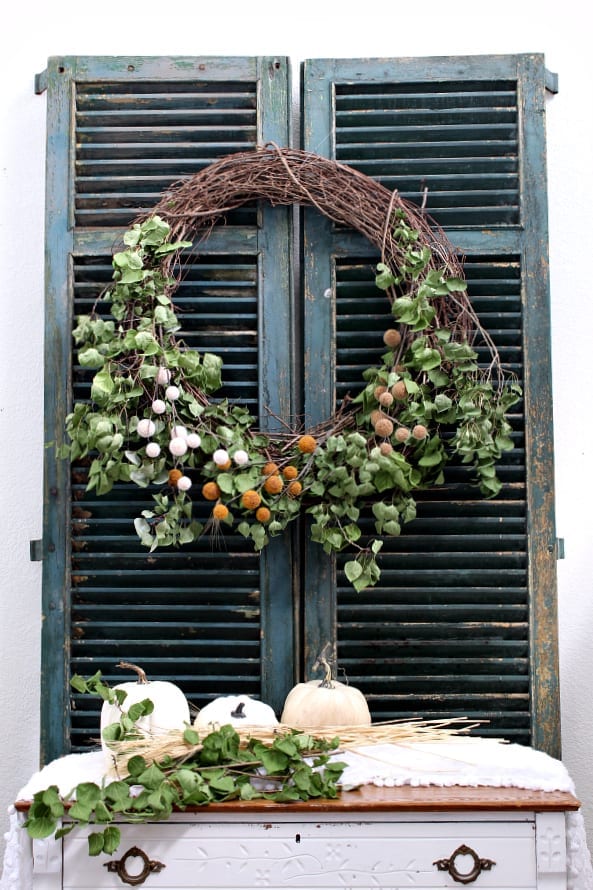
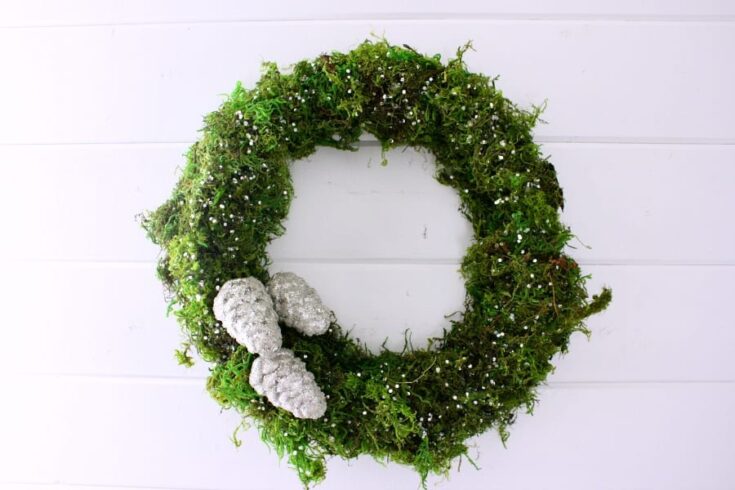
More DIY Wreaths
Check out these other wreaths decorated with flowers!

I’d love to have you hang out with me some more! Feel free to follow along with me on any of the platforms linked below.
LTK | Facebook | Instagram | Pinterest | Amazon
xoxo,
Kelly
Did you like this post? Pin it for later!

Kels, This is gorgeous!!!
Yay I’m so glad you like it. You are the wreath queen so this means a lot coming from you!!!
Looks real nice, but not something I could do
I bet you could! The wreath makes it so easy!
This is so simple and stunning!
Thank you, Mom!
I love this Kelly! And it looks so stunning in your entryway for fall. Can’t wait to share this on my Saltwater Sounds post on Sunday.
Thank you, Kim!
Kelly, now I need to grow some zinnias. This is beautiful and looks simple enough for me to do it. Thank you for sharing.
Thank you Mary! You definitely need some zinnias in your life!
Kelly this wreath is so pretty. Finally getting back in the groove. It’s berry a tough haul these past few months.
Thank you Cindy! Ill be praying you continue to find your groove!
Oh my goodness, Kelly. This is absolutely gorgeous! I’m excited to be sharing your wreath in my weekly recap today.
Hope you had a fabulous weekend!
Thank you Jen you are the sweetest!