

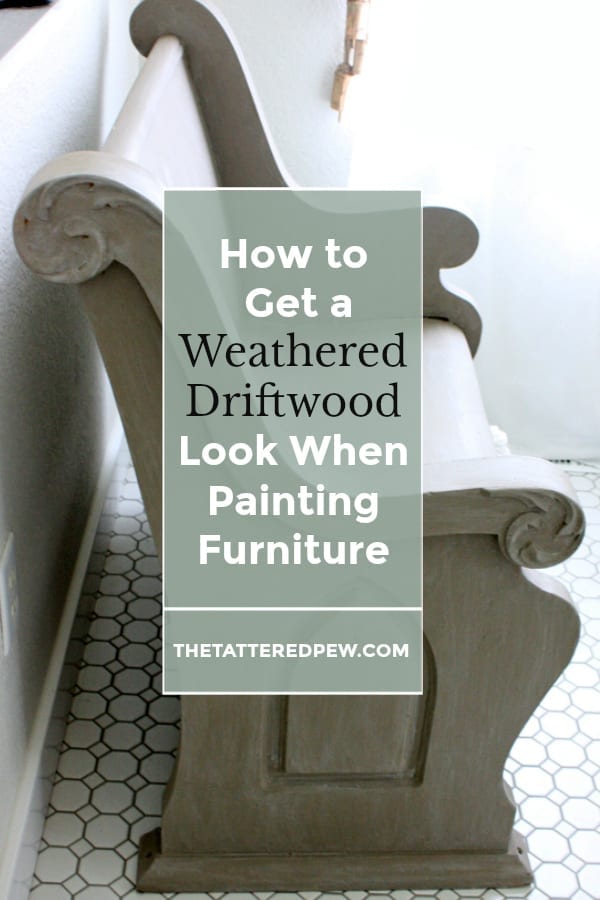
How to Get a Weathered Driftwood Look When Painting Furniture
Where are my furniture painting friends at? Today I am going to show you how to get that weathered driftwood look when painting furniture. So start brainstorming something to paint because this technique is super easy to achieve, very quick and one I promise you can’t mess up!
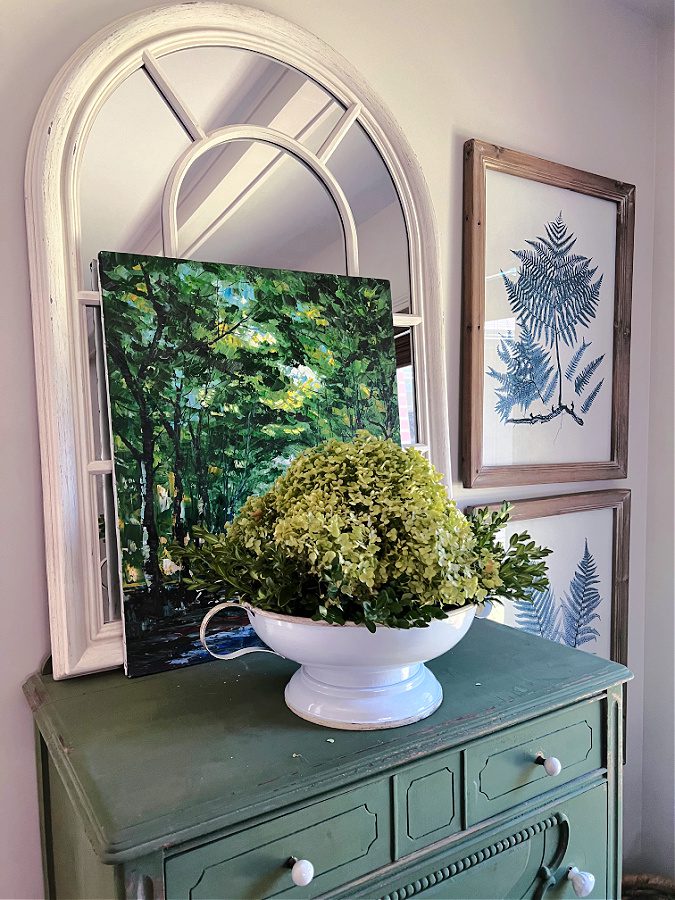
If you have followed me for awhile now you know I love to paint furniture. Two of my all time favorite painted furniture projects were this green dresser and this white lowboy dresser. Well today I am adding a new favorite piece of painted furniture…my Tattered Pew that lives in our entryway! The pew that started it all. 🙂
To Paint or Not To Paint
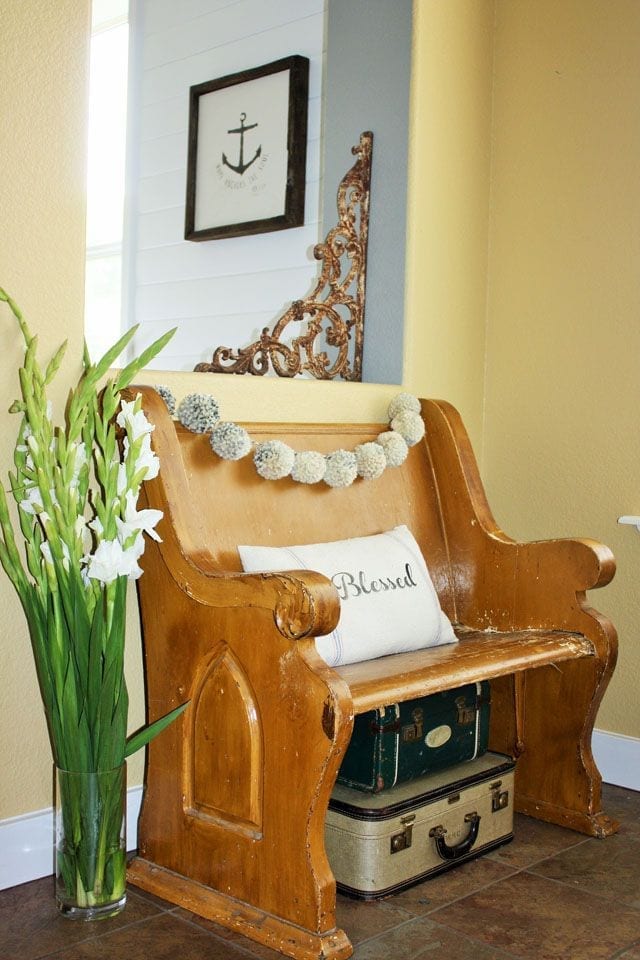
I swore I would never paint it. I’ve had it for over 5 years and left it alone. That’s huge for me! But then I got the itch. You know, the itch to switch. The itch started when we were making over our entryway this past fall. I just knew the yellow paint on the pew in our newly tiled entry would look dingy and tattered. I was right…it needed some love!
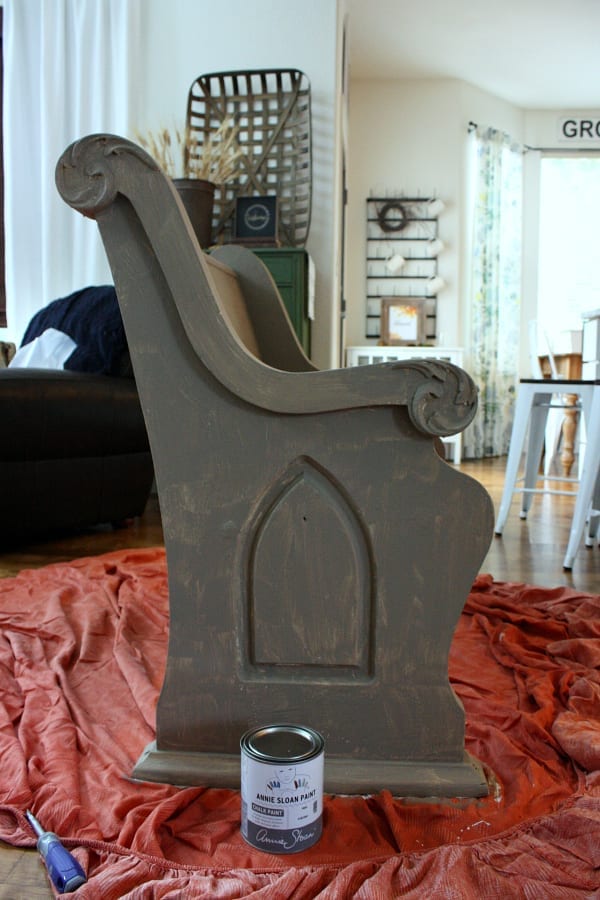
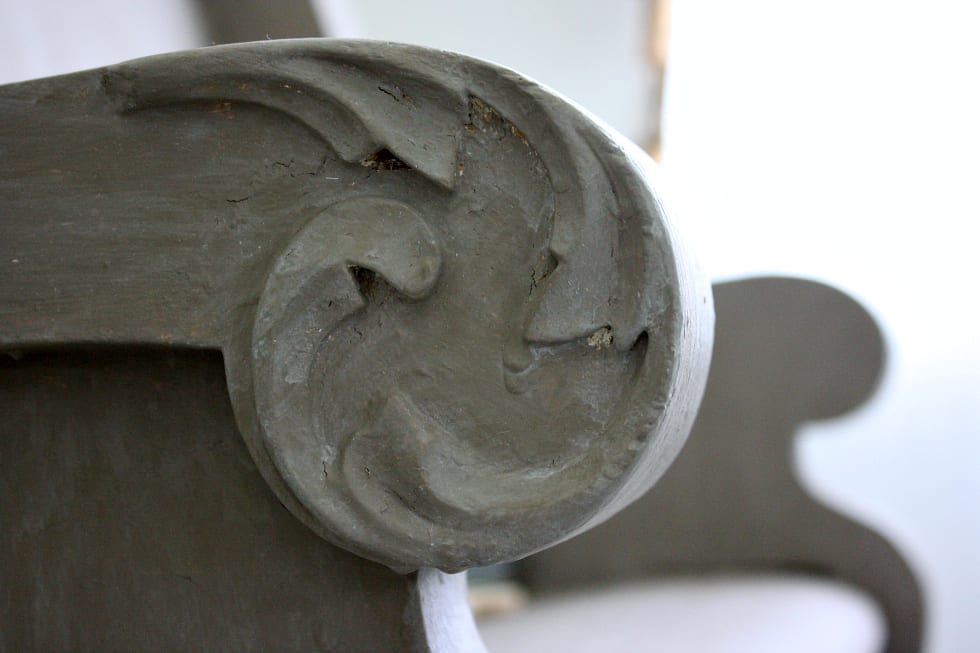
Here is the pew before:
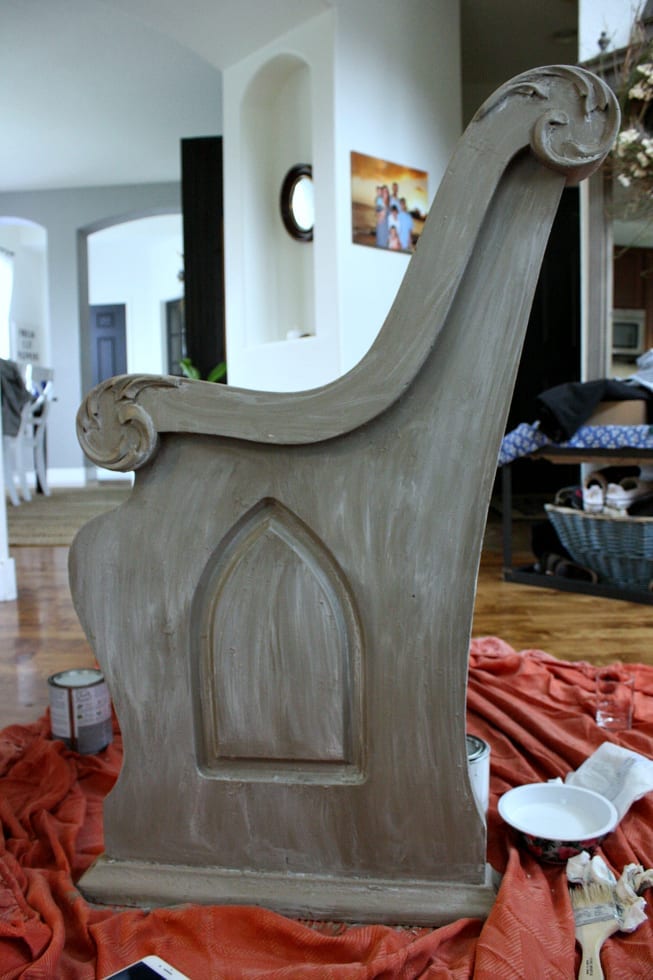
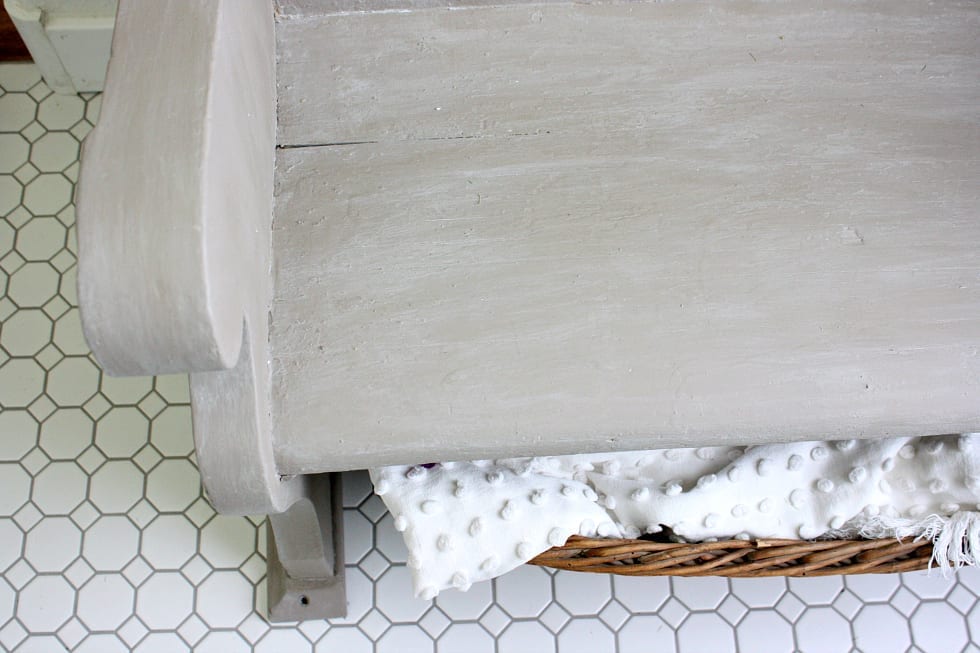
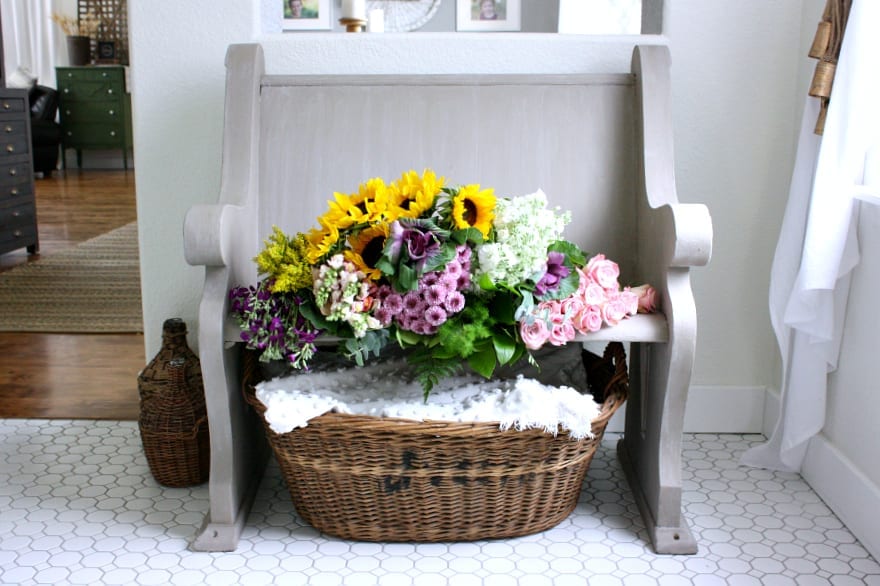
and the after with that gorgeous driftwood look…
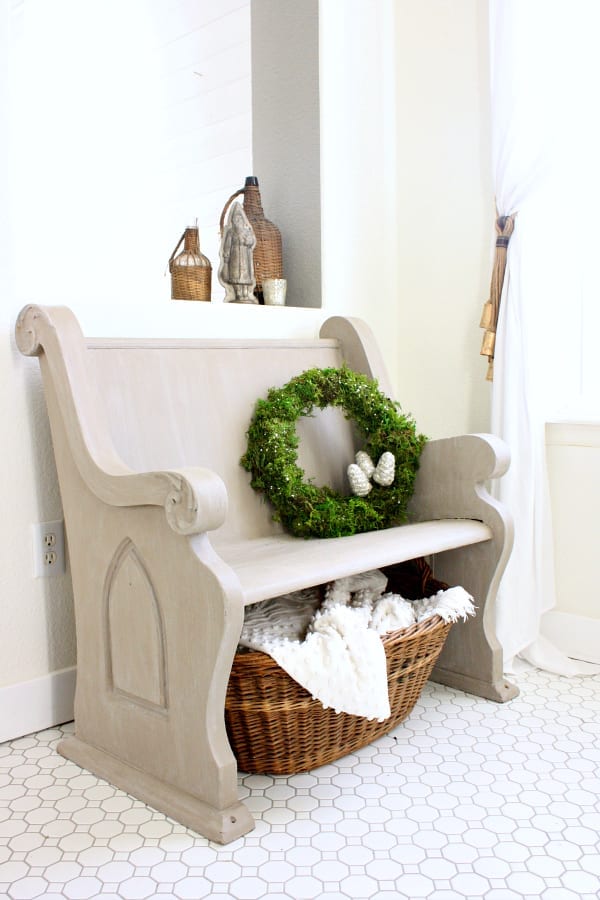
Oh goodness gracious I just love how it turned out! So clean and just the right amount of that gray beachy and weathered driftwood look I was hoping for!
Here Is What You Need for the Weathered Driftwood Look When Painting Furniture
- Annie Sloan Coco paint
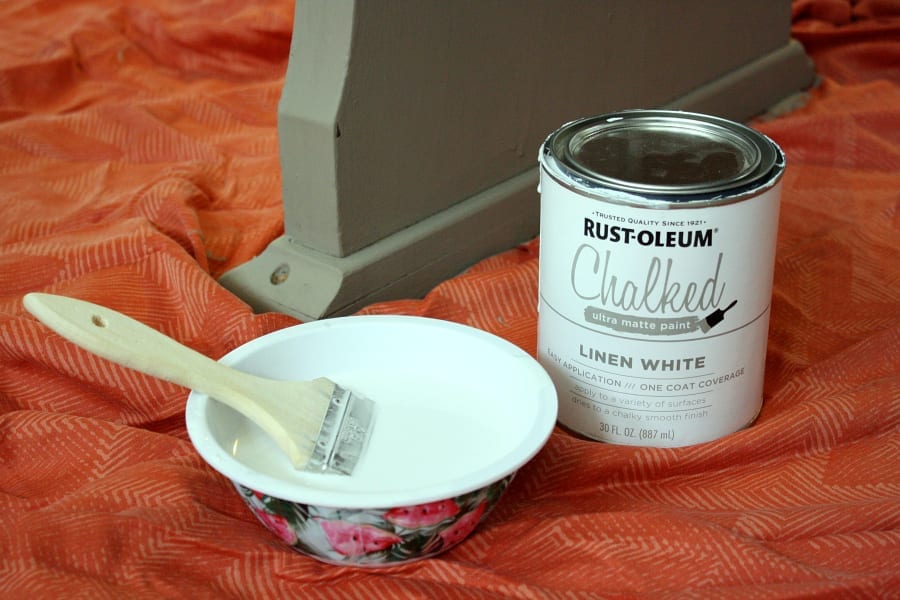
- Rust-Oleum Chalk Paint in Linen White
- Annie Sloan soft wax (clear)
- paint brushes
- drop-cloth or old sheet
- water
- disposable bowl
- a few old rags
- a piece of furniture
How To Get the Weathered Driftwood Look
Let me walk you through the process of how to get the weathered driftwood look!
Step One
Prepare your piece of furniture. Originally I thought I would have to strip the paint off of my pew but after several failed attempts, as well as some impatience on my side, I decided to just paint over it. Annie Sloan chalk paint to the rescue…no sanding necessary! The pew had way too many coats of paint and stain.

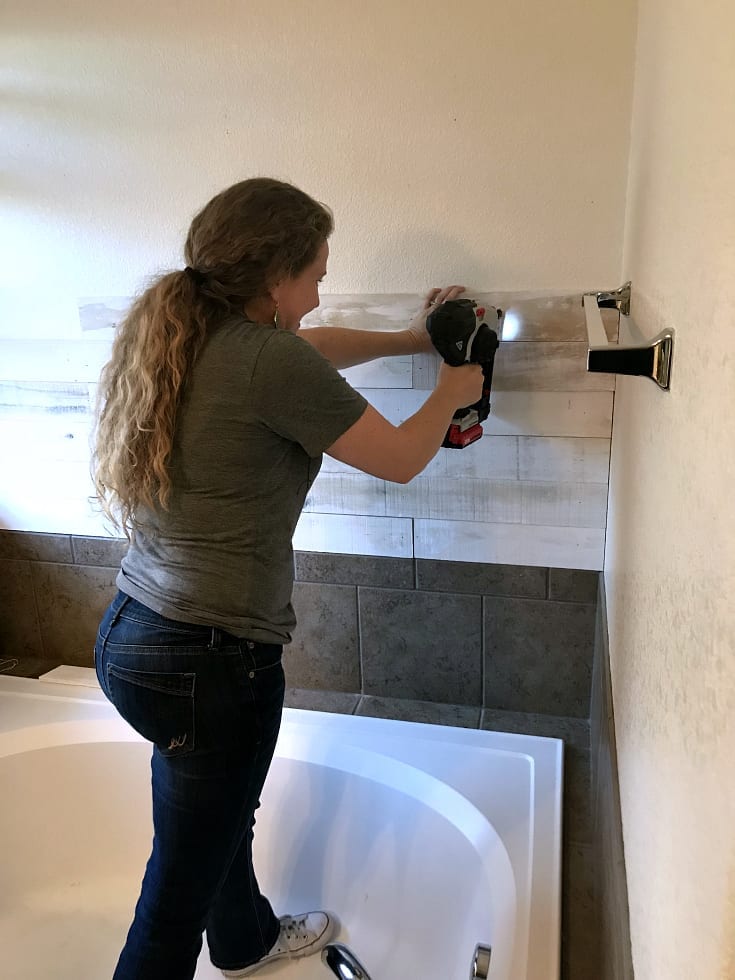
As you can see in the picture above I tried stripping it with several strippers and nothing seemed to fully work. So I pulled out my heat gun from Home Right. It did work but would have taken me 12 years to strip off all the paint on my little pew using the heat gun. I didn’t want to wait that long! Remember I have a bit of patience issue? 😉 Luckily chalk paint works on any surface so all I really did was wipe her down.
Step Two
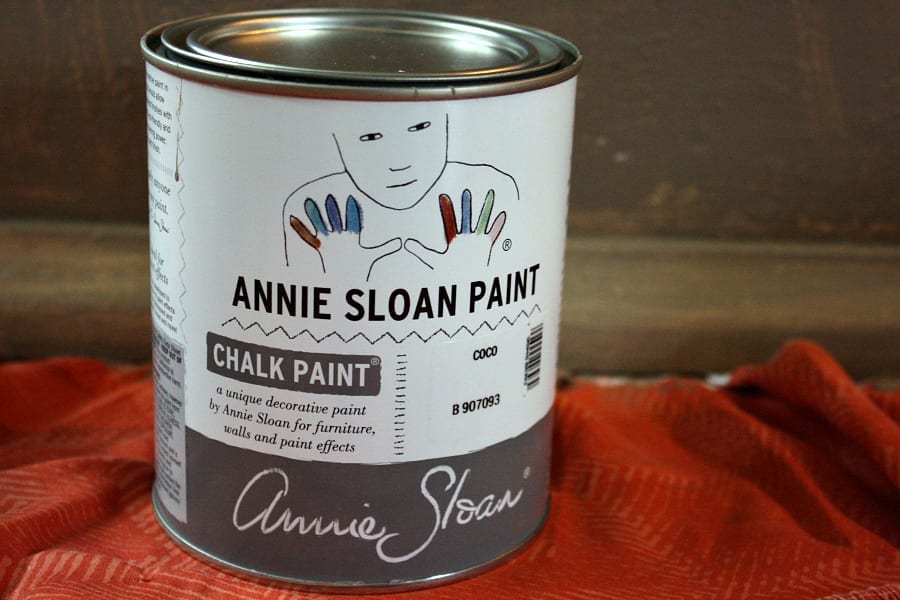
Next I laid an old sheet out on my floor and placed the pew on top. I then painted on two coats of Annie Sloan Coco chalk paint. I let this dry over night. It was pretty on its own!
Step Three
Once the pew was dry I added a very little amount of Rust-Oleum Linen White paint to a bowl and mixed it with a little bit of water.
I wanted it very thin so it would be more of a white wash and allow the Coco paint color to show through.
After mixing it and stirring it I decided to try applying it. I did have to play with the consistency a bit to get the white wash look I liked. Don’t be afraid to add more paint or more water to get your mixture to what works for you!
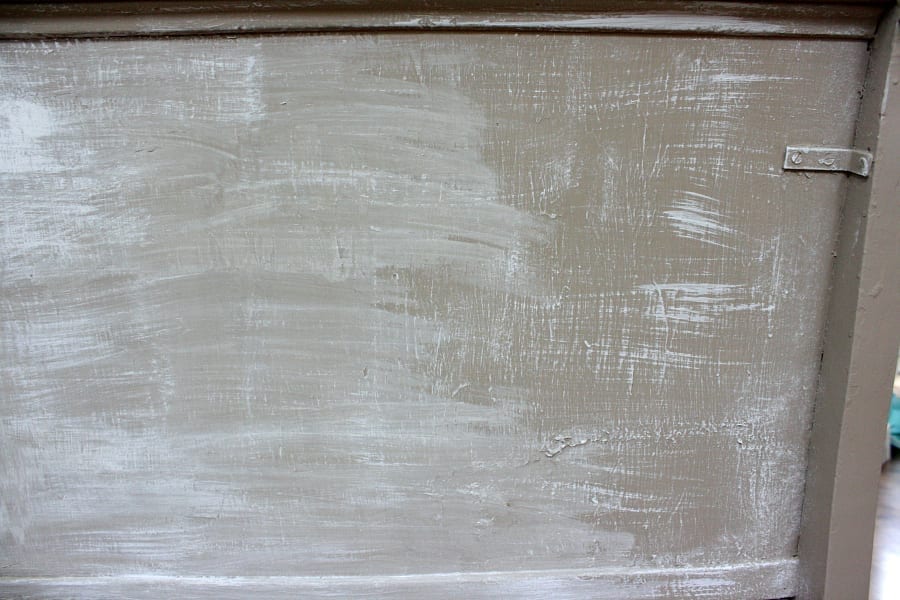
At first as you can see in the picture below on the right side of the pew I barely had any water on the brush and more paint. This was more of a dry brush technique and not what I had envisioned. I didn’t like that look so I decided to add more water. It ended up being about one part paint and three parts water for me to get that desired weathered driftwood look.
Test It Out
Once I had my mixture figured out I tested it in a few inconspicuous spots on the back of the pew. Then I began painting small sections and using a rag to wipe any remaining paint off and to blend it.
I wanted the paint thinner with just a hint of white. So adding more water and applying it heavier was the key. The result is what you see on the left side of the pew and the look I was going for. More of a white washing and cloudy look and what I like to call a weathered driftwood look. I was able to control the amount of the watery paint mixture by wiping it off and adding more when needed.
A lot of trial and error.
I had fun playing around with the paint, water and rags and not having to worry about making any mistakes. It was easy to wipe off any “mistakes” I made or areas that had too much white. Ultimately I ended up going heavier on the white paint in the crevices and the sides of the pew. I did this by not wiping those sections off as much with my rag which I felt added more character. Being able to add my own personal creative touch was so freeing!
Step Four
The final steps is adding the wax as protection and as a sealant. Apply the wax once your paint is fully dry. You can use either a rag (which I did) or a wax brush. If you are nervous about using wax I totally understand. I was my first time too. Luckily there are wonderful instructions on the back of the can it comes in. Plus you can always google it, right?:)
Loving the Weathered Driftwood Look
The pew turned out better than I had hoped! I was nervous I would never get to even paint her after I discovered how many coats of paint were already on her. Now I am all about this weathered driftwood look when painting furniture.
What do you think? Do you like the weathered driftwood look I achieved with painting and are you thinking of giving it a try? If so let me know. I love to connect with my readers. Also, if you have any questions or painting tips for me please share those as well. I always answer every comment left below!
Happy painting,
I’d love to have you hang out with me some more! Feel free to follow along with me on any of the platforms linked below.
LTK | Facebook | Instagram | Pinterest | Amazon
I love how it turned out! That color is so pretty, it would look good on so many things. Thanks for the tutorial, I may be painting something soon.
Thank you…it came out better than I had even hoped for. Thanks for reading and have fun painting!
Love,love,love! I didn’t think your entry could look any better. Would not have thought to use the cocoa color to achieve this. Can’t wait to try it on our buffet. You have inspired me.
Oh my gosh you just made my day! Thank you! Have fun with your buffet…Id love to see it when you finish!
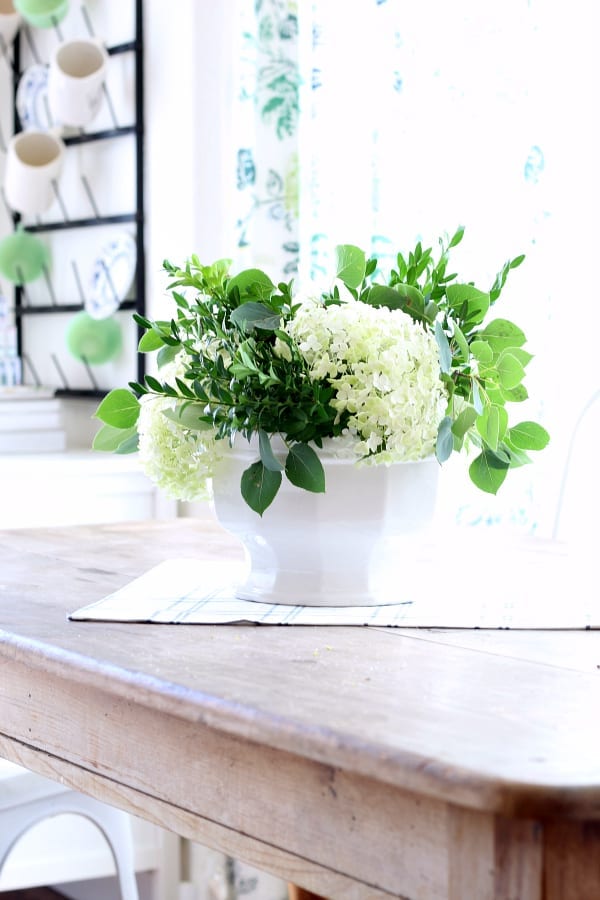
I love this! I have an old curio type cabinet that I stripped and stained at least 30 years ago. Although there’s nothing wrong with it I’ve always wanted to lighten and shabby it up a bit and I think I could just whitewash it as is and get a similar look. Thanks so much for explaining how! By the way – Those flowers and that basket are like icing on the cake!
Oh yes that sounds like the perfect project! I’m glad it was helpful. Let me know if you have any questions. I love the flowers too…they were from Trader Joe’s!
Looks great!!!
Thank you so much!
This turned out incredible! Love your color of choice too. I mostly go with woody tones, but cocoa seems like an innovative and creative color for the furniture. Thanks for the guide, I’m definitely going to try this trick on some of my old furniture I didn’t know what to do with.
You are so kind Katrina! I love it too and the best part is that it was so easy! I hope you try it and love it…let me know!
Kelly – love what you have done with this pew as it’s gorgeous. Coincidentally hubby and I bought a longer dark colored pew (has only one end) and it’s placed at the dining room table. As much as I love to transform furniture too, he won’t let me touch the piece! ha However, will keep this in mind with my next furniture find. Thanks for sharing and I will be subscribing to your blog for more decorating insights. Thank you again~
Julie you are the sweetest! Thank you so much for subscribing! It sounds like we have a lot in common:) I would LOVE to have a pew in our dining room but at this point ( I have 3) my husband said we might need to slow down! ha! He too was nervous about me painting it…but I assured him it would beautiful! I love that our husbands actually care and want to have input! Have a wonderful Sunday!
I love this look so much! It makes me want to transform a piece using this tutorial!
Thank you Jen! It was so easy and so fun!
Hi! This is the first time I have seen your blog and found it while looking for ways to paint the weathered wood look. I have a pew that is very similar to yours and have wanted to paint it but cannot visualize how it will look. Your pew post is perfect! My little pew has never been painted so I don’t know if I should just paint it or do another technique. Your way seems straight forward and easy to rework if I mess up. I will be following along with you and enjoy seeing what lovely projects you share.
Hi Cecilia! I’m so glad you found me. I love that you have a pew too. I promise this way is super easy…perfect for a beginner just starting on furniture. Please let me know if you have any questions!