

Old Dresser Makeover Using Milk Paint
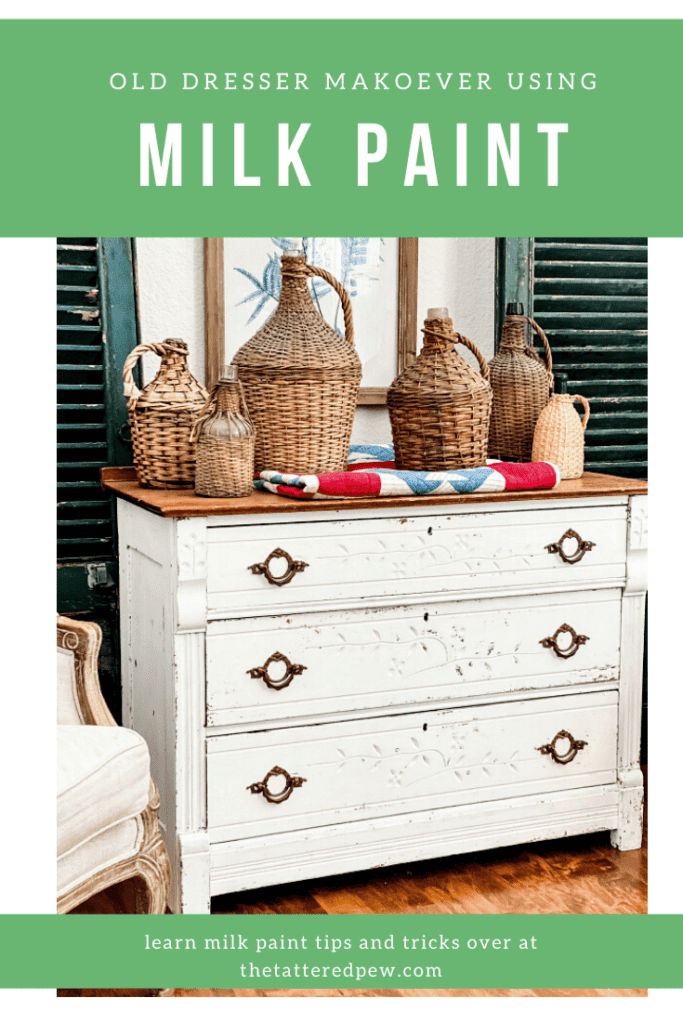 I have officially caught the furniture painting bug and I can’t wait to show you this old dresser makeover using milk paint!
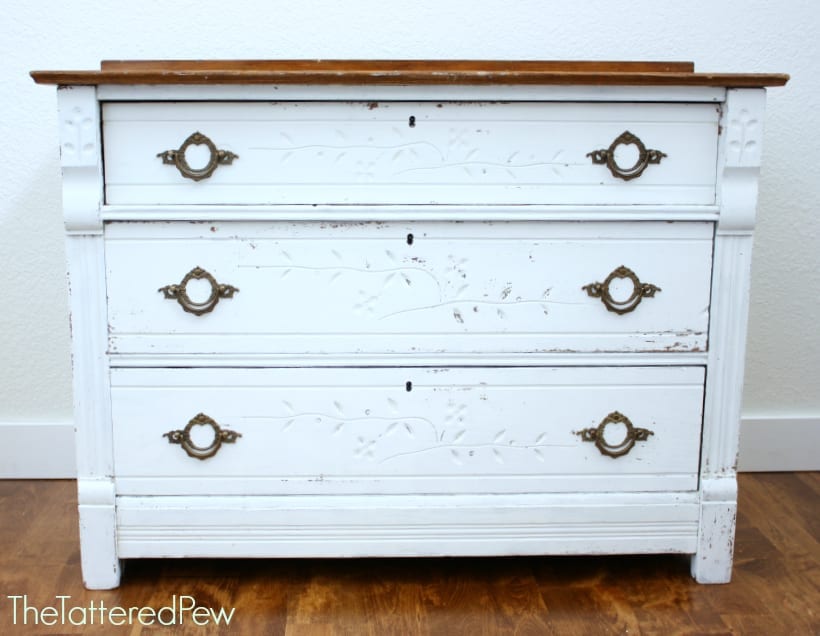
My Project
After falling in love with my last dresser makeover that I painted Boxwood Green (see that one HERE) I knew I needed another furniture painting project! I wanted to see if I would enjoy the painting process as much as that one.
So, I began scouring Facebook Marketplace and low and behold, I found another old dresser with absolutely gorgeous details and for only $40!
I snagged it up and can now say I am officially hooked!
The Old Dresser
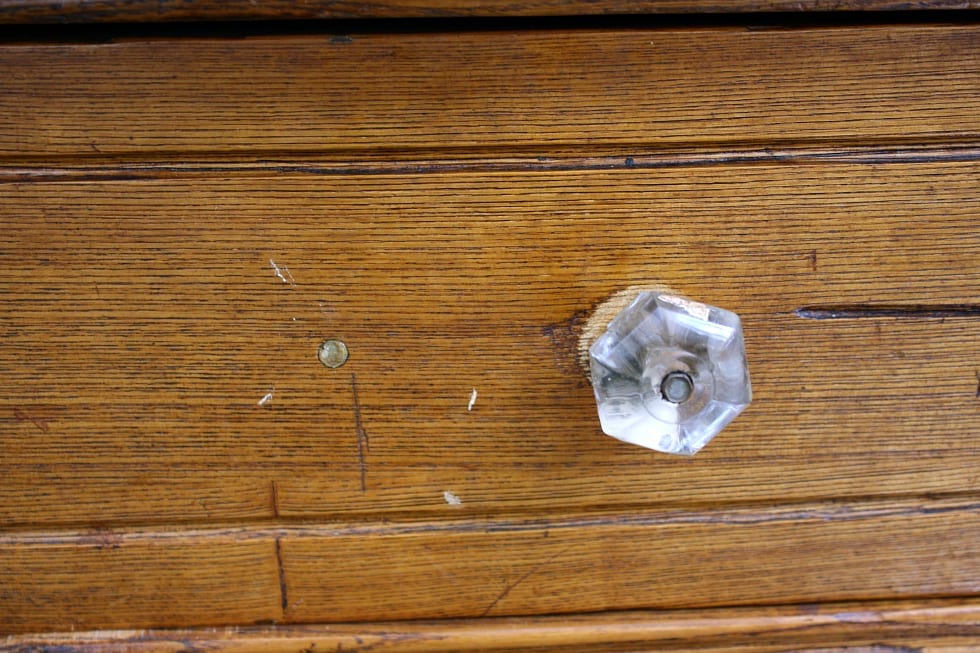
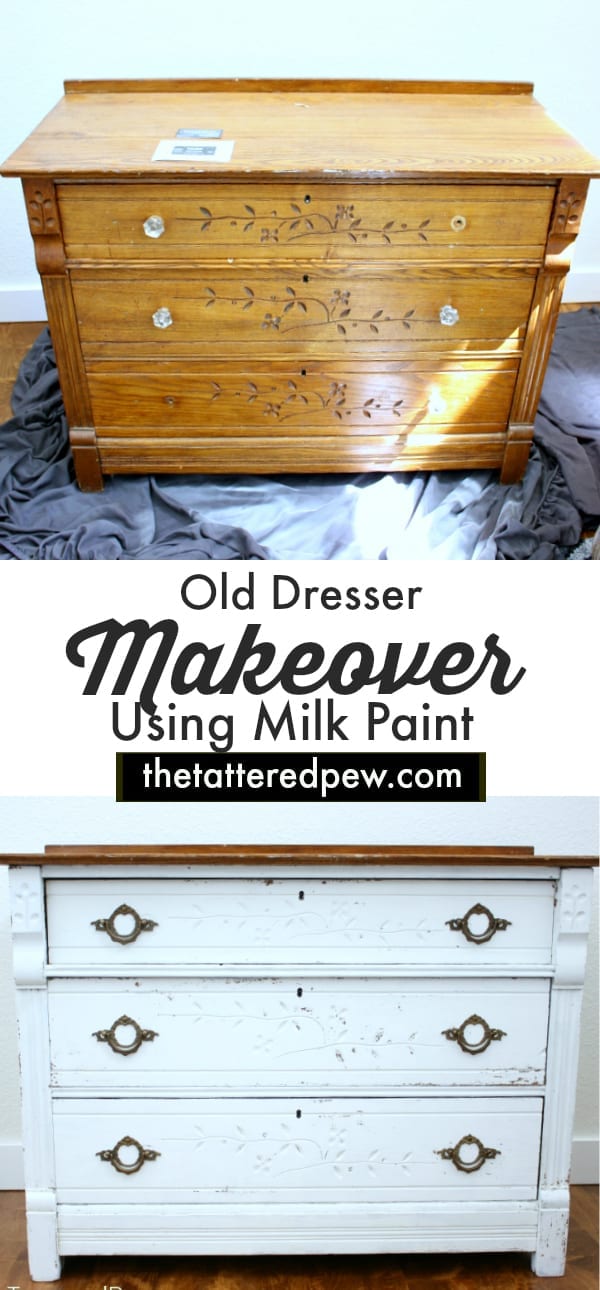
Here is what she looked like before I got my hands on her. She was pretty but was dull, dingy and missing a few knobs. She needed some TLC for sure!
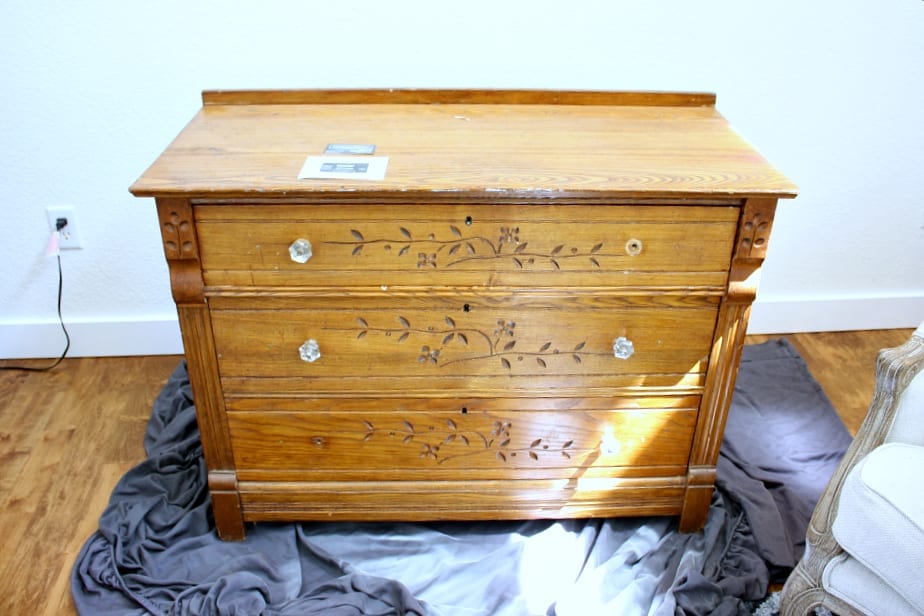
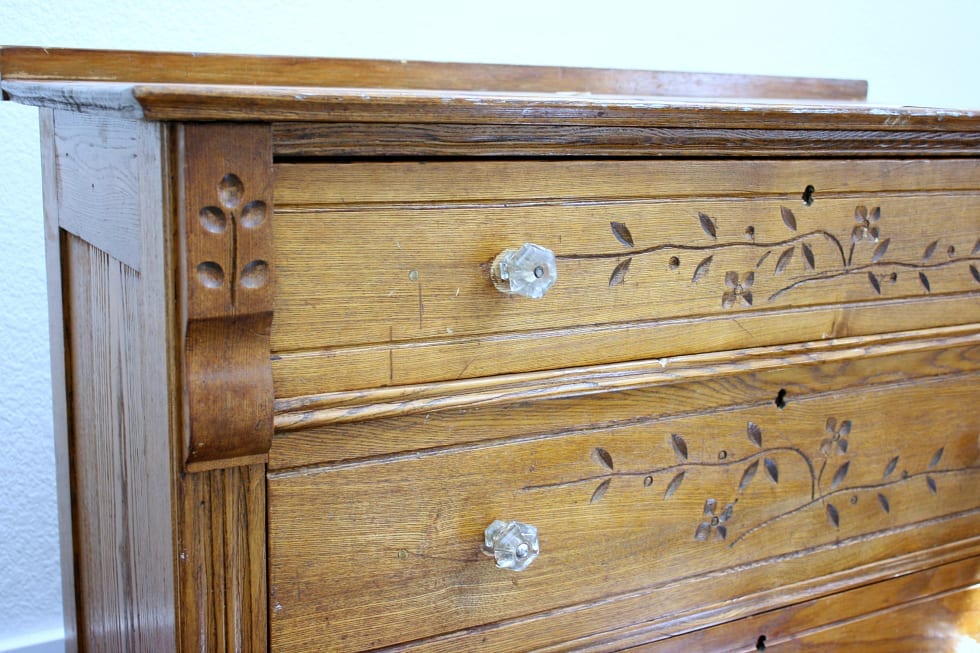
Below you can see that the original hardware was replaced with these knobs. They were added and the the original holes were filled in with wood filler. I was excited to bring back pulls that looked more original to the piece.
The Paint and the Prep
Lately I have been drawn to milk paint. I love that you don’t necessarily have to sand your furniture before using this paint and that milk paint can chip and bring an instant vintage vibe with its soft texture.
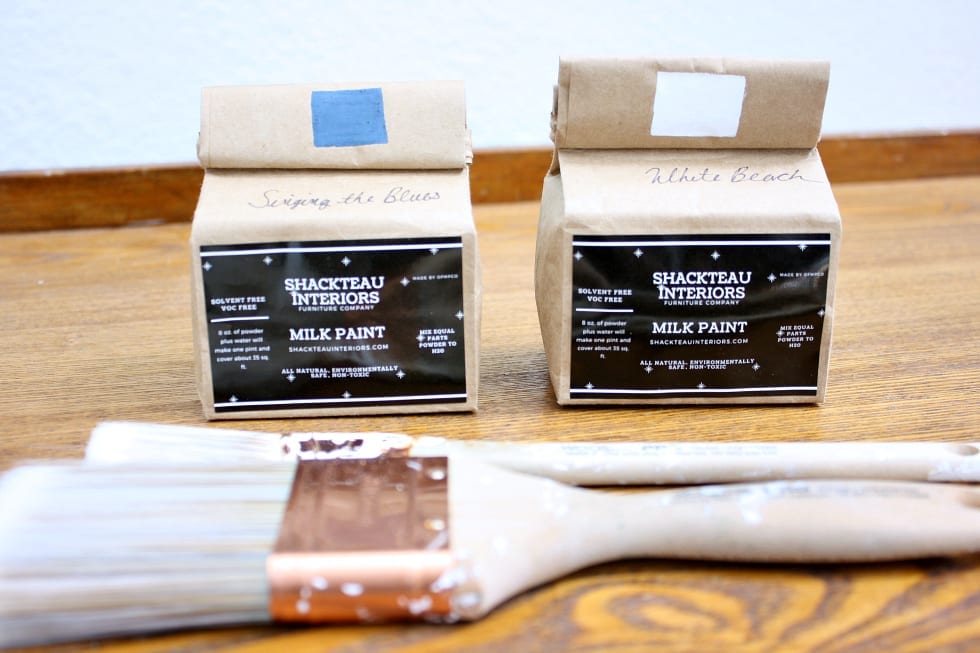
There are so many different brands of milk paint out there. I was lucky to connect with Kristen of Shackteau Interiors over on Instagram and she sent me some of her milk paint to try out. White Beach is the color I chose for this dresser and Singing the Blues for the little chair on the dresser (which you will see below).
Once I received her paint I was thrilled to see that it was non-toxic, biodegradable, and odor free when dry! That’s why I was able to paint the piece inside my house with no problems! Love!
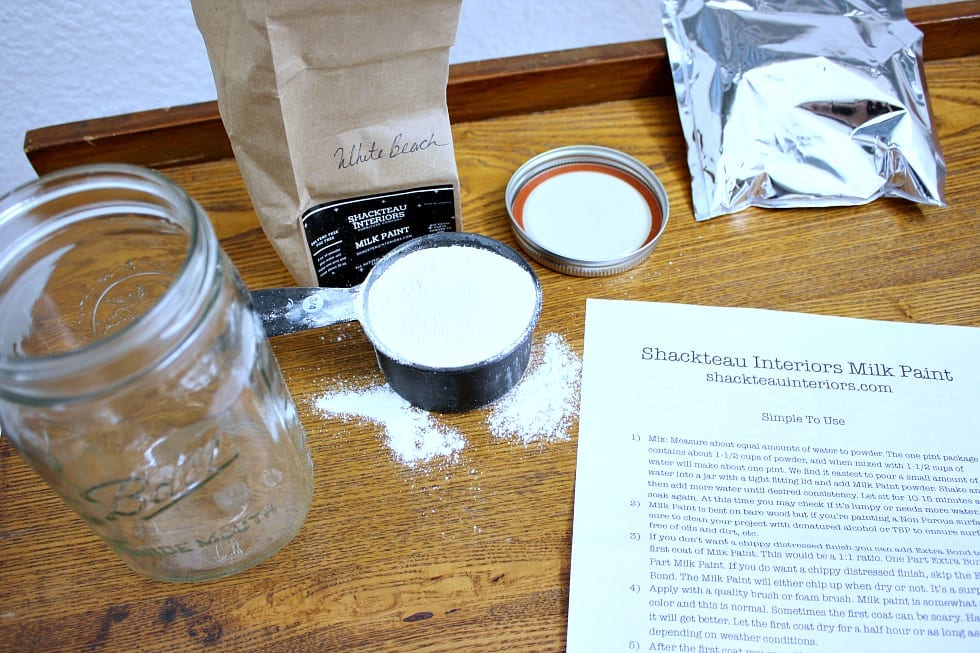 When her paint arrived it was packaged in these darling bags and came with instructions! Thank you Jesus for those instructions! I feel like most people shy away from milk paint because of its unpredictability (I know I sure did) but these instructions made it so simple for me. I promise, if I can do so can you!
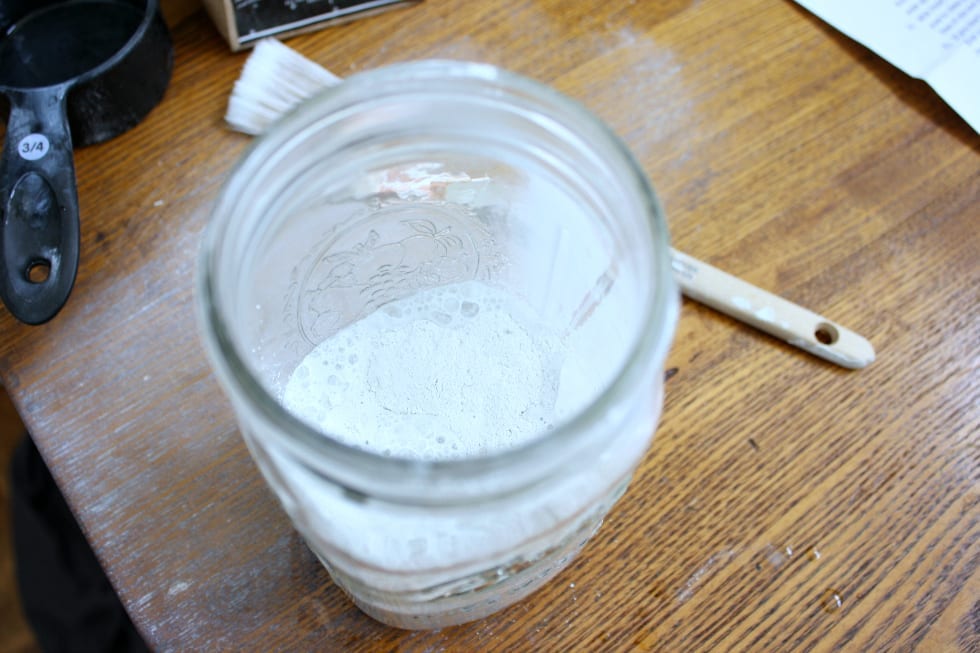
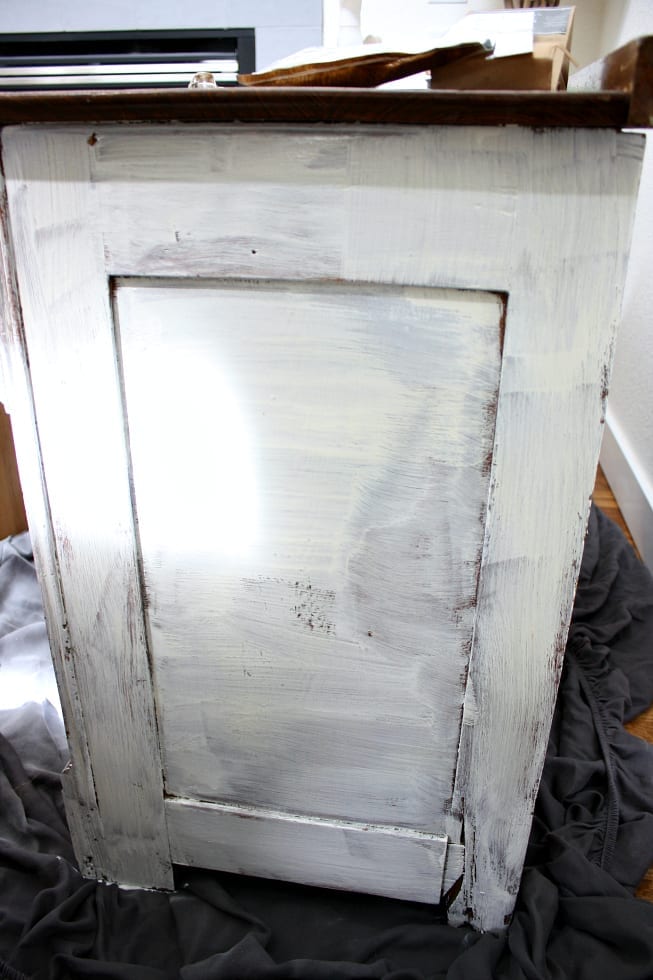
Mixing the Paint
To begin I mixed equal parts water with the powder and shook it for a few minutes in a glass jar with a lid. Then I set it aside for about 10 minutes while I wiped down the dresser. Once the bubbles were gone I gave it a quick stir and got to work! It was super easy to mix! One of the perks of milk paint is that you can always add more powder or more water to change the consistency to what you like! I liked mine slightly thinner and was able to achieve this with equal parts water and powder.

After the first coat (which I like to call the scary coat) it looked awful and streaky. Then after two coats I started to see some yellow bleed through. This scared me a bit! However, after four coats, and sanding in between each coat to add to the vintage chippy character, there was no more yellow! Thank you Jesus again! My old dresser makeover using milk paint was turning out just as I had hoped!
Each coat of paint took less than 30 minutes to dry. During this time I would seal up my left over paint in the jar and leave it in the fridge. Then 10 minutes before painting again I would shake it up in the jar and let it settle back down. A few times I had to add more paint powder and water because I was out of paint. However, this 6 oz bag of milk paint powder covered my entire dresser! Once mixed with water it makes one pint and covers approximately 35 sq. feet.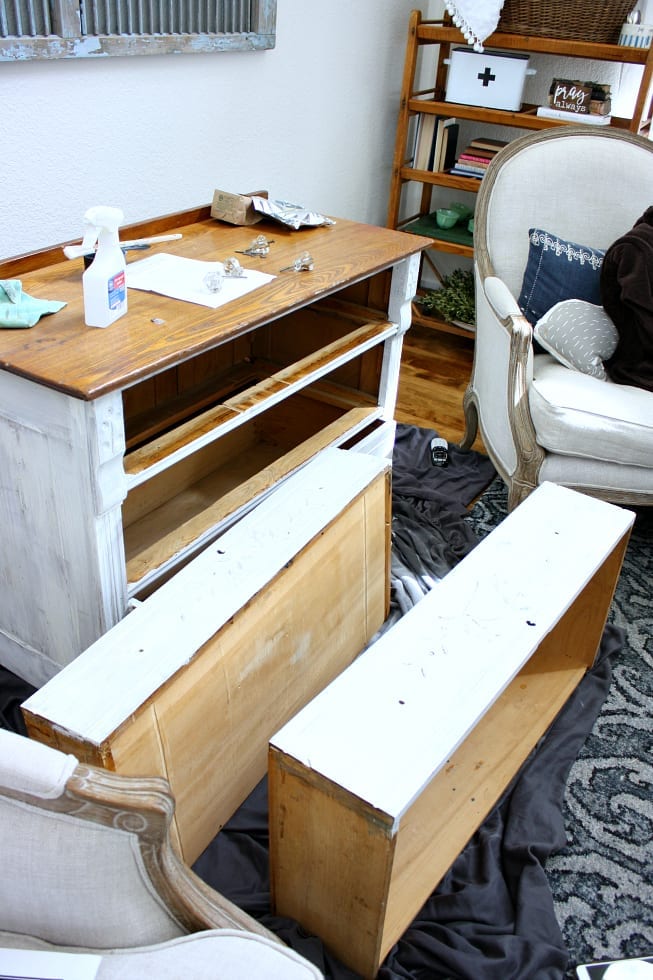
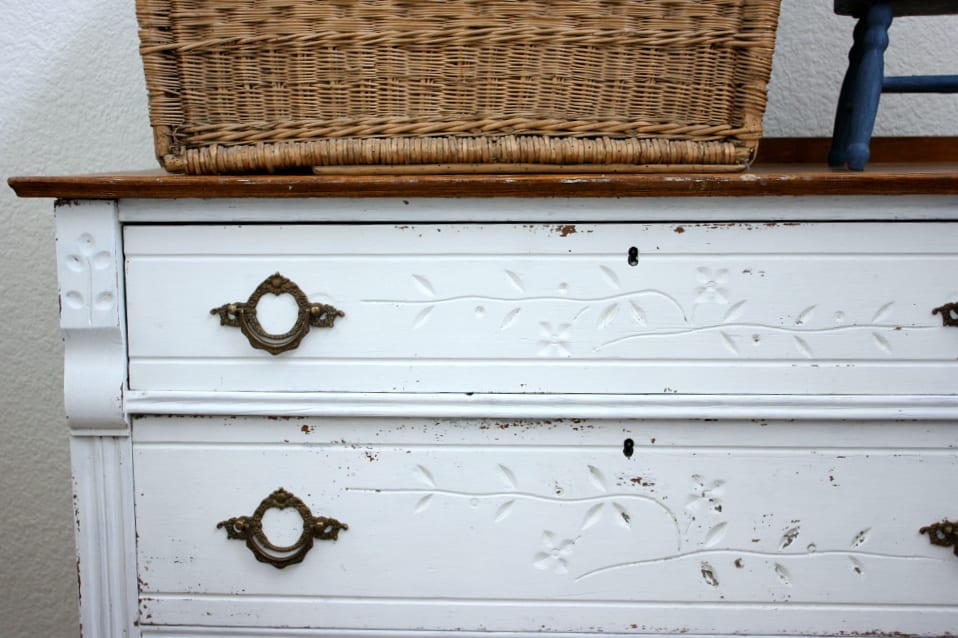
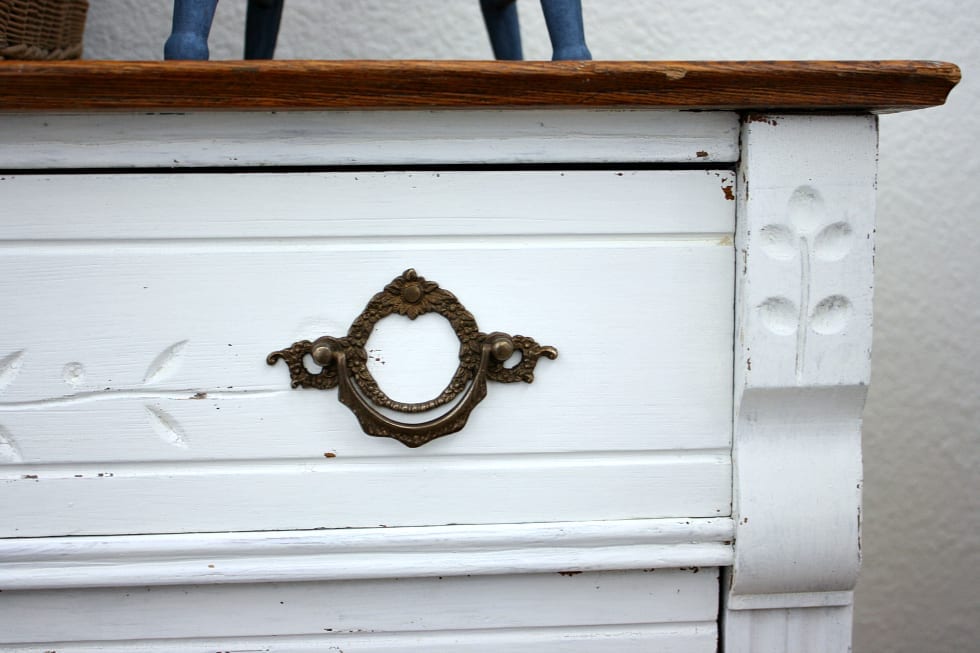
Below you can see where some of the paint chipped off. You can also see where I sanded it to give the appearance that this piece had been painted years and years ago. I am currently loving this vintage vibe!
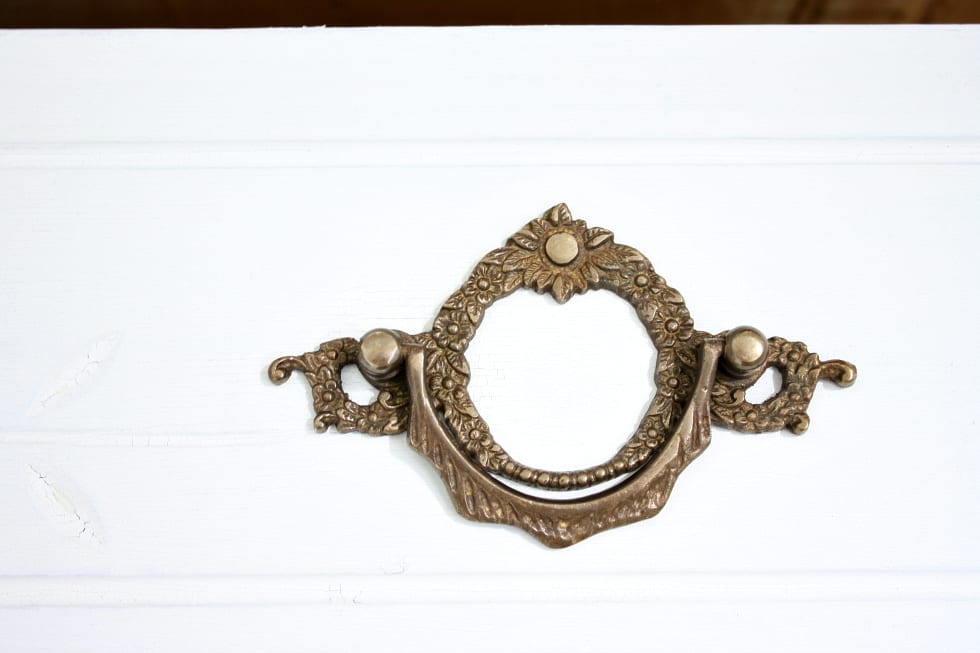
The Details
Would you believe me if I told you that I found these pulls at Hobby Lobby?! Sure did! I was able to snag them up while they were 50% off which made them all that much sweeter! So for all six pulls I spent a whopping $27! I love the French Country flair they add!
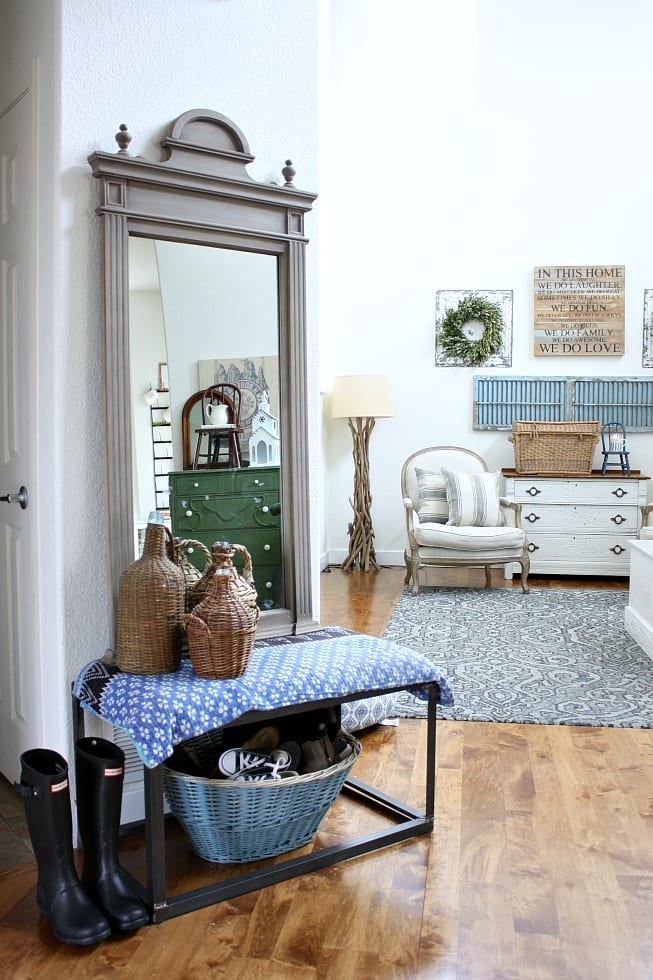
Looking Good In My Home
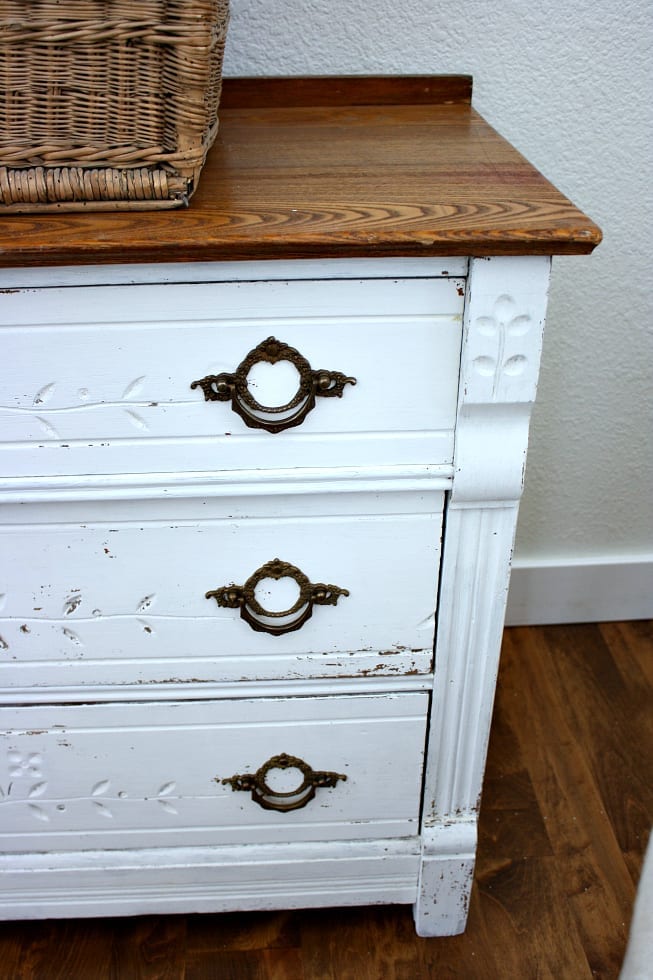
I love the way she turned out! She is a keeper for sure. This old dresser makeover using milk paint is one of my favorites for sure!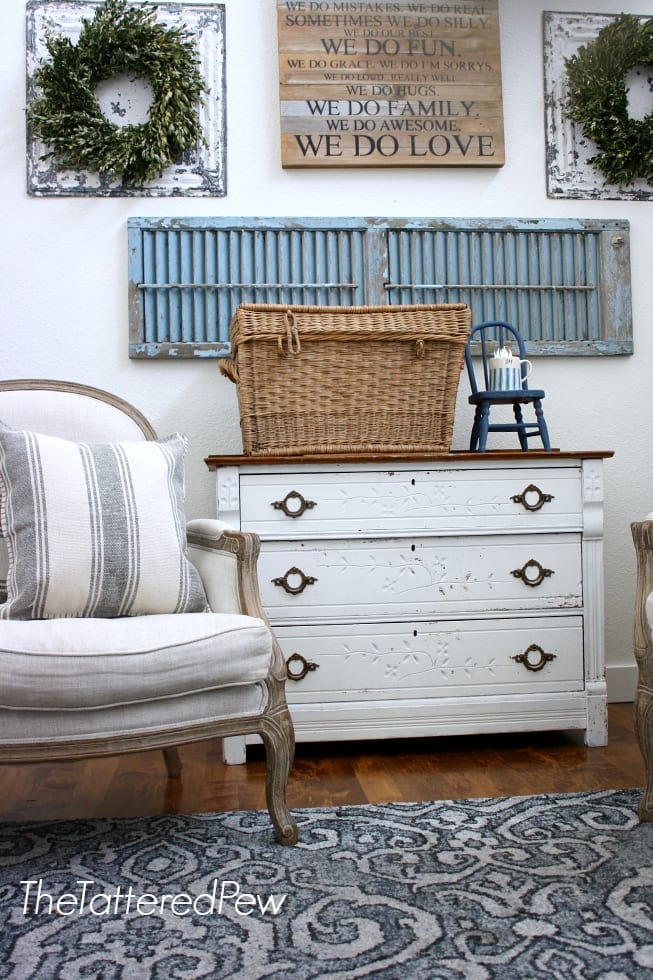
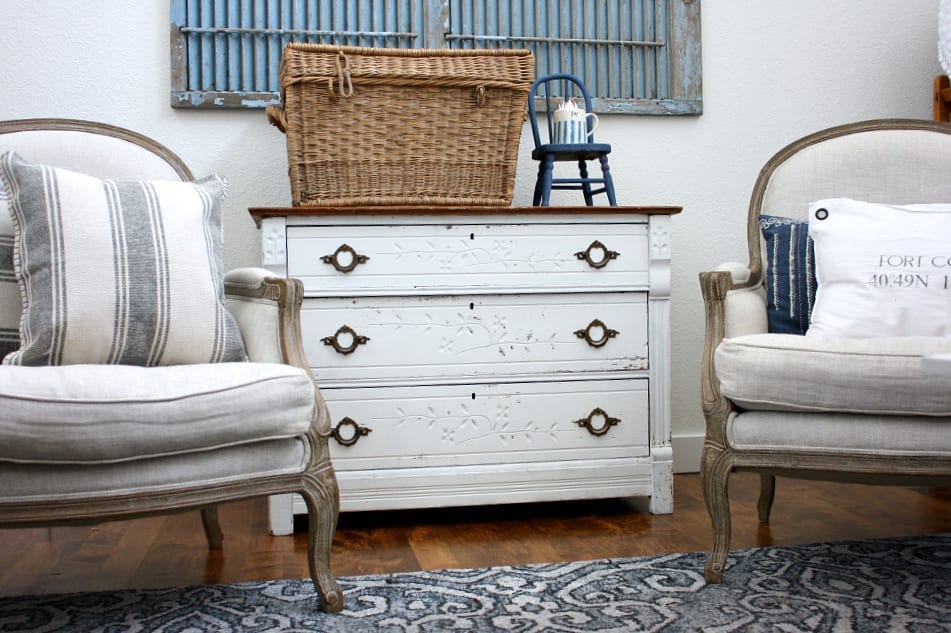
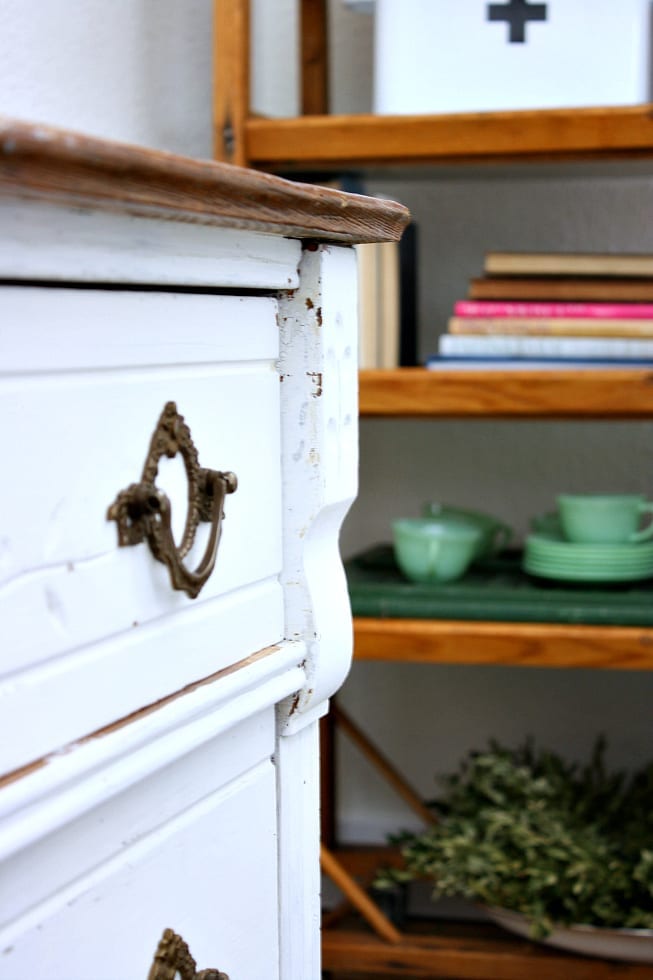
I left the top the original wood color and love the contrast it brings. I also plan to seal the paint with some furniture wax.
Old Dresser Makeover Using Milk Paint
Overall I have to say that I loved Shackteau Interiors milk paint and would recommend it to anyone who asks. I can’t wait to use it again and loved working with Kristin! This old dresser makeover came out even better than I had imagined. The best part though is that this entire makeover only cost me a total of $67 which I’m guessing my husband would say is his favorite part too! Ha! 😉
Now I am on the hunt for my next painting project! I am addicted for sure! Make sure to follow me over on Instagram where I share more often and to watch videos of this project in my highlights! If you don’t want to miss any of my posts you can subscribe to my blog and each post will come straight to your email!
Thanks for stopping by today!
p.s- I found another piece to paint…my church pew! Come see how I gave it a weathered driftwood look using paint!
xoxo,
Kelly
Did you like this post? If so, Pin It!


Wow Kelly! Love your dresser! I have wanted to try milk paint but was a little intimidated!!! I’m just going to bite the bullet!
Thank you so much Tracey! You must try it, I just know you will love it!
Good job! I love it!
Thank you so much Kelly!
Love those knobs–beautiful!
Thanks Natalie they might be one of my all time favorite finds!
Wow Kelly! This is just incredible! So many great tips and I just love how you showed step by step progression. Love it!
Thank you Meg! I am having so much fun with painting furniture lately!
That turned out so beautifully!! 😍
Thank you so much Lacey!
Oh Kelly, this is wonderful! I love reading all about using milk paint and the beautiful transformation it gave your dresser. Great tips and information, thank you for sharing Kelly! Have a wonderful day!
Thank you Brendt!I appreciate you stopping by!
Wow Kelly! That dresser is a beauty! It turned out so perfectly.
Thank you Sarah! I truly love it!
This transformation is amazing Kelly!! Great job girl!!!
Thank you Bethany I am already scheming my next project!
Gorgeous makeover Kelly! And your house is looking just gorgeous! I would love for you to come over and link up this post at Thursday Favorite Things Link party! The party is open til midnight tonight! Have a great weekend!
https://followtheyellowbrickhome.com/spring-inspiration-in-bloom-at-thursday-favorite-things/
Hi Amber! Thank you so much! Ok I will head there now! Thanks!
Back again Kelly to let you know I have featured this post today at Thursday Favorite Things! You can see the feature here: https://followtheyellowbrickhome.com/ten-things-i-love-at-thursday-favorite-things/
We would love for you to link up another one of your beautiful posts this week too! Have a great weekend ahead!
Wow Amber thank you so much! I am so excited to come check it out! I will definitely link another one! I appreciate you so much!