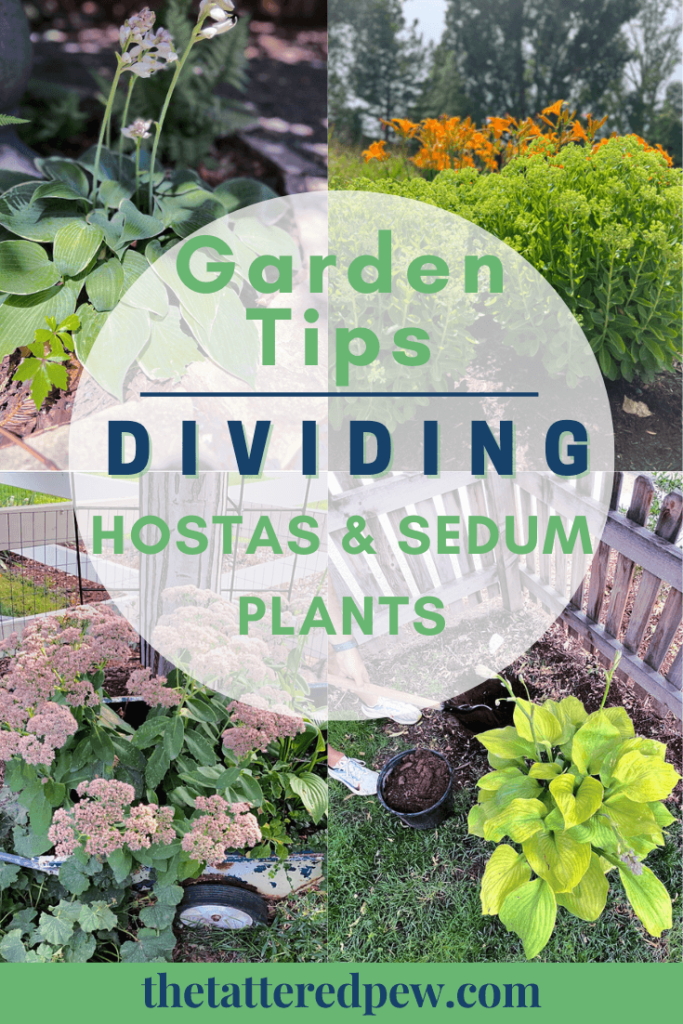
Dividing Hostas and Sedum Plants: Essential Garden Tips
Ok, let’s talk about a simple yet powerful technique that I personally love using to expand the plants in my garden and spread the joy of gardening: dividing hostas and sedum plants. (two of my favorite plants!)
Now, if you’re anything like me, you’re always on the lookout for ways to make your garden flourish and thrive. And let me tell you, dividing these beautiful perennials is like hitting the jackpot! It’s an easy-peasy method that not only helps you multiply your plants but also gives you the opportunity to share the gardening love with your friends and neighbors.
Dividing Hostas and Sedum Plants
I can’t even begin to express how excited I am to share this with you because, trust me, once you try dividing hostas and sedum, you’ll be amazed at how quickly your garden transforms. It’s like watching nature’s magic unfold right before your eyes!
Whether you’re a seasoned gardener or just starting out on your green-thumb journey, this technique is perfect for everyone. And the best part? You don’t need any fancy tools or extensive gardening knowledge. All you need is a bit of time, some basic supplies, and a whole lot of enthusiasm!
So grab your gardening gloves, dust off your trowel, and join me as we embark on this delightful adventure of dividing hostas and sedum. Together, we’ll uncover the secrets to successfully propagating these beloved perennials and discover the sheer joy of watching our gardens come to life.
Dividing Hostas and Sedum Plants: Essential Garden Tips
Are you ready? Let’s dive in and let the propagation party begin!
Dividing hostas and sedum plants is a simple yet effective method for propagating these popular perennials. As a gardener, I often use this technique to increase the number of plants in my garden or share with fellow garden enthusiasts.
While the process may seem daunting initially, with some knowledge and practice, anyone can master this skill.
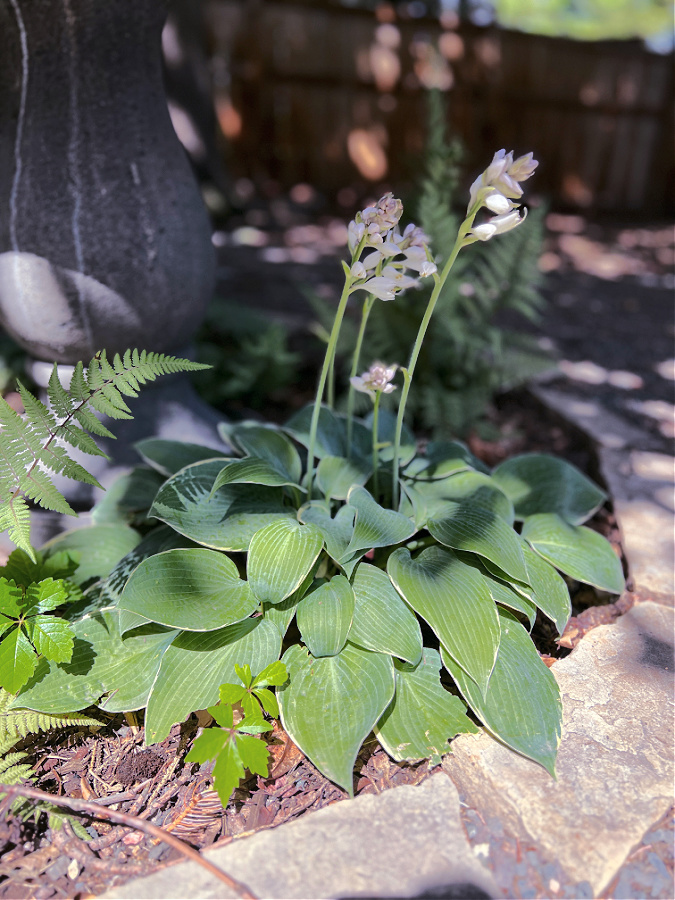
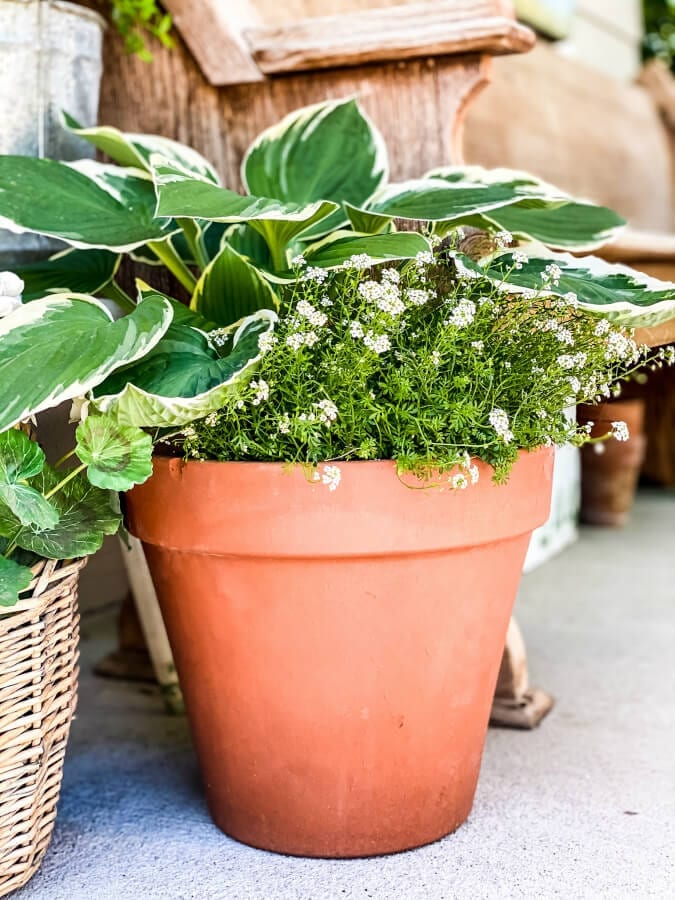
Hostas are prized for their lush foliage and ability to thrive in shady locations, making them a staple in many gardens.
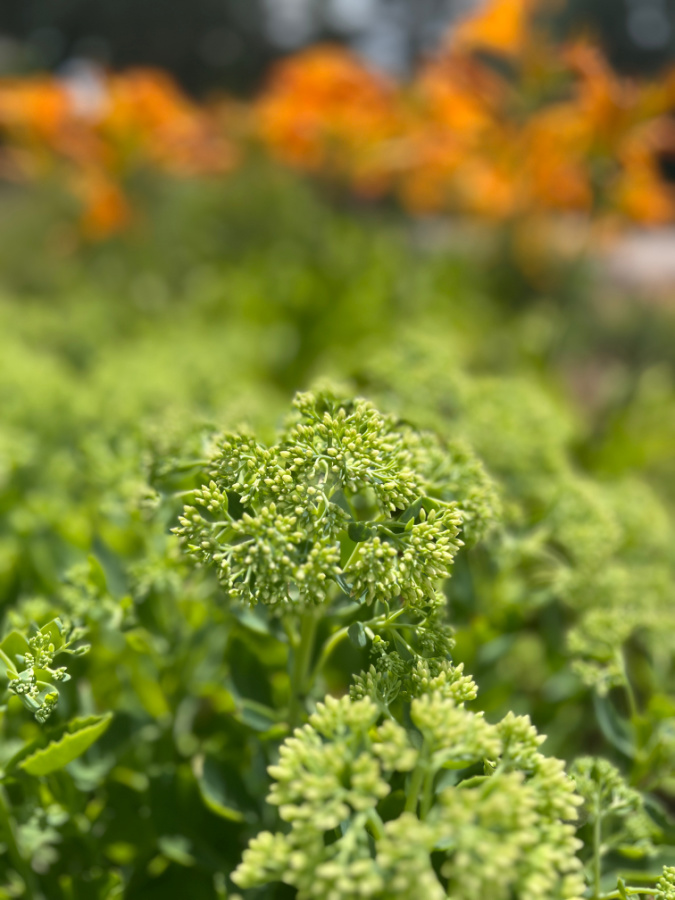
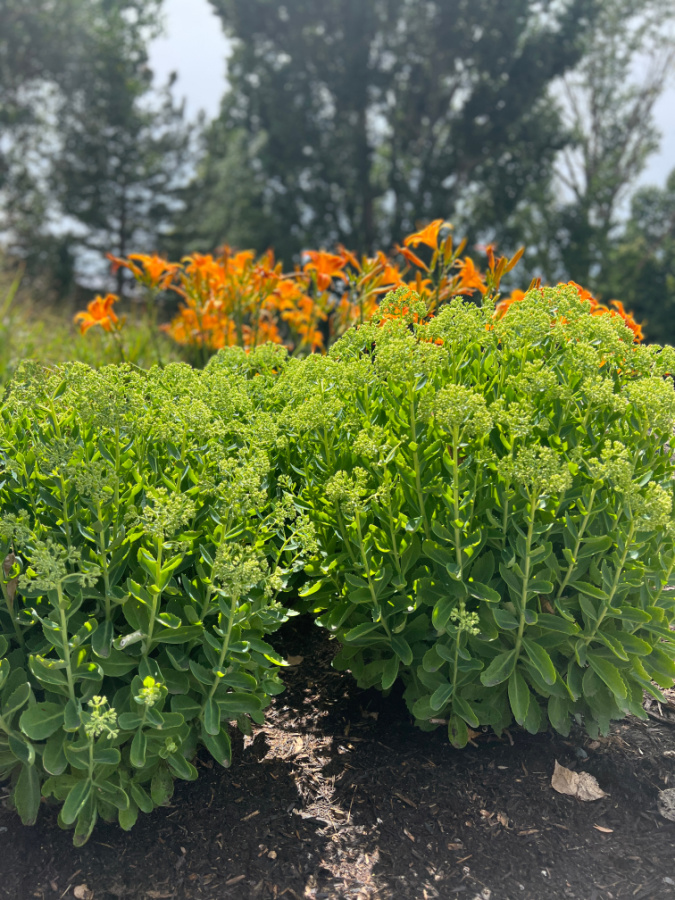
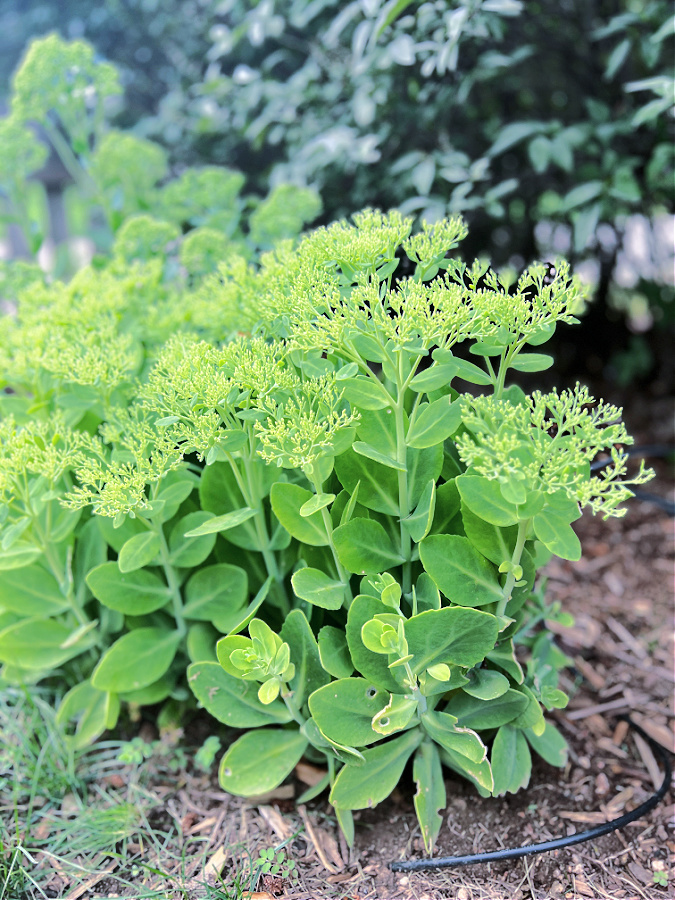
On the other hand, sedum plants, also known as stonecrops, are valued for their drought tolerance and unique succulent leaves.
Both plants have a clumping root system, allowing for easy division and transplantation.

In a short time, your efforts will yield multiple healthy plants, ready to enhance your garden or be gifted to friends and family.
Dividing hostas should ideally be done in spring or early fall, and sedum plants are best divided in the early spring.
This timing reduces stress on the plants, ensuring better chances of successful propagation. With simple tools, such as a sharp knife, spading fork, and proper care, hostas and sedum plants can be divided and transplanted to create new thriving additions to any garden.
When and Why to Divide Hostas and Sedum Plants
As a gardener, I’ve found that dividing hostas and sedum plants is essential to promote healthy growth and improve their overall appearance.
In this section, I will share my knowledge on when and why to divide these popular perennials.
Dividing hosta plants is beneficial for several reasons. Firstly, it’s important to know that division is the only real way to propagate new plants, as hostas grown from seeds often don’t grow true to their parent plant.
Secondly, dividing hostas offers an opportunity to clean up the plants, remove dead portions, and maintain their desired size.
The ideal times to divide hostas are during spring and fall, when there is reduced demand for water and typically more moisture available than during the summer months.
Much like hostas, sedum plants also benefit from division. As one of the easier types of succulent to grow, sedum plants spread easily from tiny bits of vegetation and can establish quickly.
Dividing sedum plants is a simple method of multiplying your investment and maintaining a healthy, manageable garden.
The optimal time for dividing both hosta and sedum plants is when they are either dormant or just starting to grow during the spring or fall seasons.
This is because, during these periods, the plants are less likely to go through heat stress or dry out, allowing them to recover more effectively after division.
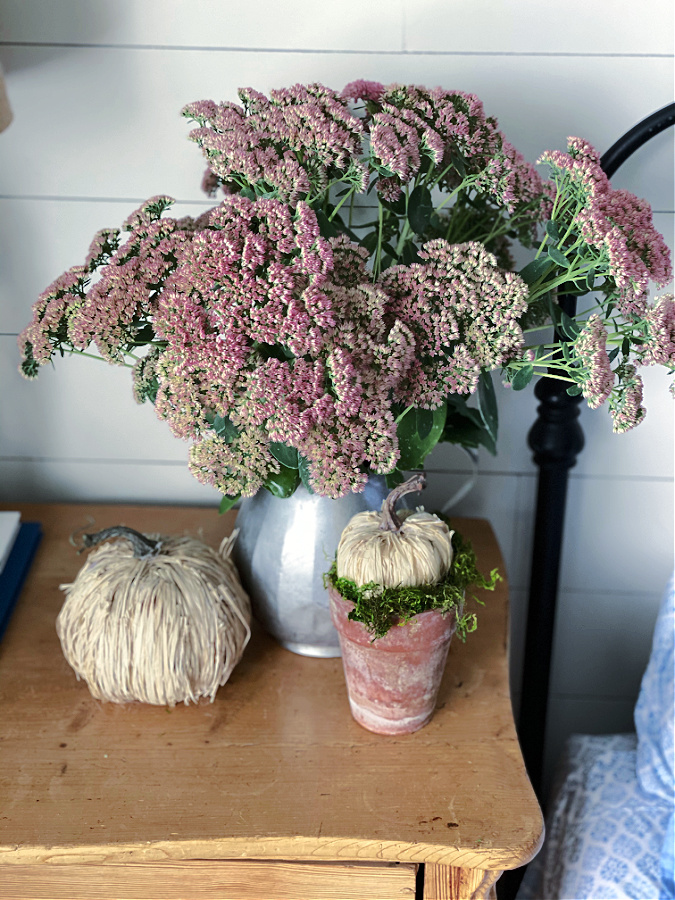
There are various types of hostas and sedum plants, with different growing habits and appearances, making them suitable for different garden settings. My favorite variety of sedum is Autumn Joy!
By dividing perennial plants, such as hostas and sedums, at the right times, you not only propagate new plants but also maintain the health and aesthetic appeal of your garden.
As a gardener, I find this practice invaluable and recommend every enthusiast to incorporate it into their routine for optimal results.
10 Varieties of Sedum
- Sedum spectabile (Showy Stonecrop) – Large, upright stems with clusters of pink or white flowers.
- Sedum spurium (Dragon’s Blood) – Low-growing ground cover with red foliage and pink flowers.
- Sedum kamtschaticum (Russian Stonecrop) – Low-growing with yellow flowers and glossy foliage.
- Sedum acre (Goldmoss Stonecrop) – Mat-forming with bright yellow-green foliage and yellow flowers.
- Sedum rupestre (Angelina Stonecrop) – Trailing habit, yellow-green foliage turning orange in fall.
- Sedum reflexum (Blue Spruce Stonecrop) – Blue-green foliage resembling spruce needles.
- Sedum album (White Stonecrop) – Low-growing, green-white foliage, and white flowers.
- Sedum cauticola (Cauticola Stonecrop) – Bluish-gray foliage with pink flowers.
- Sedum ‘Autumn Joy’ – Upright habit with pink flowers turning coppery in fall. (My personal favorite!)
10 Varieties of Hostas
- Hosta ‘Sum and Substance’: Large, golden-yellow leaves with a bold presence in the garden.
- Hosta ‘June’: Variegated foliage with blue-green centers and yellow margins, creating a striking contrast.
- Hosta ‘Patriot’: Dark green leaves with crisp white margins, creating a classic and elegant look.
- Hosta ‘Frances Williams’: Large, blue-green leaves with irregular, broad, and striking yellow margins.
- Hosta ‘Guacamole’: Vibrant green leaves with chartreuse centers, emitting a fresh and lively appearance.
- Hosta ‘Halcyon’: Steely blue, round leaves that add a cool and calming touch to shaded areas.
- Hosta ‘Empress Wu’: Impressively large, deep green leaves that make a bold statement in the garden.
- Hosta ‘First Frost’: Blue-green leaves with creamy yellow margins that turn white later in the season.
- Hosta ‘Stained Glass’: Gold-centered leaves surrounded by dark green margins, creating a radiant effect.
- Hosta ‘Hadspen Blue’: Intense blue-gray foliage with a compact habit, perfect for smaller spaces
Preparation for Dividing Hostas and Sedum Plants
Before diving into the process of dividing Hostas and Sedum plants, it’s essential to gather all the necessary tools and materials. Proper preparation will make the job easier and ensure the best results for your garden. I’ll walk you through the essential items needed for dividing these plants.
First and foremost, make sure to have a sharp spade and a garden knife on hand. These two tools are indispensable for the dividing process. A sharp spade helps dig up the root clumps, while a garden knife is essential for cutting through the root systems of both Hostas and Sedum plants.
Having a sharp knife available for dividing Sedum plants into sections is also a good idea. This tool is especially useful when cutting through the dense, succulent foliage of sedum to create individual sections, each with plenty of roots.
In addition to these tools, a tarp or a large piece of plastic is an essential item. When digging up the plants, it’s important to have a clean space to work on and to protect the roots from drying out.
A tarp serves this purpose, providing a suitable surface to place the plants on while dividing.
A container of some sort is necessary to hold the divided plants temporarily. This container can be as simple as a bucket or a plastic tub. However, It is essential to ensure it has adequate drainage to prevent waterlogging and root rot.
Finally, maintaining proper moisture levels during the entire process is crucial to the success of plant division. I recommend having a hose or watering can nearby to keep the plants and their roots damp throughout the procedure.
With these tools and materials in place, you’ll be well-prepared to effectively divide your Hostas and Sedum plants, ensuring healthy and vibrant growth in your garden.
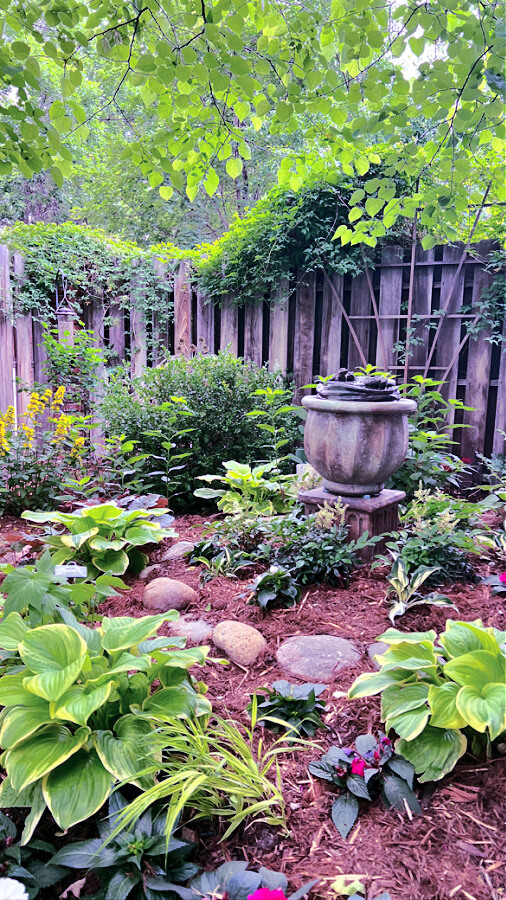
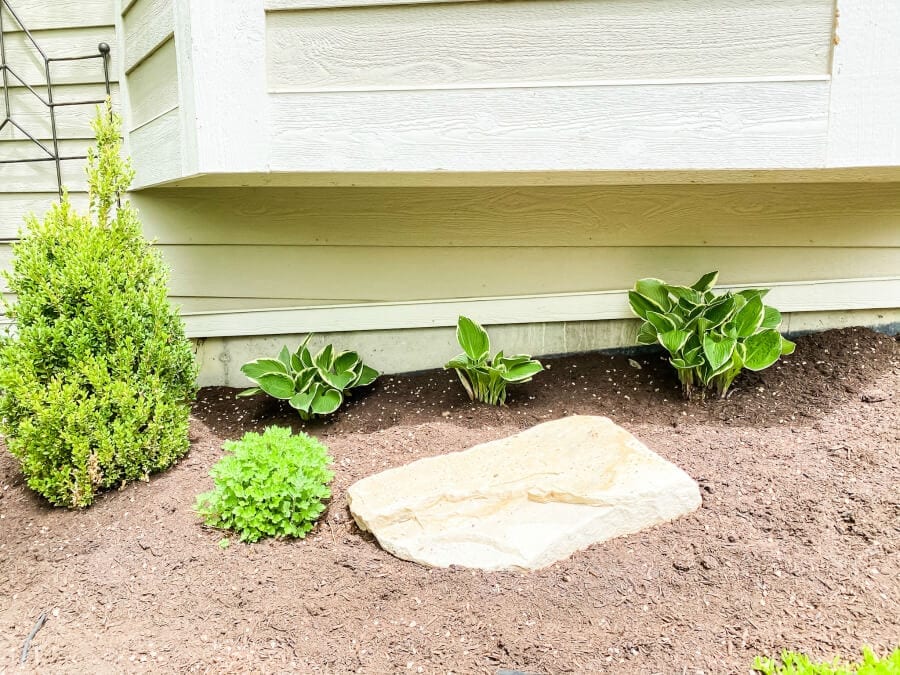
Choosing and Preparing the Planting Site
When I select a planting site for both hostas and sedums, I consider a few key factors like soil, location, shade, compost, good drainage, mulch, and weeds.
It is crucial to find the ideal spot for these plants to thrive and showcase their beauty. Let me share my approach for choosing and preparing the planting site.
First, I carefully consider the soil. Hostas grow best in well-draining, organic-rich soil, so I ensure that the planting site has the ideal soil characteristics.
For sedums, they can tolerate a wide range of soil types, but they do require well-drained soil. In some cases, I have amended the soil by adding compost to improve its nutrient content and drainage properties.
Next, I determine the location. Hostas are shade-loving plants, and they prefer sites protected from the harsh afternoon sun. I typically choose a spot that will provide some dappled light or partial shade.
On the other hand, sedum plants generally prefer sunny locations. I plant them in a spot that receives at least six hours of direct sunlight daily to promote the best growth and flowering.
Proper drainage is essential for both hostas and sedums. I ensure that the planting site has adequate drainage to prevent the plants’ roots from sitting in soggy soil, which can lead to root rot.
Then, I create a raised bed or add gravel to the planting hole if necessary to promote better drainage.
I use mulch around the base of my hostas and sedums to control weeds and maintain soil moisture.
This organic material helps suppress weed growth and keeps the soil cooler in the hot summer months, which benefits hosta plants.
Lastly, monitoring and controlling weeds is a crucial aspect of site preparation. I thoroughly weed the planting site before planting hostas and sedums, especially for larger areas.
This reduces competition for nutrients and space, ensuring that my plants will have the best opportunity for vigorous growth.
Proper site selection and preparation can make a significant difference in the success and health of your hosta and sedum plants.
By focusing on key factors like soil, location, shade, compost, drainage, mulch, and weed management, I can provide the most suitable environment for these attractive perennials to flourish.
Dividing Hostas: Step-by-Step
When I need to divide hostas, I follow a step-by-step process for the successful and healthy growth of the newly divided plants.
Firstly, I choose the right time of the year for the division. Preferably, I divide hostas in late spring or early fall, about four weeks before the first frost, as this ensures that I don’t disturb their growth during their peak season.
Once I’ve selected the appropriate time, I prepare the tools needed for the division, such as a sharp knife, garden fork, spade, and gloves. Then, I dig up the entire clump using a spade or garden fork, making sure I dig around six to eight inches outside the plant’s crown.
This is important because hosta root systems can extend from eight to 18 inches deep, depending on the variety. I work my way around the plant, digging beneath the roots, and then carefully ease the clump out of the ground.
Now, with the hosta clump out of the ground, I can easily see its root system and identify the best place to divide it. I’m looking for buds, also called “eyes,” which are the growing points on hosta plants. Each division should have at least one eye for healthy growth.
Using a sharp knife, I cut through the roots from the crown down, ensuring that I don’t damage the buds while separating the hosta into smaller sections. Cutting through the roots is fine, as hostas can quickly regrow their roots once transplanted.
After dividing the hosta clump into smaller sections, I trim the roots to fit into pots and transplant them into their new locations. I use a mixture of multi-purpose compost for potting up the divisions, making sure there are no gaps around the sides.
By following these steps, I can successfully divide my hostas with confidence and ensure that they have healthy growth in their new locations.
Dividing Sedum Plants: Step-by-Step
As a gardening enthusiast, I have found that dividing sedum plants can be an effective method to maintain their health and keep them under control in my garden. Follow these simple steps to divide your sedum plants:
- Choose the right time: I recommend dividing sedum plants in early spring when new growth appears. This timing allows the plants to recover and bloom during the late summer and fall.
- Prepare the site: Before I start dividing, I make sure to have a spot in my garden with well-loosened soil in a sunny location. This ensures that the divided sections have proper conditions to grow.
- Dig up the sedum plant: Using a sharp spade or garden fork, I gently dig around the base of the plant, approximately 2 inches away and 2-6 inches deep. Make sure you dig deep enough so that you can lift the plant with its roots intact.
- Trim the foliage: I usually trim back the leaves and stems to about 2 inches (5.1 cm) above the base of the plant. This step encourages new growth and makes dividing the sedum plant easier.
- Divide the sedum plant into pieces: Using a sharp knife, I carefully cut the roots, dividing the plant into 4-6 inch sections, ensuring that each section has plenty of roots. This helps to propagate the plants more effectively.
- Plant the sections: After separating sedum plants into sections, I plant each piece into the loosened soil at the same depth as it was previously growing. I ensure good soil contact and stability by firmly pressing the soil around the roots of each newly planted section.
By following these steps, I confidently maintain the health and size of the sedum plants in my garden. Remember, dividing your sedums every 3 to 4 years helps to keep them healthy and thriving.
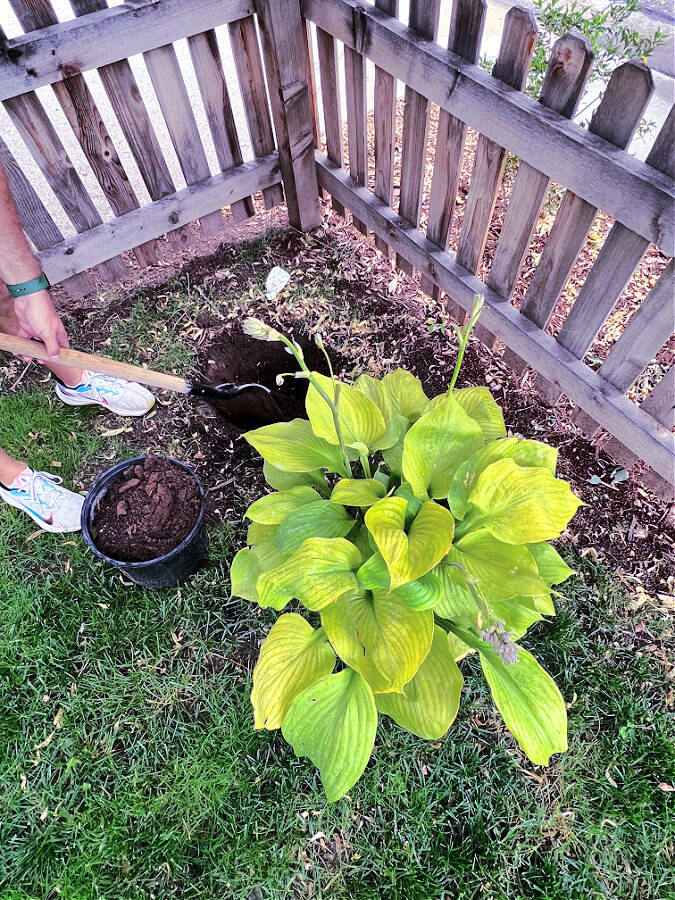
Transplanting and Replanting Divided Plants
When I transplant and replant divided hostas and sedum plants, I follow a few key steps to ensure the success of the process.
Before replanting, I always make sure the soil is moist, as it minimizes the stress on the plants, especially during the transplanting process. When dividing hostas, I carefully dig out the whole root ball to avoid harming the root system. In the case of sedum, I also ensure proper root separation before transplanting.
For transplanting divided plants into containers, I choose pots that provide adequate space for the root system and have good drainage. Drainage is crucial for both hostas and sedum plants, as waterlogged roots can lead to rotting and other health issues.
I use a well-draining potting mix and ensure the container has holes at the bottom to allow excess water to escape.
To transplant the divided plants, I carefully place them in their new location, ensuring the roots are well-spread and covered with soil. Then, I water them thoroughly to help them settle in and establish a healthy root system.
In summary, my approach to transplanting and replanting divided hostas and sedum plants involves careful attention to timing, soil moisture, and drainage. Following these steps ensures the plants have the best chance of thriving in their new environments.
Caring for Divided Hostas and Sedum Plants
After dividing and transplanting hostas and sedum plants, I’ve found it’s crucial to provide them with proper care to ensure healthy growth and beautiful blooms. In this section, I’ll share my knowledge and experience caring for these splendid perennials.
First and foremost, watering the divided plants is essential. I make sure to keep the soil consistently moist, especially during the first few weeks after division, to help the plants establish a strong root system.
It’s important to avoid over-watering them, as this might cause root rot. I’ve observed that providing them with one inch of water per week, either through rainfall or irrigation, generally keeps them thriving.
Mulching is another important step in my care routine. Around the base of the plants, I spread a layer of organic mulch, like shredded bark or compost.
In addition to suppressing weed growth and preserving stable soil temperature, this aids in soil moisture retention. Mulching also assists in keeping slugs and snails at bay, which can be particularly harmful to hostas, as they love to munch on their leaves.
I commonly perform maintenance tasks, such as fertilizing and trimming, during early spring when the plants start to show new growth. I fertilize hostas every four weeks and sedums just once per season with a balanced, slow-release fertilizer to promote healthy foliage and blooms.
It’s important not to over-fertilize since excessive nutrients can cause weak growth and make the plants more susceptible to diseases.
Monitoring the plants for signs of diseases and pest infestation is another vital aspect of care. Yellow leaves and strange spots on hostas could indicate a problem, for which I promptly look for the cause and apply the appropriate treatment.
I use a natural product like diatomaceous earth or slug-repelling barriers such as copper tape to protect these plants from slugs and snails.
Lastly, I make sure to enjoy and appreciate the beautiful flowers these perennials produce. Hostas feature delicate, bell-shaped blooms, while sedums offer clusters of star-shaped flowers. Both of them certainly add color and charm to my garden.
Following these care practices for divided hostas and sedum plants ensures their health, happiness, and successful growth in my thriving garden.
Frequently Asked Questions
When should hostas be divided?
Hostas can be divided in spring or fall, but the best time to do so is when the plants have gone mostly dormant. This helps reduce stress on the plant and ensures a more successful transplant.
Can hostas be divided during summer?
While it’s possible to divide hostas in summer, it’s not ideal as the plants are in full growth. I recommend dividing them either in spring or fall when they’re mostly dormant to minimize stress on the plant and improve the chances of successful transplanting.
Can hostas and sedum be planted in pots?
Yes they both can!
I have an entire blog post that talks all about planting hostas in pots.
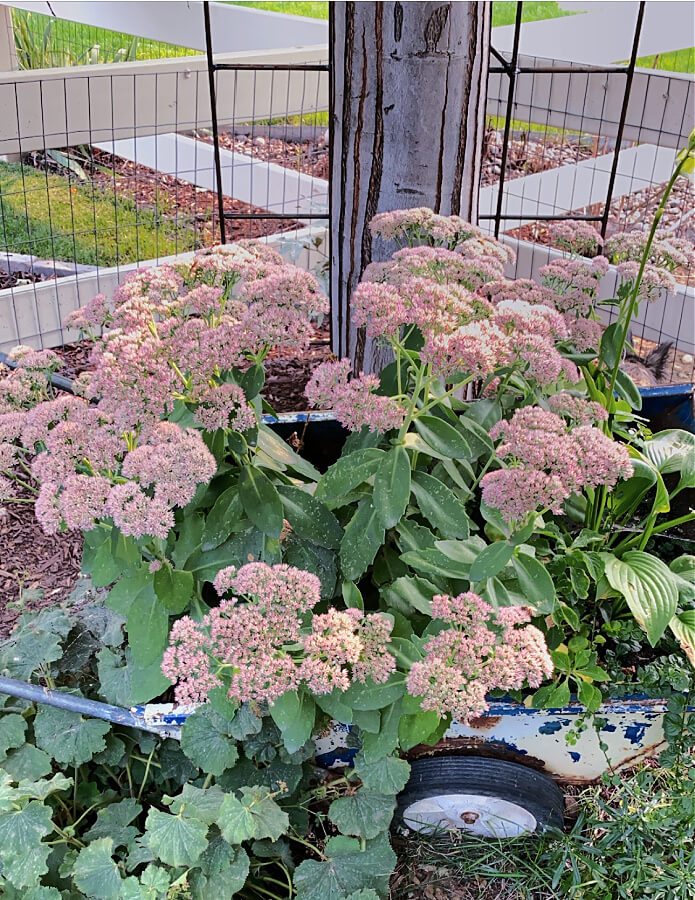
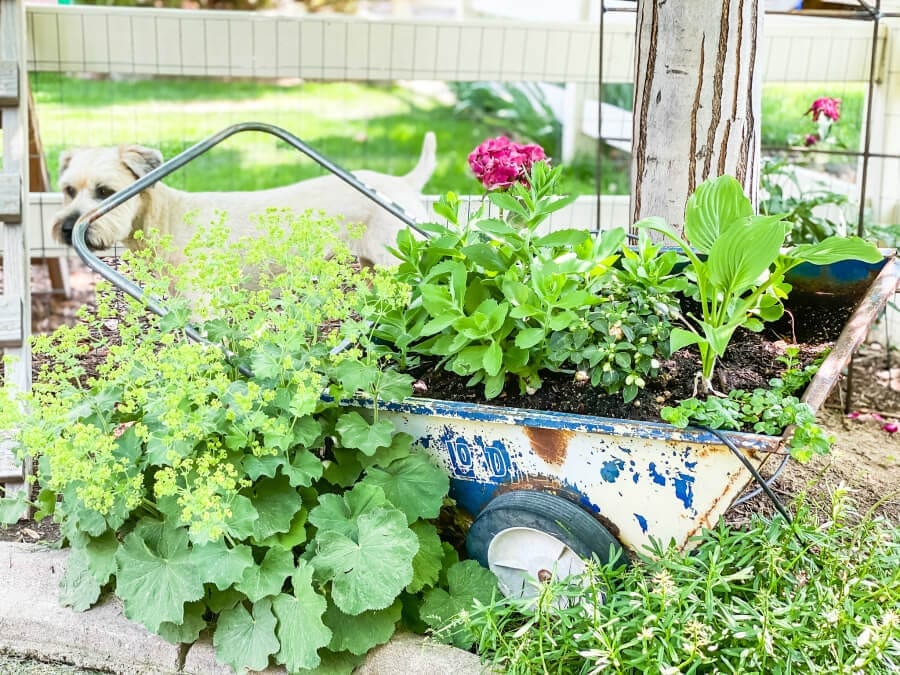
I have also divided and transplanted my sedum and hostas from the ground into an old wheel barrow in our former backyard!
How to divide hostas in pots?
To divide hostas that are growing in pots, follow these steps:
- Water the hosta thoroughly to reduce stress before dividing.
- Carefully remove the entire plant from the pot.
- Gently shake off excess soil to expose the roots and crown.
- Use a sharp, clean knife to cut through the crown, dividing the plant into smaller sections with healthy roots.
- Replant each section into a new pot with fresh, well-draining soil at the same depth it was previously growing.
What are the steps for dividing large hostas?
Dividing large hostas involves the following steps:
- Water the hosta the day before dividing to reduce stress on the plant.
- Using a spade or garden fork, dig six to eight inches outside the crown of the plant, then carefully lift the entire clump out of the ground.
- Brush off excess soil to expose the roots and crown.
- Use a sharp, clean knife or garden saw to cut the crown into smaller sections, each with a healthy root system and a few leaves.
- Replant each section individually at the same depth they previously grew and water them well.
Is it possible to split hostas after they bloom?
Yes, hostas can be divided after they bloom. However, I still recommend dividing them in spring or fall when they’re mostly dormant to minimize stress on the plant and improve transplant success.
How to reduce shock when transplanting hostas?
To reduce shock when transplanting hostas, follow these tips:
- Water the hosta thoroughly before dividing.
- Choose a cool, cloudy day for division and transplanting, if possible.
- Prepare the new planting location with well-draining soil and sufficient organic matter.
- Replant hosta sections at the same depth they were previously growing and water them well.
- Keep the transplanted hostas well-watered during the first few weeks to help establish their root systems.
I’d love to have you hang out with me some more! Feel free to follow along with me on any of the platforms linked below.
LTK | Facebook | Instagram | Pinterest | Amazon