
Easy DIY Hydrangea Wreath in Just 10 Minutes (No Glue or Wire!)
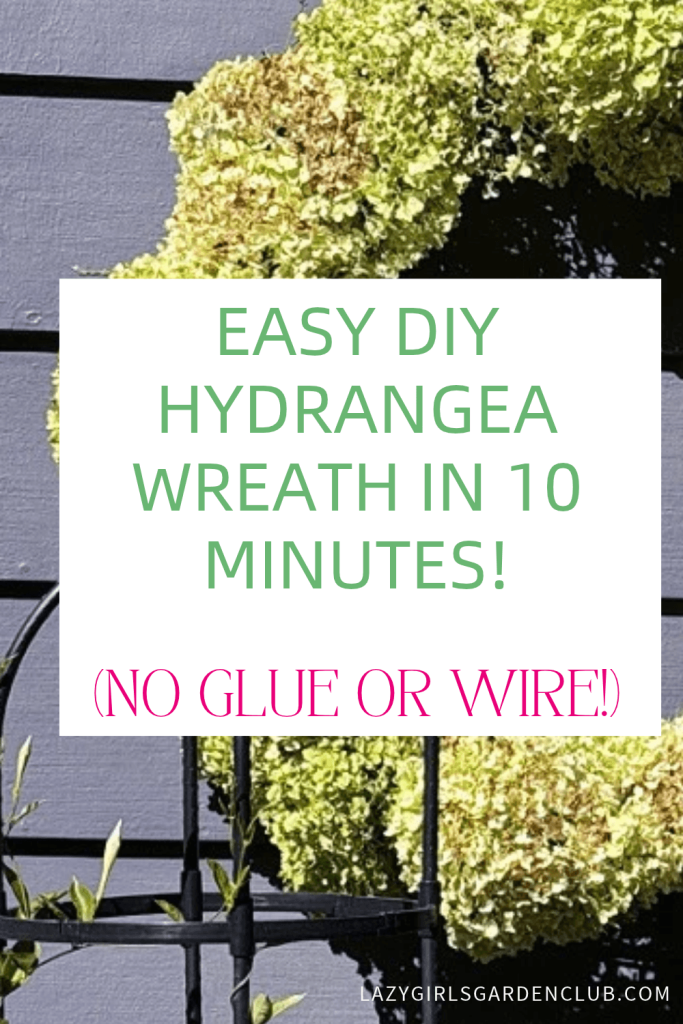
If you love simple, beautiful DIY projects that don’t take hours to make, then you are going to LOVE this easy DIY hydrangea wreath!
I’m talking 10 minutes, no glue, no wire, and just two supplies! Yep, this might be my favorite Lazy Girl DIY project yet!
And the best part? I made it using gorgeous Annabelle hydrangeas straight from my garden!
*As an Amazon Associate, I earn from qualifying purchases. This post contains other affiliate links too for your convenience. Click here to read my full disclosure policy.
A Simple Fall Wreath Using Annabelle Hydrangeas
If you’ve been around here for a while, you know how much I adore my Annabelle hydrangeas!
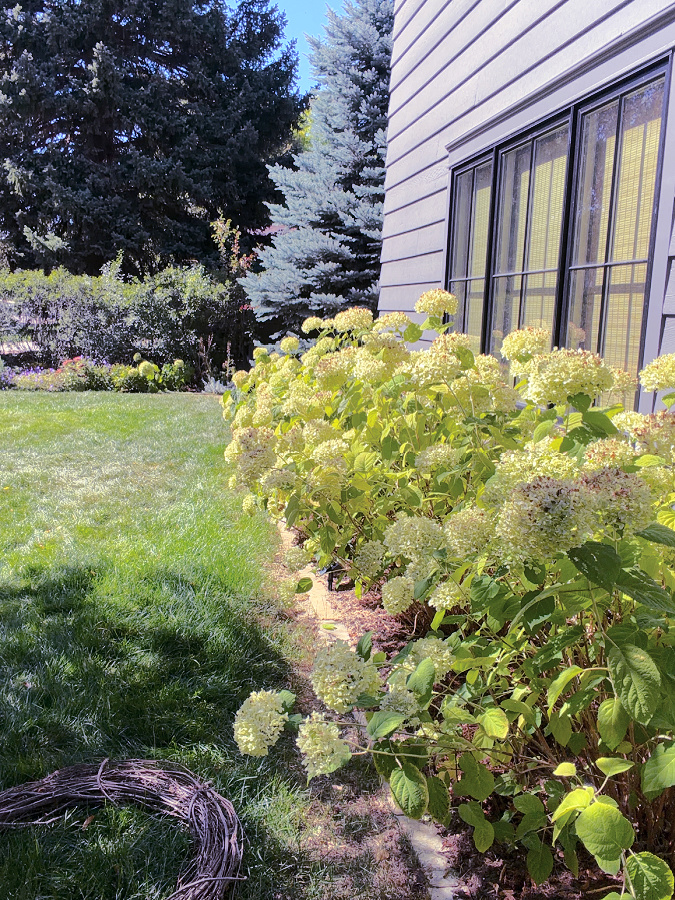
We have beautiful hydrangea bushes around our home, and every summer I look forward to their big, fluffy white blooms.
But honestly, one of my favorite things about Annabelle hydrangeas is what happens in the fall.
Those beautiful white flowers slowly turn the prettiest shade of green, and that’s when I know it’s time to start cutting and drying them!
Instead of letting all those gorgeous blooms go to waste, I decided to bring a little bit of my garden indoors and make a simple fall wreath.
And you guys, I couldn’t believe how easy it was!
Sometimes the simplest projects really do turn out to be the prettiest.
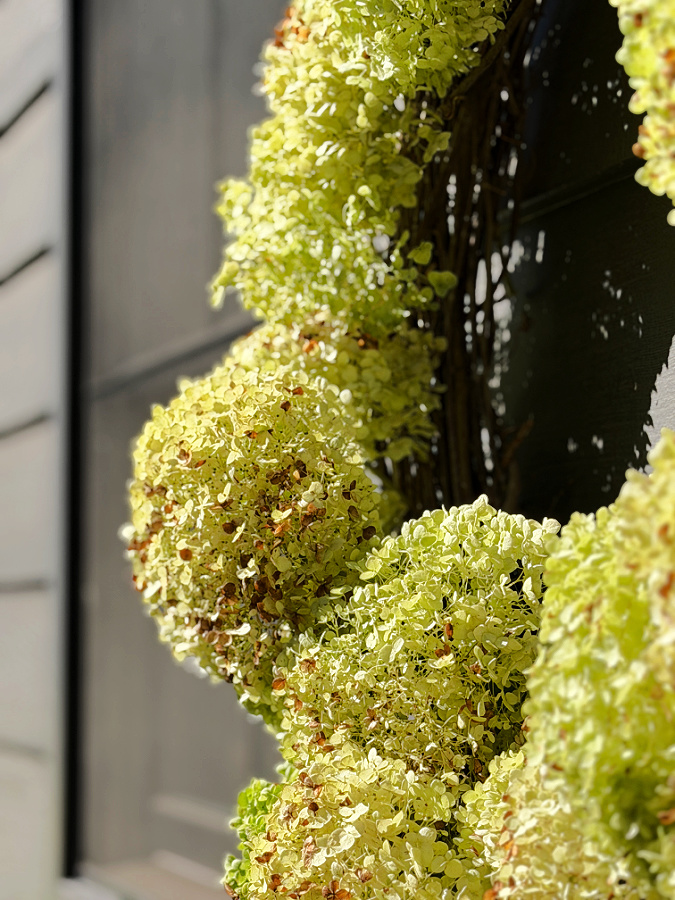
Supplies for My DIY Hydrangea Wreath
You only need a few things to make this beautiful, natural wreath:
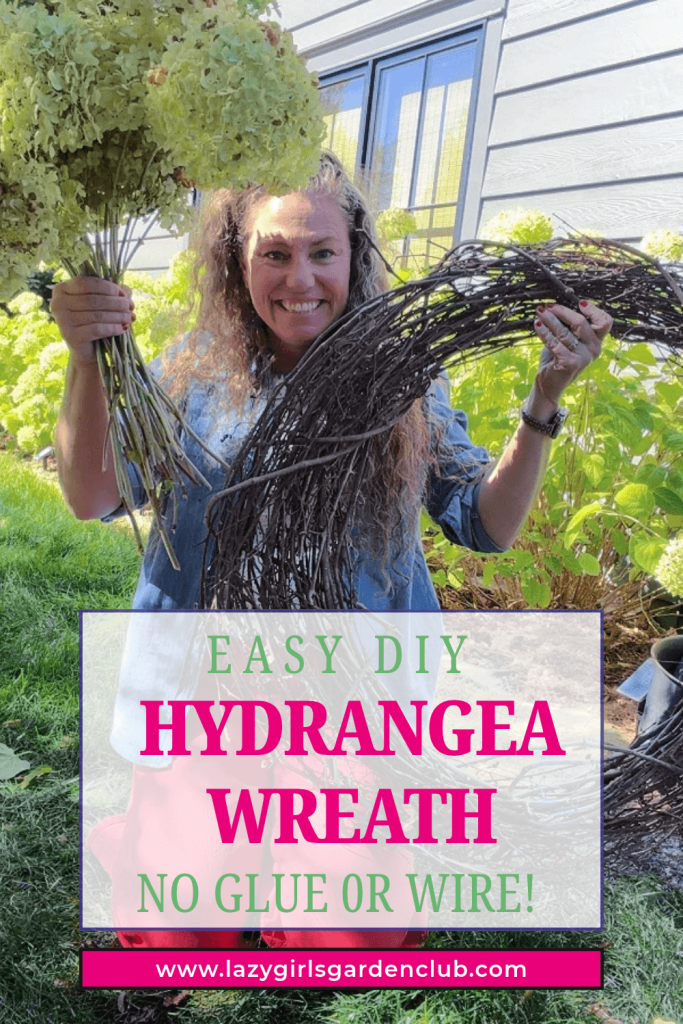
- A large grapevine wreath (I got mine at Hobby Lobby!)
- Freshly cut, mature Annabelle hydrangea blooms that are ready to dry
- Garden shears or scissors for trimming stems
That’s it! No hot glue, floral wire, or fancy crafting supplies required!
I love using a grapevine wreath because the branches naturally hold the hydrangea stems in place.
Talk about decorating with ease!
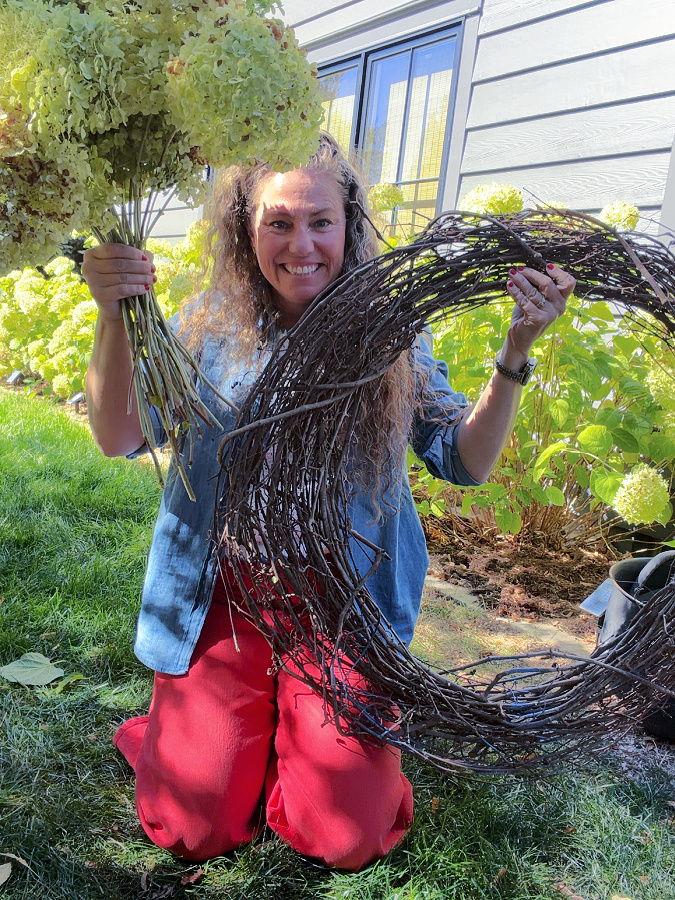
How to Make a Hydrangea Wreath in 10 Minutes
Step 1: Cut Your Hydrangeas
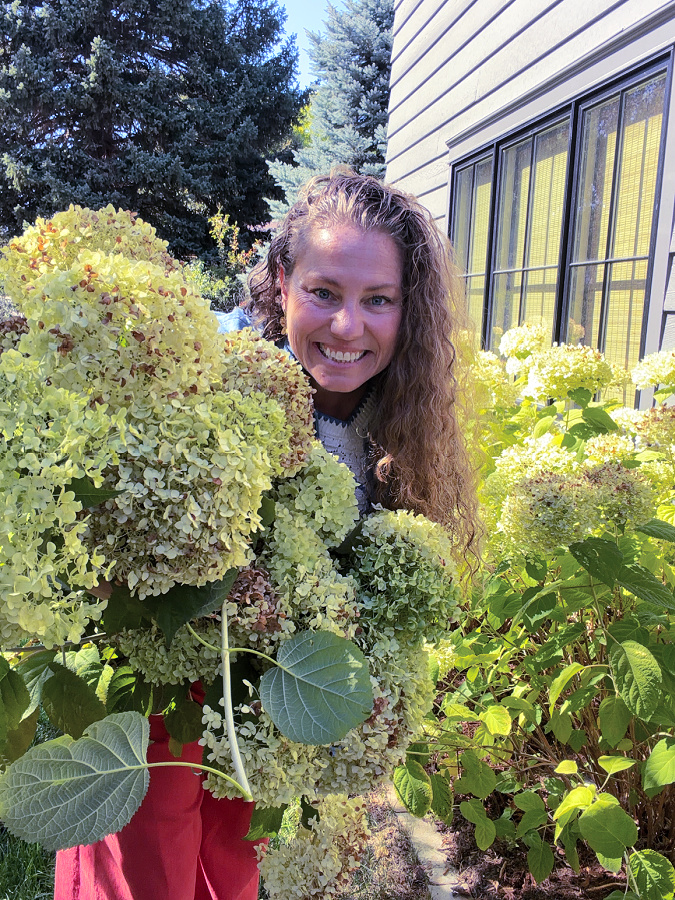
Head outside and gather your Annabelle hydrangea blooms.
My biggest tip is to wait until the blooms have changed from white to green toward the end of the growing season.
This is when they are mature enough to dry beautifully instead of shriveling up.
Leave enough stem attached to tuck each flower into your wreath.
Lazy Girl Tip: Want to know exactly when to cut your hydrangeas for drying? I share my favorite trick in The Secret Tip for Drying Hydrangeas.
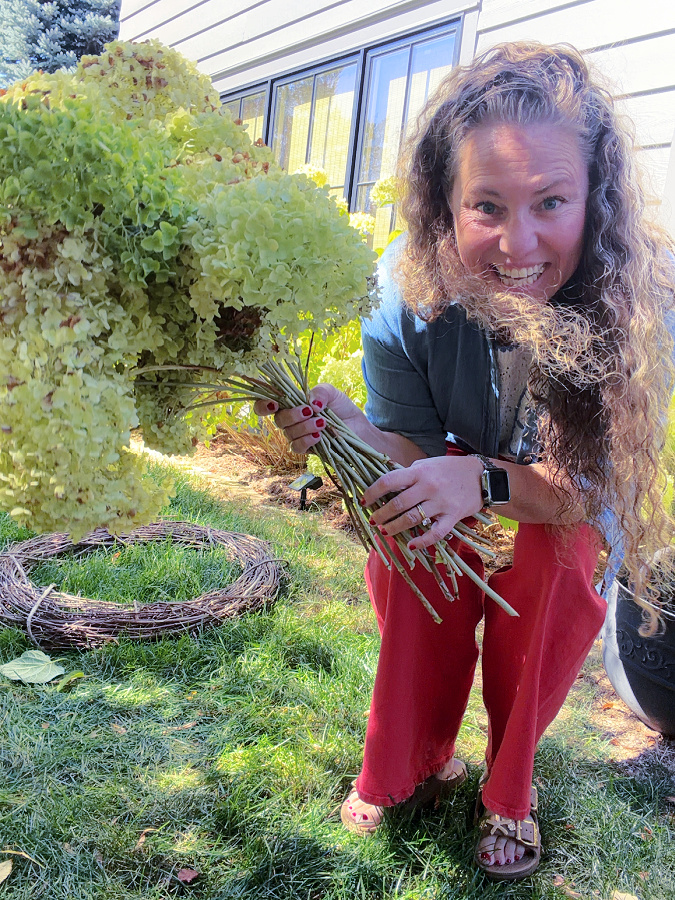
Step 2: Tuck the Hydrangeas Into Your Grapevine Wreath
Here’s where the magic happens!
Simply take your hydrangea stems and tuck them between the branches of your grapevine wreath.
No attaching necessary!
The grapevine holds the stems in place, making this one of the easiest DIY wreaths you’ll ever make.
Keep adding blooms around the wreath until you achieve the fullness you love.
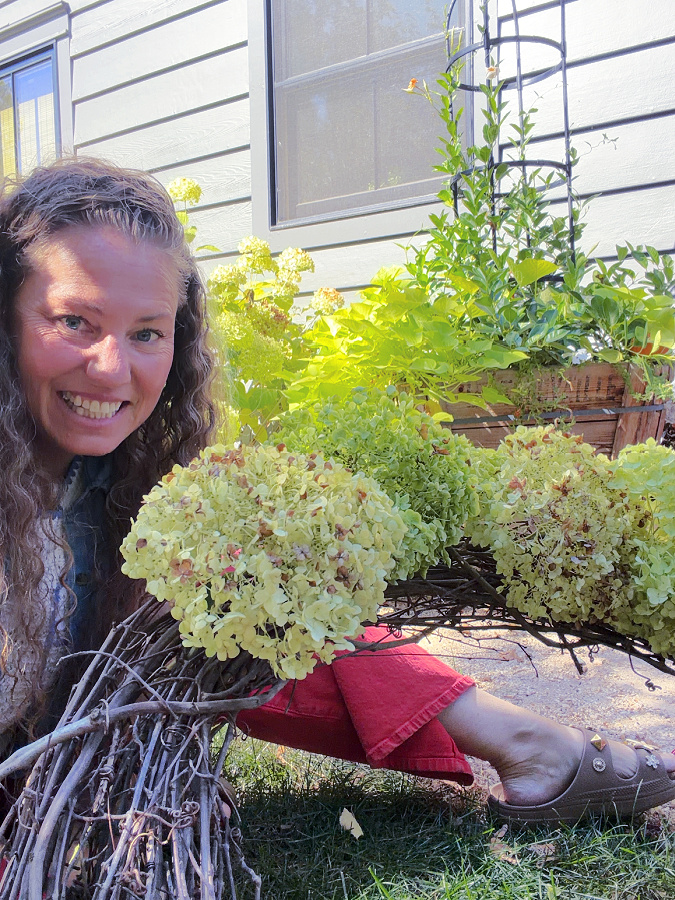
Step 3: Fill In the Gaps
Take a look at your wreath and adjust any blooms that need a little fluffing or repositioning. I suggest doing this when it’s hanging up so you can see where the empty gaps are.
I love a full, natural-looking wreath, so I tucked the flowers close together.
Don’t worry about making it perfect. A little bit of imperfection adds to its charm!
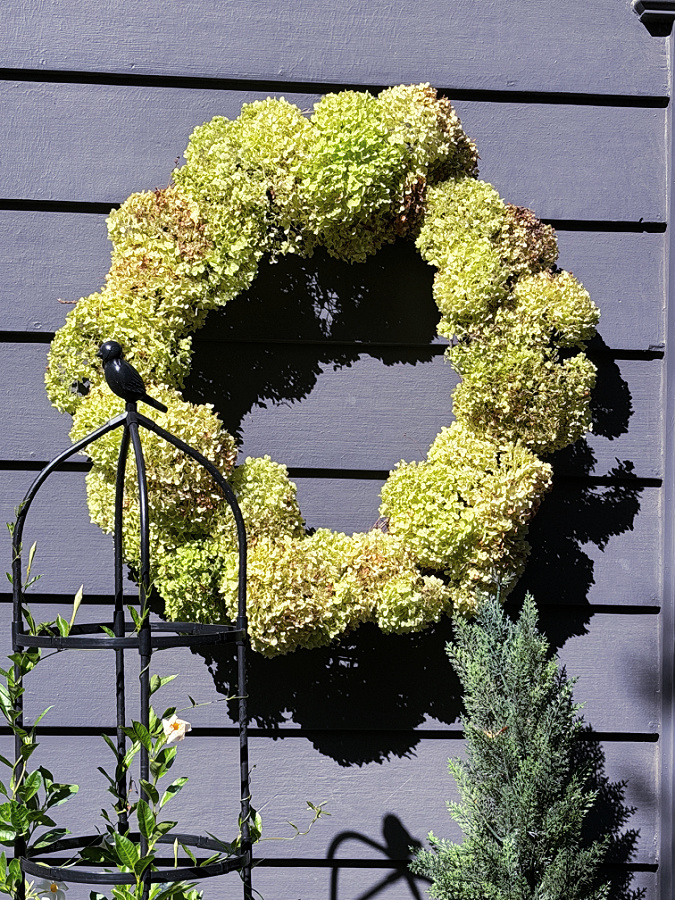
Step 4: Hang and Enjoy!
That’s it!
In about 10 minutes, you’ve created a gorgeous DIY hydrangea wreath using flowers from your own garden.
Hang it somewhere indoors, away from direct sunlight and moisture, and let the blooms continue drying naturally.
As the flowers dry, they’ll take on those beautiful muted green and antique shades that I absolutely love.
One little tip: Dried hydrangeas can be delicate, so handle your wreath gently and choose a spot where it won’t get bumped or blown around.
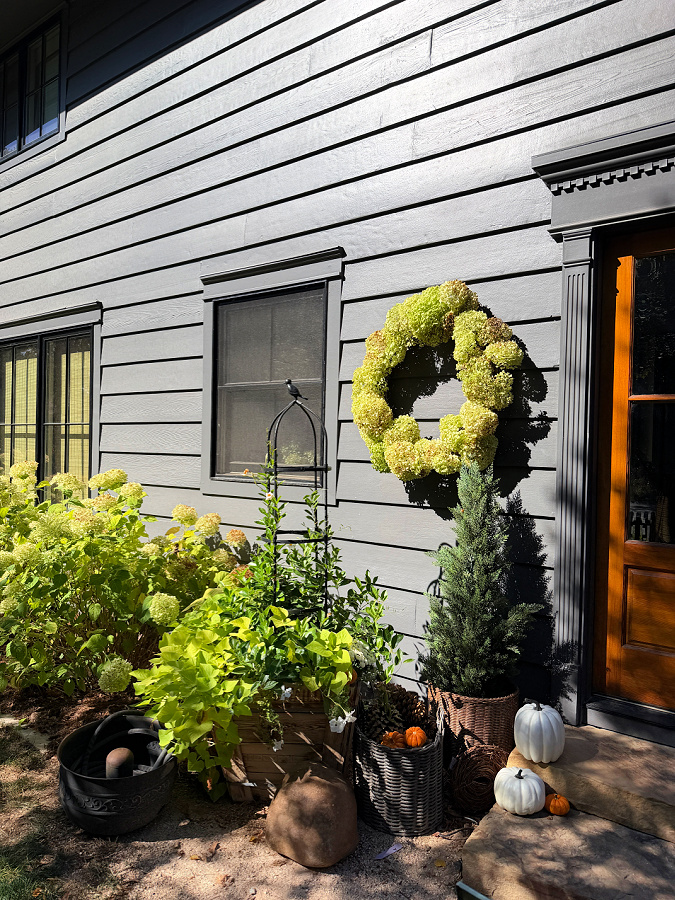
Can You Make a Hydrangea Wreath With Fresh Hydrangeas?
Yes! That’s exactly what I did!
The secret is choosing mature Annabelle hydrangeas that have already started transitioning from white back to green.
These blooms are much better suited for drying than newly opened white hydrangeas.
As long as you’ve chosen blooms that are ready to dry, they can dry right on your wreath!
And if you’re thinking about growing your own hydrangeas, make sure to read my post on 12 Things You Need to Know About Hydrangeas. I share some of my favorite growing tips and helpful information for getting started.
Don’t Use All Your Hydrangeas Just Yet… Christmas Is Coming!
Now here’s something else I’m really excited about!
I’m actually saving some of my Annabelle hydrangea blooms to use on our Christmas tree this year! I’ve been dreaming up some simple, natural Christmas decorating ideas, and I think dried hydrangeas are going to be such a beautiful addition. So stay tuned because I’ll be sharing how I use my dried hydrangeas on our Christmas tree soon!
A Little Garden Beauty That Lasts Beyond Summer
One of the things I love most about gardening is finding ways to enjoy the beauty of our flowers long after their growing season has ended. This simple DIY hydrangea wreath is such a sweet reminder that just because summer is over doesn’t mean we have to say goodbye to everything we grew. I hope this inspires you to grab a few hydrangeas and make a wreath of your own!
Now I’d love to know: Would you try this 10-minute DIY hydrangea wreath? And have you ever decorated your Christmas tree with dried flowers?
Let me know in the comments!
P.S. Don’t forget to save this easy hydrangea wreath tutorial to Pinterest so you can try it later!
I’d love to have you hang out with me some more! Feel free to follow along with me on any of the platforms linked below.
LTK | Facebook | Instagram | Pinterest | Amazon
xoxo,
Kelly
Did you like this post? PIN it for later!