

How To Make a Dried Peony Wreath
Raise your hand if you love peonies? Me too! Their blooming season is so sweet, yet so short that I wanted to find a way to extend their beauty. And guess what? I found it! I can’t wait to show you just how easy it is to make a dried peony wreath.

*As an Amazon Associate, I earn from qualifying purchases. This post contains other affiliate links too for your convenience. Click here to read my full disclosure policy.
How to Make a Dried Peony Wreath
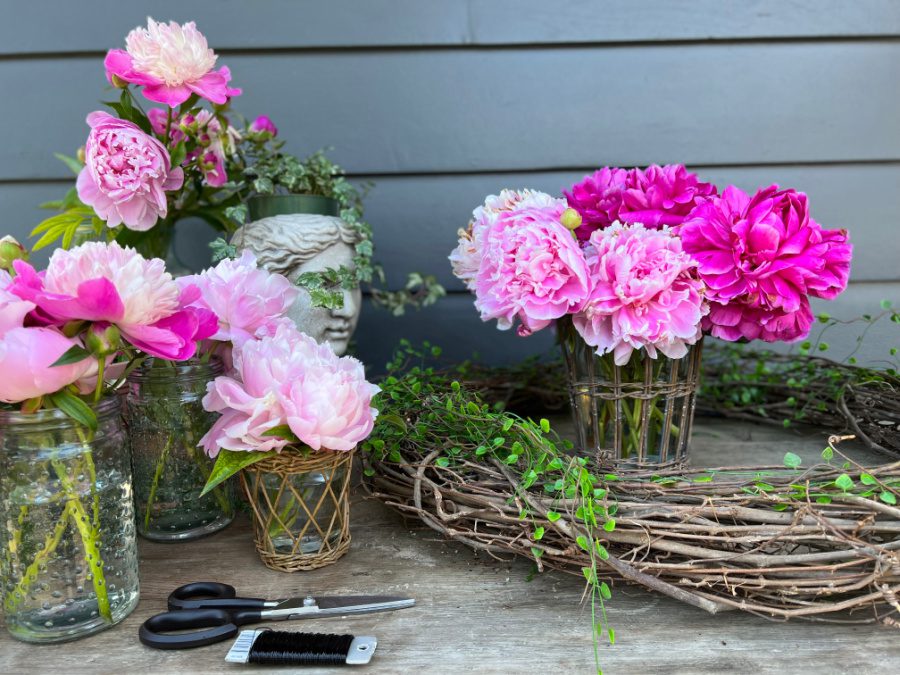
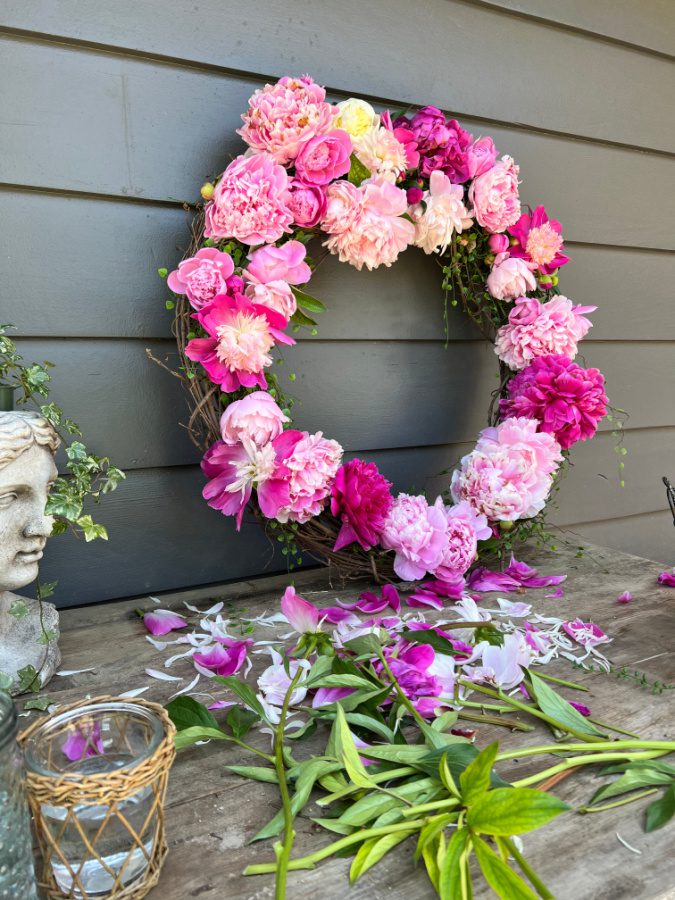
This lovely wreath idea came together after my mom, and I put together this beautiful outdoor table featuring these pretty pink peonies from her yard. (Look just beyond the table and you will see my all-white peonies are about to burst!)
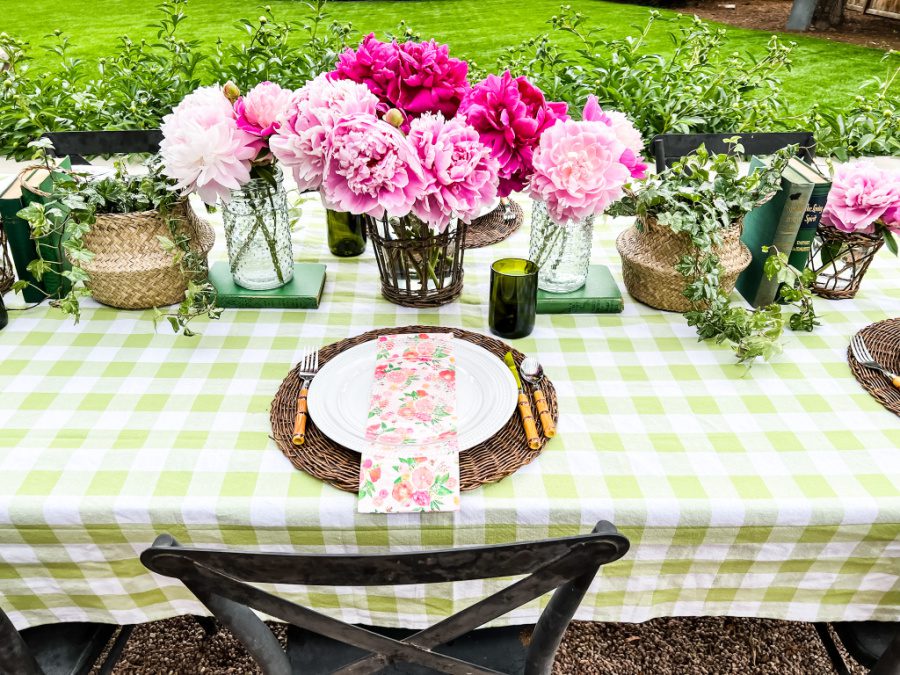
I just couldn’t bear the thought that they would be gone in a few short days. My brilliant mom said why don’t you dry them and use them to make a wreath?
And that’s exactly what I did.
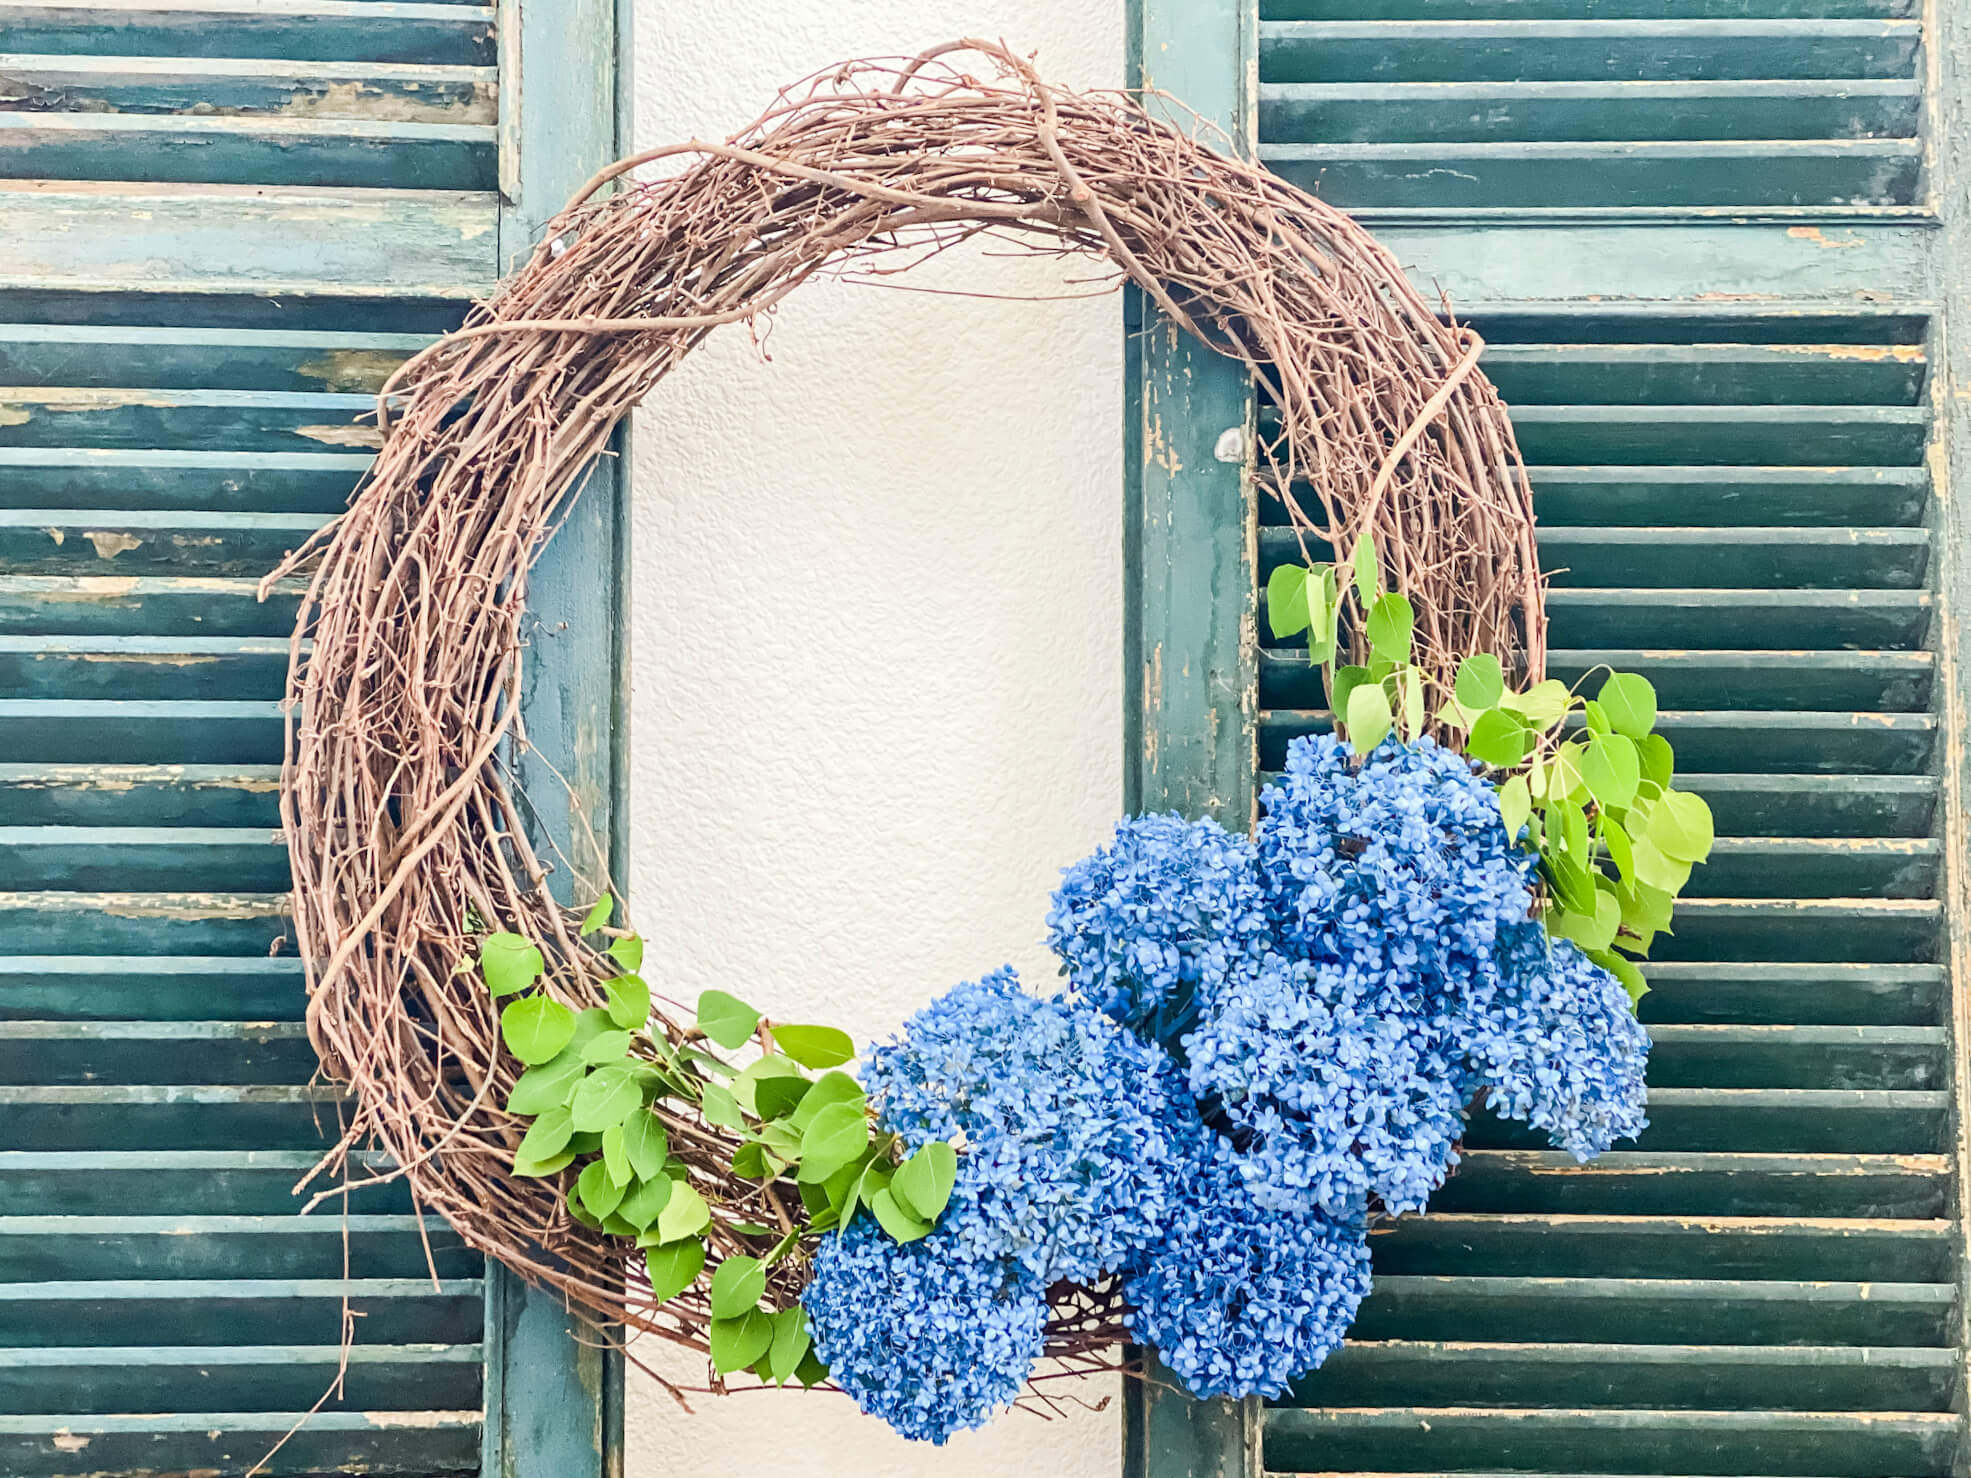
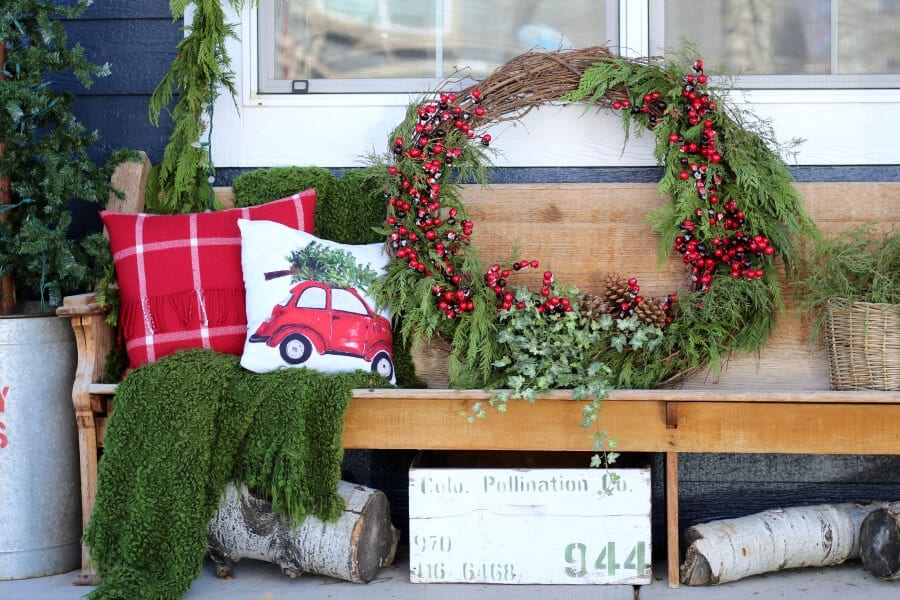
In just 10 short minutes I used my favorite grapevine wreath that I have also used for a fall wreath, summer wreath and Christmas wreath! It was time to add a Spring wreath to that list.
Let me show you how this beautiful wreath came together.
What You Need to Make a Dried Peony Wreath
This simple wreath project requires just a few materials. I was lucky and had them all on hand already. And you might be wondering, are peonies even good flowers to dry? Yes, my friend they most certainly are!
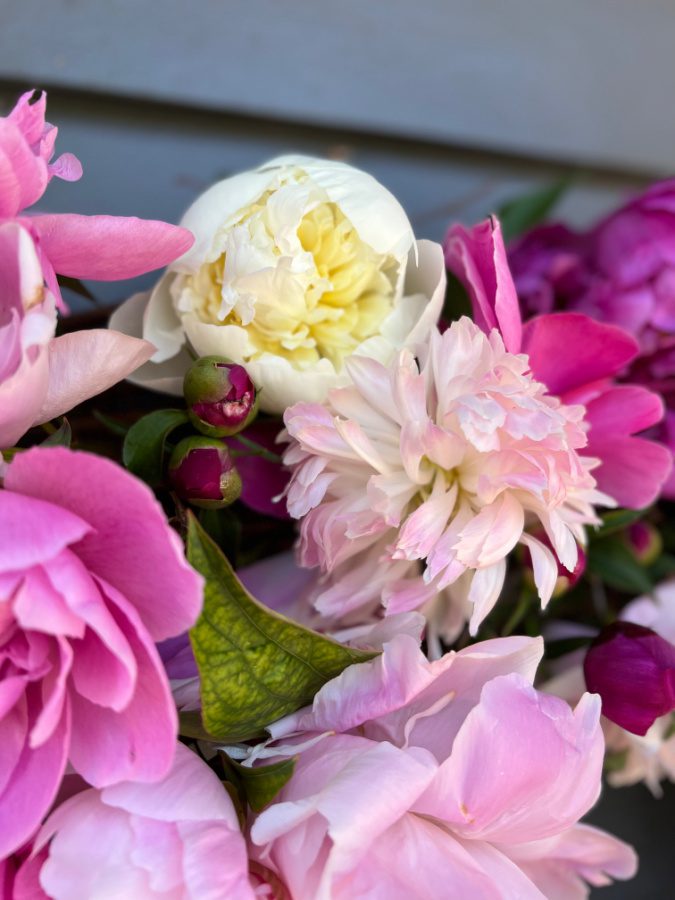
- Fresh peony blooms, the variety I used were Kansas (dark pink), Sarah Bernhardt (pale pink) and Gay Paree (white center/pink edges) *If you don’t have some in your yard, Trader Joe’s has gorgeous ones!)
- a grapevine wreath (mine was 30″ from Hobby Lobby)
- faux greenery
- scissors
- floral wire (optional)
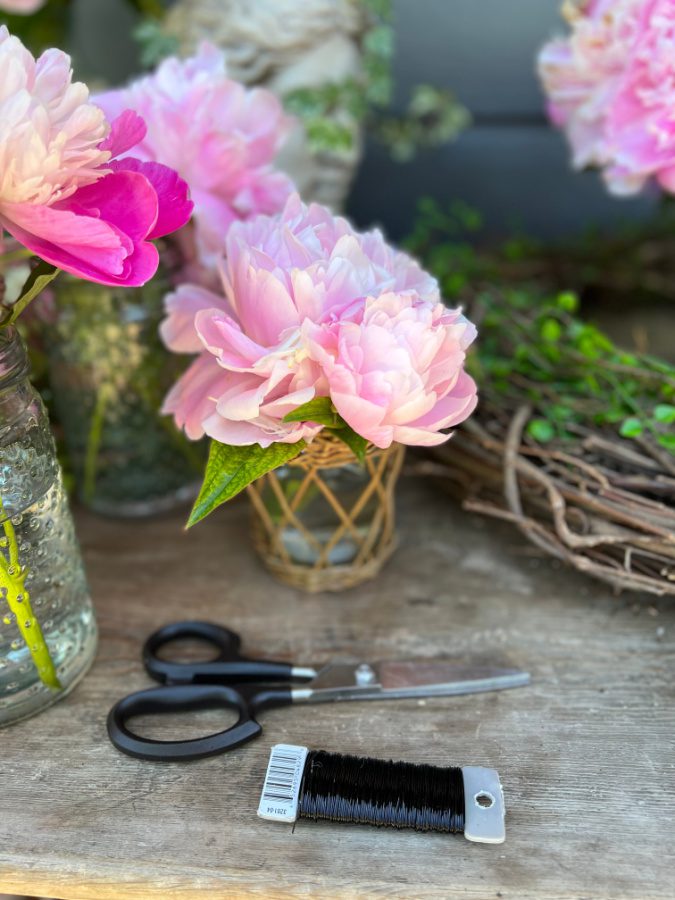
Step 1: Gather Your Supplies
Ok first, a little pep talk. If I can make this wreath than you can too! It really might be the easiest wreath you will ever make.
The most important step in this whole DIY project is finding your flowers!
Like I mentioned above I was lucky enough to get these beauties from my mom’s garden. But if you don’t have some in your own garden or a friend’s then you can usually find them at a grocery store or the famous Trader Joe’s.
And if you are stuck finding some you can always go to a florist and see if they can order you some. I think they are well worth it!

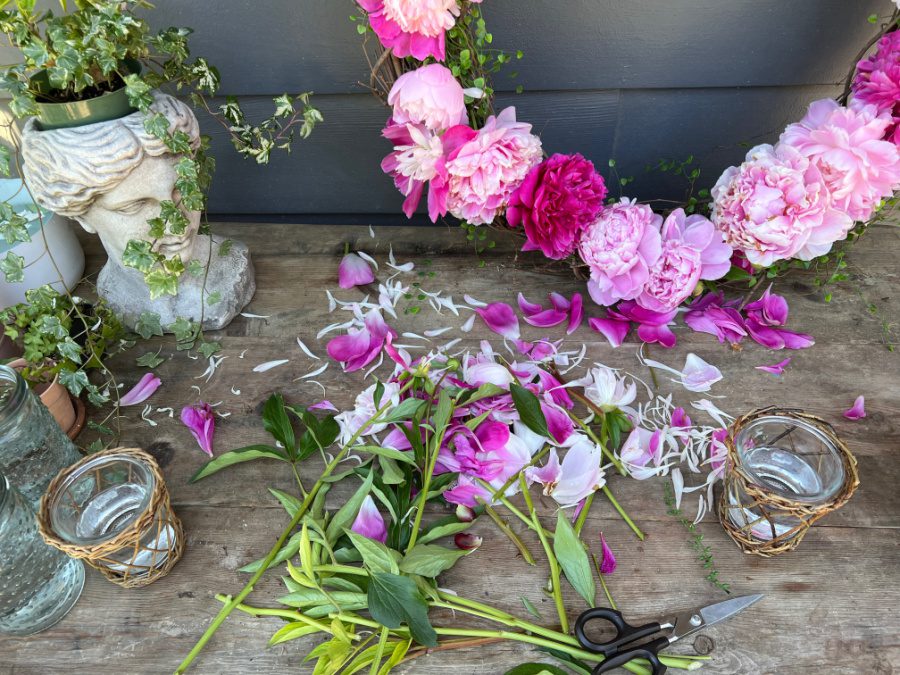
Gather up all of the supplies I listed above; and then you will want to find a clean workspace to get started on your wreath. I used our potting table out back and cleared it off a bit to make some room for this project.
Step 2: Weave in Your Greenery
For the base of the wreath, I used some faux greenery stems to add some color underneath the flowers. This is an important step not to miss because once your peonies have dried, they shrink quite a bit and it is nice to have some greenery showing.
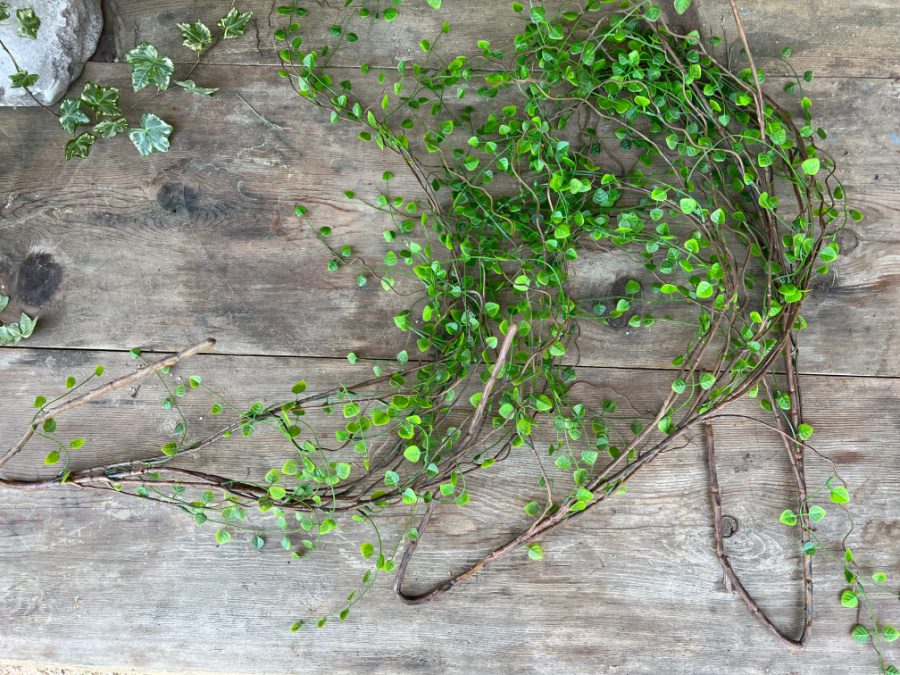
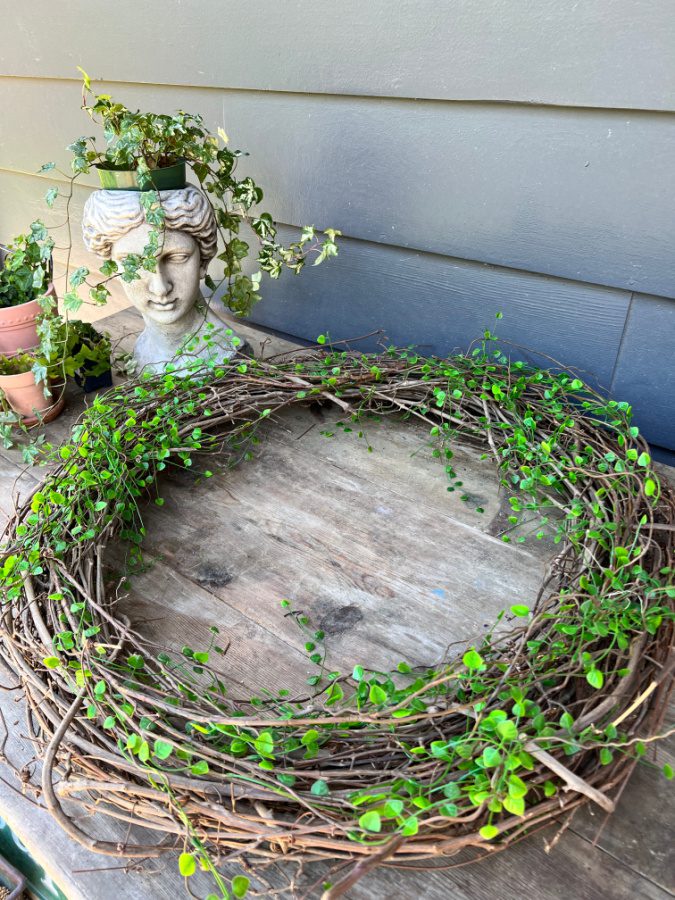
This faux greenery will not fade and will allows some wonderful contrasting colors to pop through on your wreath. This wreath could almost be pretty like this? But why stop when I have peonies waiting?
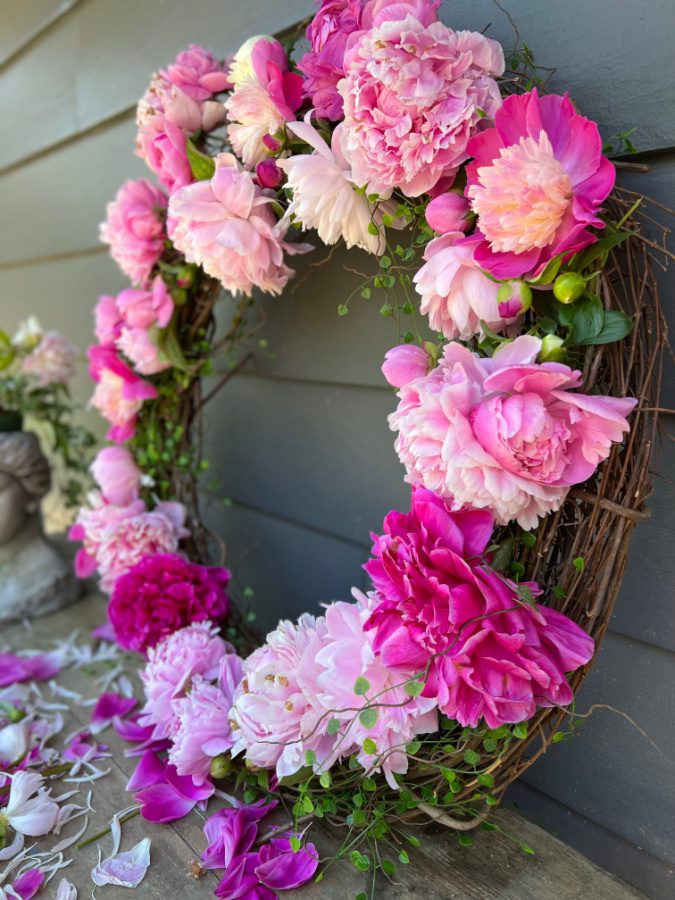
Step 3: Start Adding Peonies
Ok, now for the fun part!
I decided to prop my wreath up against the house for two reasons. The first reason is this would help me see where to place the flowers and have an even arrangement.
The second reason I propped the wreath up is that this would allow the flowers to hang down and dry in place and I could see if any of them would fall out. So, maybe that is three reasons?
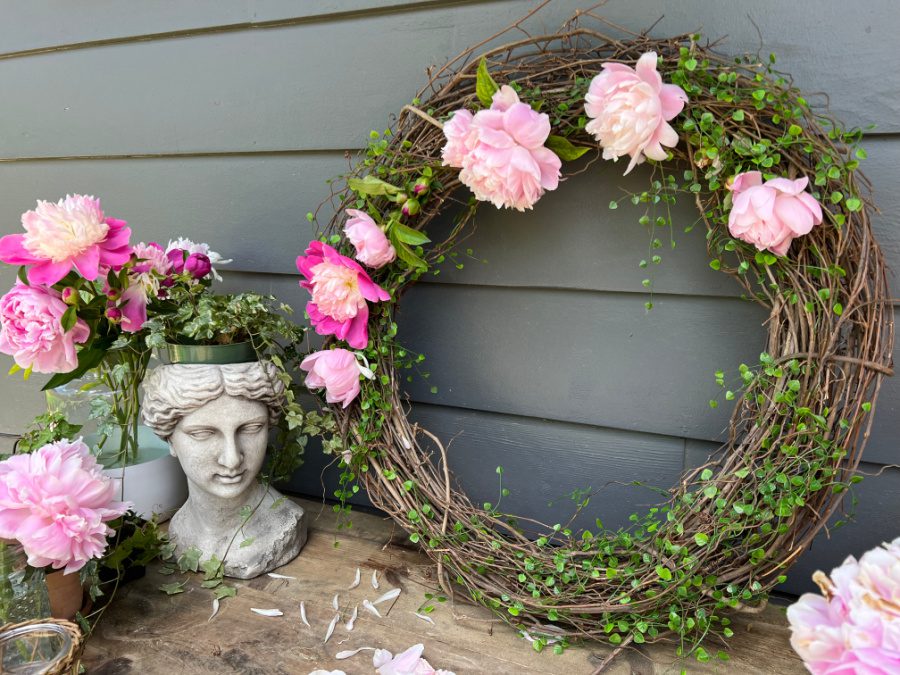
Add Those Flowers
Snip and tuck, snip and tuck.
I simply grabbed individual peony stems and stripped them of their leaves and cut most of their stems off. Make sure to leave enough stem to push into the grapevine.
Next, I tucked them into the grapevine wreath and found that they fit rather snuggly.
I had originally planned to secure them with floral wire but quickly learned this wasn’t a necessary step because the peonies were staying in so well. Plus, it would have taken forever!

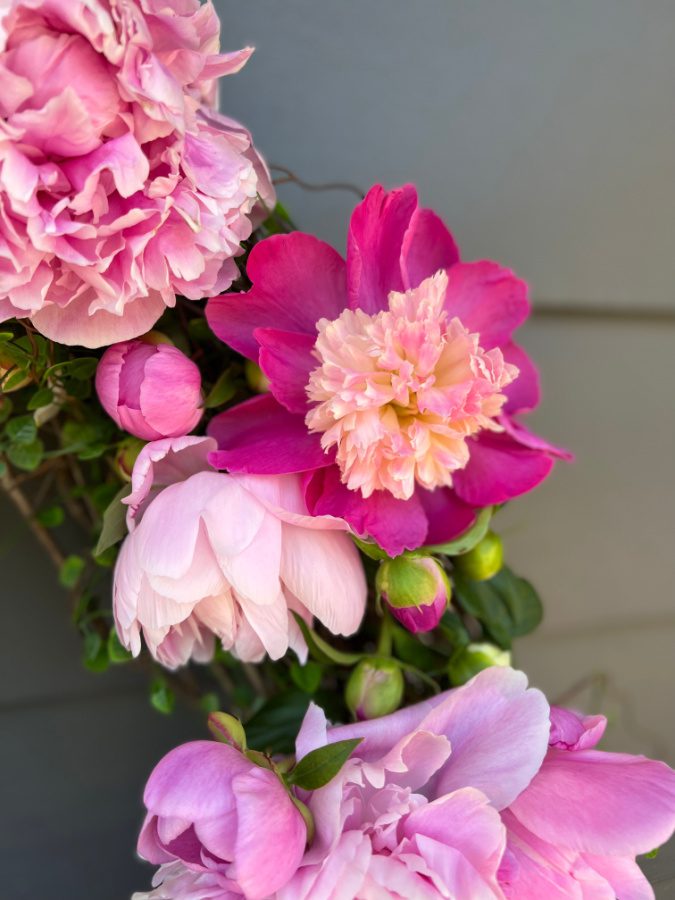
I tried to group some of the similar colored peonies together and I also tried to spread some of the showboat ones out. This is where you can get creative with your peony placement because you can’t do it wrong because there is no wrong way.
Did you notice that I even added a few unopened buds? I thought this added a nice variety and shape to the wreath.
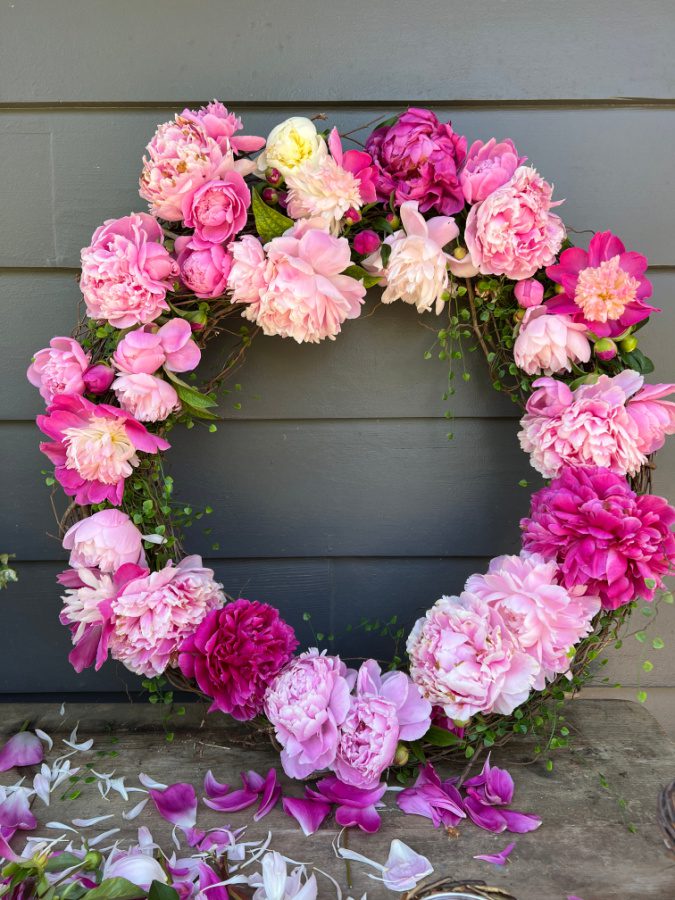
I stuffed the wreath as full as I could and used up all of the peonies! Stuff until you are happy.
My thought is the more the better, right?
And you can always vary the size of the wreath you choose based on the number of peonies you have. Luckily, I had a ton of peonies which was nice since I used this large 30-inch grapevine wreath.

I ended up collecting all of the peony petals that fell off the flowers in hopes to save them for potpourri when they too are dried. This is a lovely trick I learned from my mom as well. She also recommends not leaving them stuffed like this but rather on a plate, so they dry nicer and don’t get moldy. So blessed to have her wisdom!
Step 4: Letting the Flowers Dry
Ok now comes the easy part!
Enjoy your gorgeous peony flower wreath in all of its glory. This beauty didn’t stay perky for long because the peonies were out of water obviously. But it did go strong for two days!
Peonies dry beautifully if they are allowed to hang while drying or they can even dry in a vase without water just like hydrangeas. Basically, they air dry on their own in a very lovely whimsical and romantic way. So easy!
Side note…how pretty would this be for an outdoor wedding or garden party?
I was instantly smitten!
The picture below shows the flowers almost dried after just three days! I did take it in the garage the first night because we were supposed to have high winds. But for the rest of the time, I left it outside to dry.
I think the heat sped up the drying process (leaving it outside) especially since we were having 80/90-degree weather.
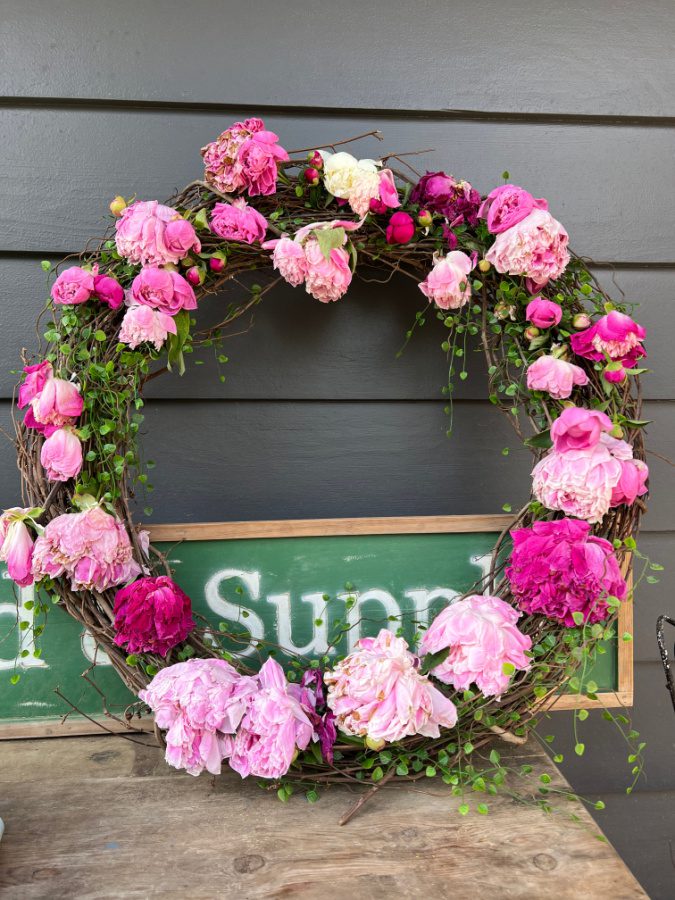
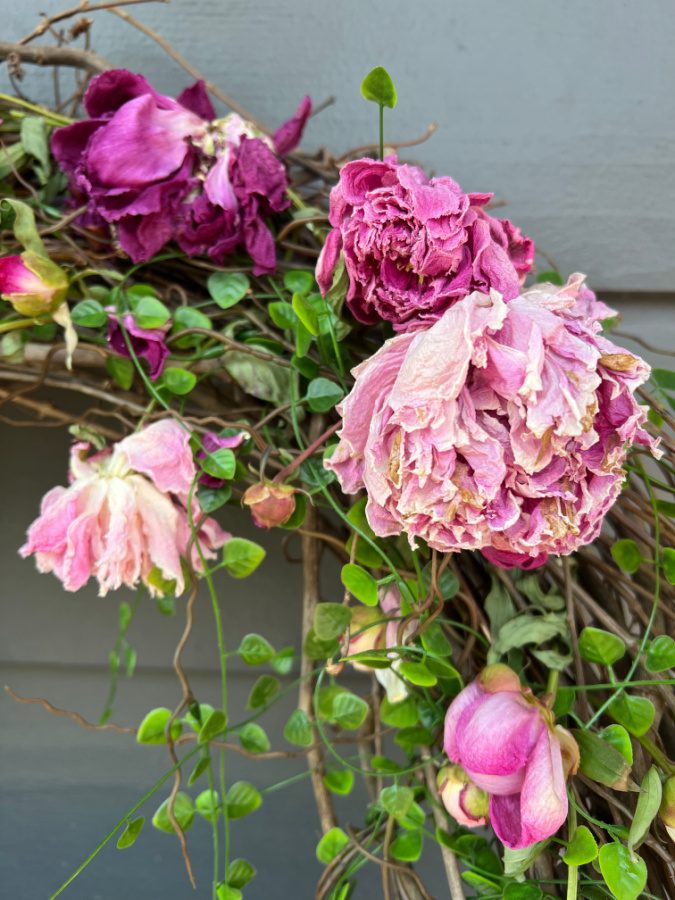
You can see that the flowers started to shrink and dry beautifully. I am in love with their romantic look and how well they hold their color!
A Dried Pink Peony Wreath
This is how it looks a week later, and I can’t get over how much I adore it! Now I want to make a million dried peony wreaths so I can have these beauties last a bit longer.
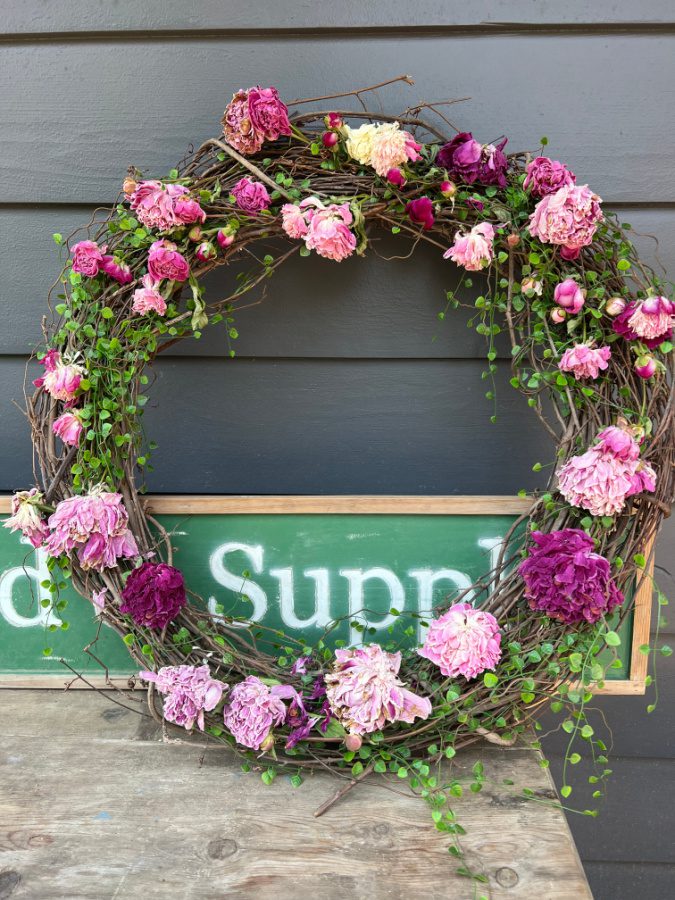
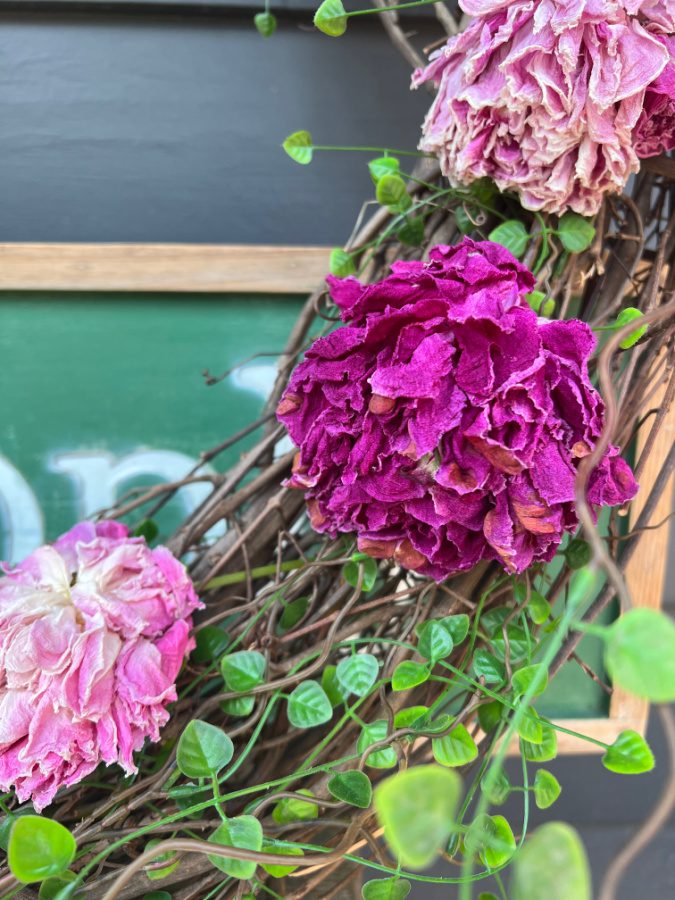
Here are a few closeups so you can admire their lovely, dried petals! Stunning, right?!
So, what do you think? Do you want to try your hand at making a dried peony wreath? Please let me know if you do and if you have any questions. And now my job is to decide where this wreath will land in our home!
I would love to hang out some more! Let’s be friends on Pinterest, Facebook and Instagram too!
xoxo,
Kelly
Did you like this post? If so PIN it for later!


I am so inspired by how this turned out. I absolutely love dried flowers and peonies are the best! Well done!
Aww thank you and thank you for the peonies and the idea!!!!
Love this Kelly, so gorgeous! I need to get my hands on some peonies pronto!
Yes, yes you do!
GORGEOUS!!!! I think this is the prettiest wreath I’ve ever seen!! Peony flowers are just incredible. What an amazing idea that your mom had! You did a wonderful job, Kelly. Pinned!!
Aww thanks Rachel! I adore how it turned out. You should make one from your hydrangeas!!!!
Absolutely stunning! I love peonies. Thank you so much for including me into the summer blog hop. What a pleasure. Hugs to you.
Thank you, Renae. So happy you could join and share your beautiful lakeside cottage!
Kelly this is the best!!! I love this idea and want to make one. Looks beatuiful with your home too!
Thank you Stacy! You need to make one for sure!
I learned a lot about peonies from your post! Thank you. I have never dried the flower heads; I loved your wreathe and don’t have enough blossoms to do one…this year. I have always dried the petals for potpourri and added more rose essential oil to it! It is definitely the smell of summer to me! My grill is seldom used and sits in the sun. I put my homemade grapevine wreathes, drying herbs, and shallow bowls of petals on the metal lid and shelves and stuff dries quickly. Have to be careful that petals don’t blow away.
Oh good this makes me so happy! I will try adding essential oils to mine now, thank you! Thanks for stopping by!
Your peony wreath is absolutely beautiful, Kelly! I love the colors! It’s been a pleasure to join you this week for the summer home tours and today for Welcome Home Saturday! Thanks for including me. Blessings, Cecilia @My Thrift Store Addiction
Thank you, Cecilia and thanks for, joining us this weekend!
Kelly
This wreath is just so stunning! I loved everything about it. I’d like to share a link on my Dirt Road Adventures next Sunday!
Thank you, Rachel, I would love that!
Hi Kelly! Your wreath turned out so beautifully! What a great idea your mom had!
Thank you Molly!!!