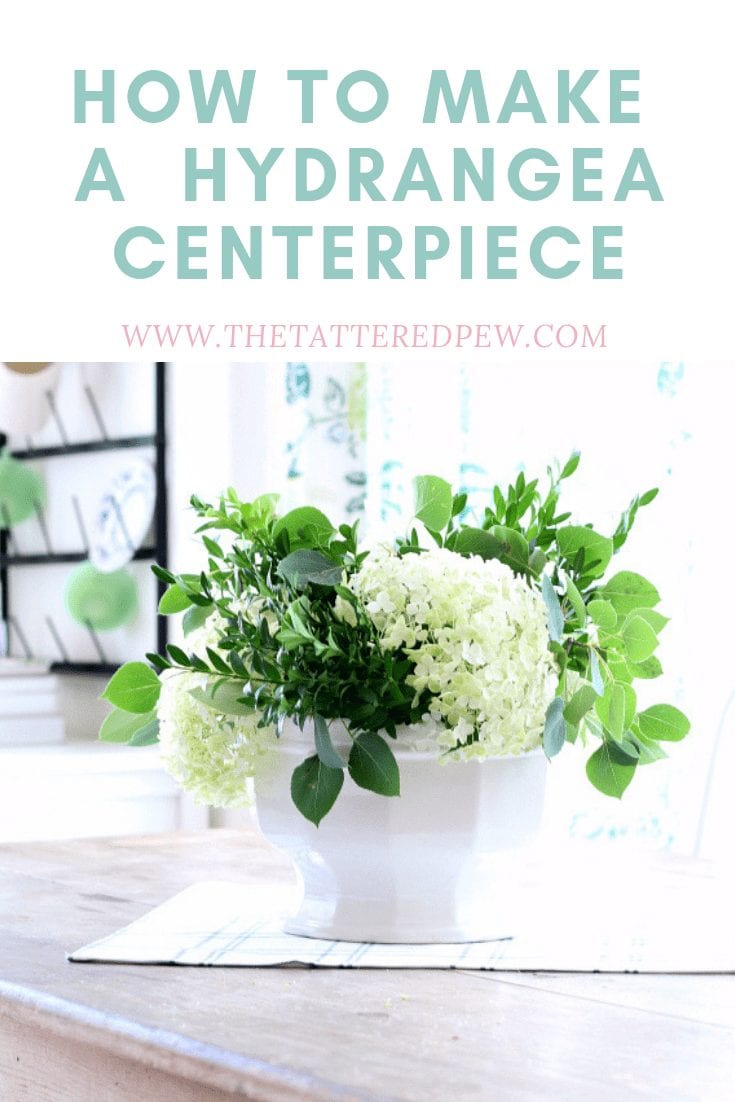
How To Make A Low Hydrangea Centerpiece
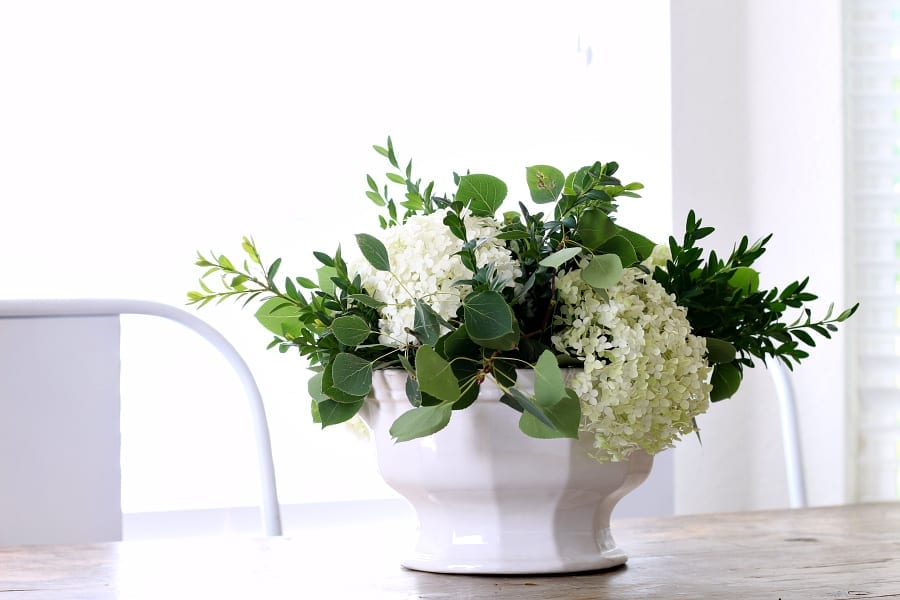
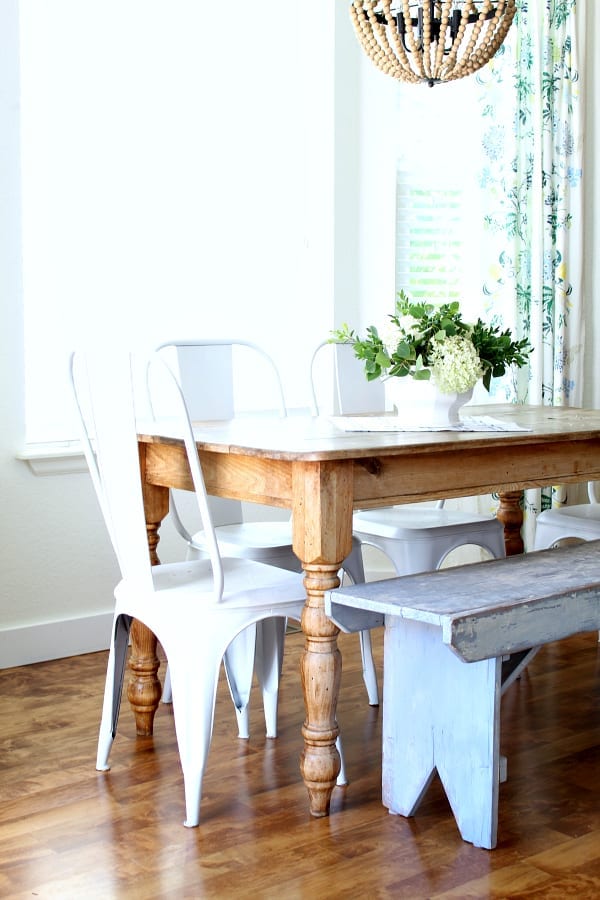
Flowers are one of the easiest ways to brighten up any space quickly, and by quickly I mean, this low hydrangea centerpiece took me less than 10 minutes to make!
Hydrangeas happen to be one of my very favorite flowers and I am lucky enough to grow them in our garden. We have Annabelle hydrangeas and Limelight bushes and trees and I love seeing them in our yard, but I also love seeing them in my home.
How To Make A Low Hydrangea Centerpiece
Since I was adding this beautiful flower arrangement to our table I figured I would show you how easy it was to make this centerpiece. Now that I have attended my friend Melissa’s DIY Floral Workshop I am constantly feeling inspired to create beautiful bouquets!
*This post contains some affiliate links for your convenience. Click here to read my full disclosure policy.
This flower arrangement could work with whatever flowers you have in your yard too. But if you want white hydrangeas you can always visit your local grocery store or Trader Joe’s. They always seem to have them.
Let’s get started!
Here is What you Need
- A low vase or soup tureen (I found mine at a local flea market and just removed the lid)
- Greenery (I used boxwood clippings and aspen leaves both from our yard)
- Hydrangeas (You can find these at any local grocery store or like me use some from your garden)
- Water
- Tape
- Alum (read my Tips and Tricks for Long Lasting Hydrageas post to see why I use Alum)
- Floral knife or scissors
Shop This Post

Creating Your Low Hydrangea Centerpiece
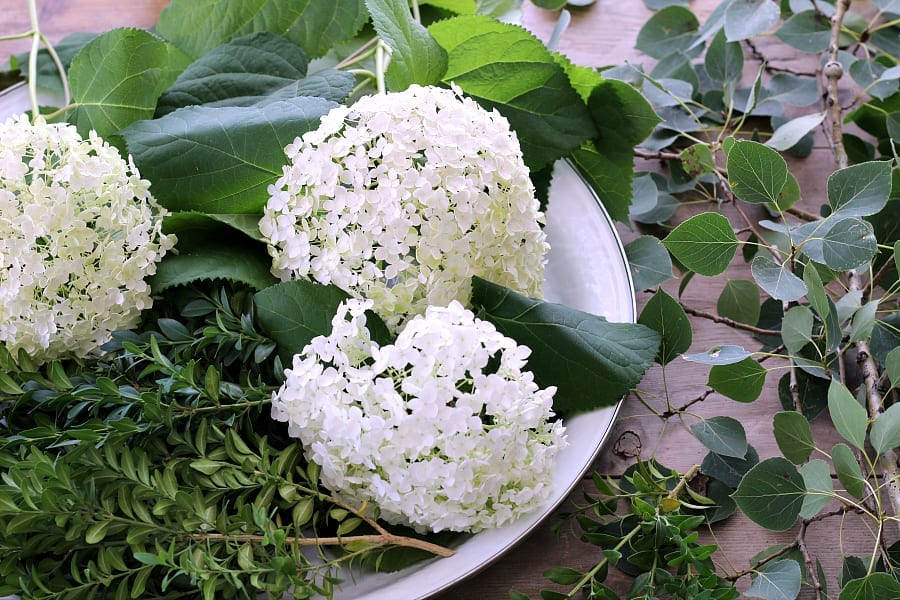
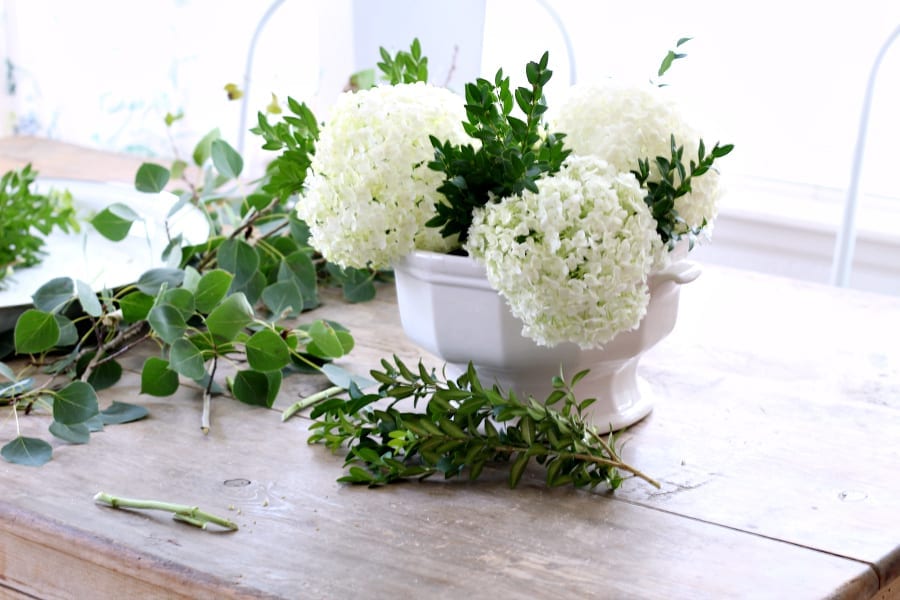
First, gather your supplies and find a good table to spread them out on. I cut 4 medium sized Annabelle hydrangeas from our garden and immediately got them into some water.
Then I cut boxwood clippings from the bush in our front yard and aspen clippings from the tree in our backyard.
TIP: Look around your yard to see what you have that would make pretty green filler or find pretty greenery at the grocery store!
Preparing Your Container
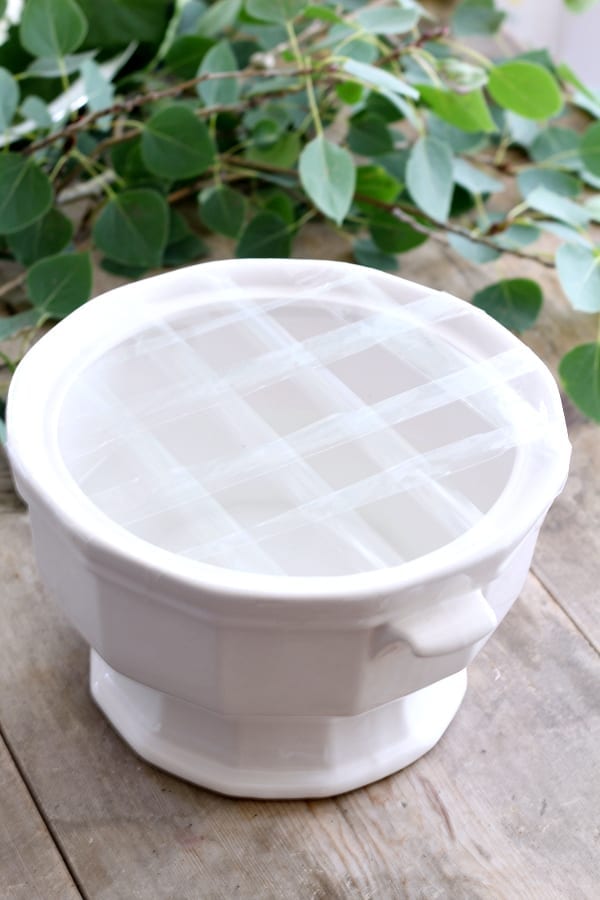
Whenever I make a low centerpiece I like to use tape to create a guide for my flower placement and to offer the flowers and greenery support. It’s a simple crisscross method that I find really helps!
Just make sure you add your water before you use the tape! Ask me how I know this. (Insert eye roll)
The Hydrangeas
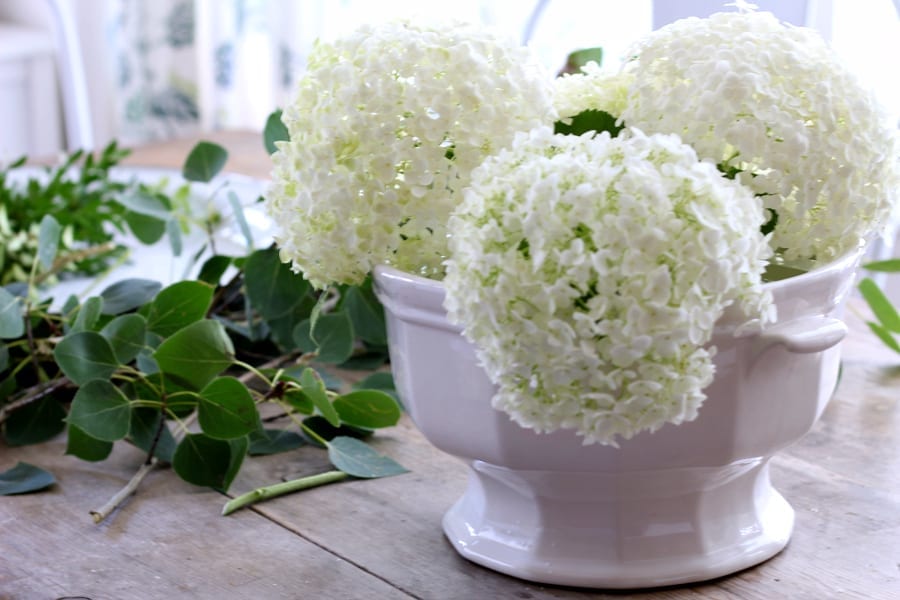
Once the grid is in place prepare your Annabelle hydrangeas by using my Alum trick and place them in the soup tureen. Place them at a slight angle almost like they are leaning on the side, not straight up.
Add Your Greenery
Once you have your flowers in your container grab your greenery to fill in the gaps. I love using two different kinds of greenery because it adds more texture and is visually appealing!
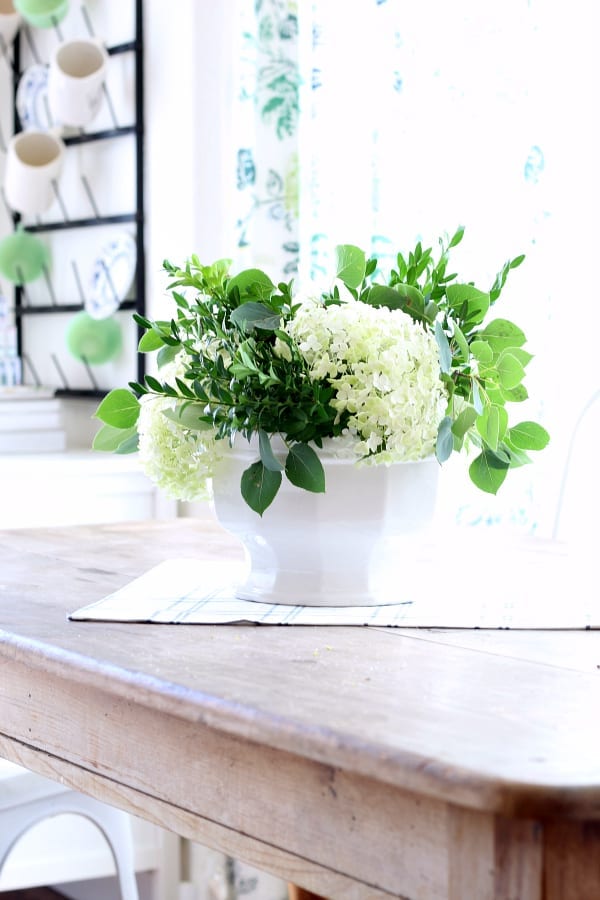
Tuck and stuff your greenery into your vase until it feels full and looks balanced. Turn your centerpiece and look at it from multiple angles until you are satisfied.
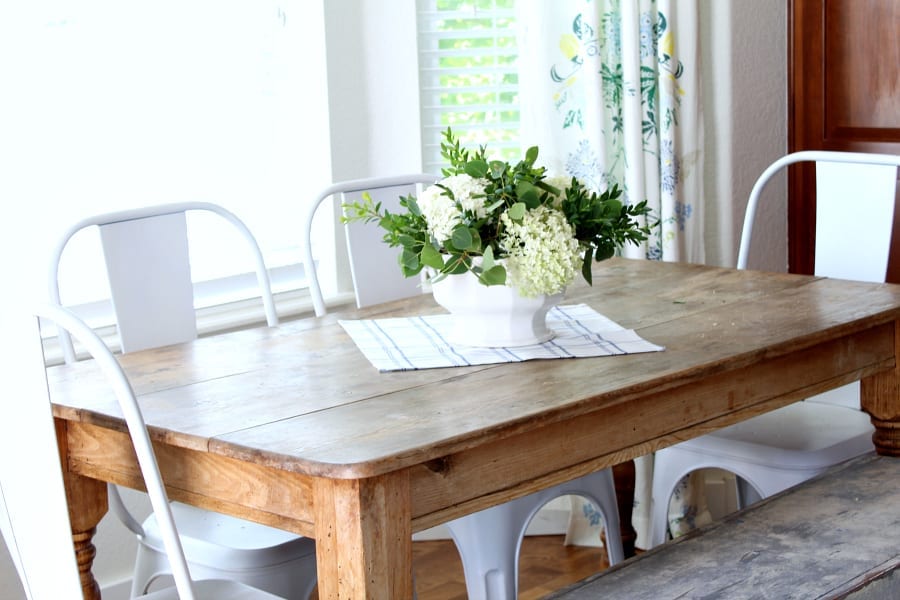
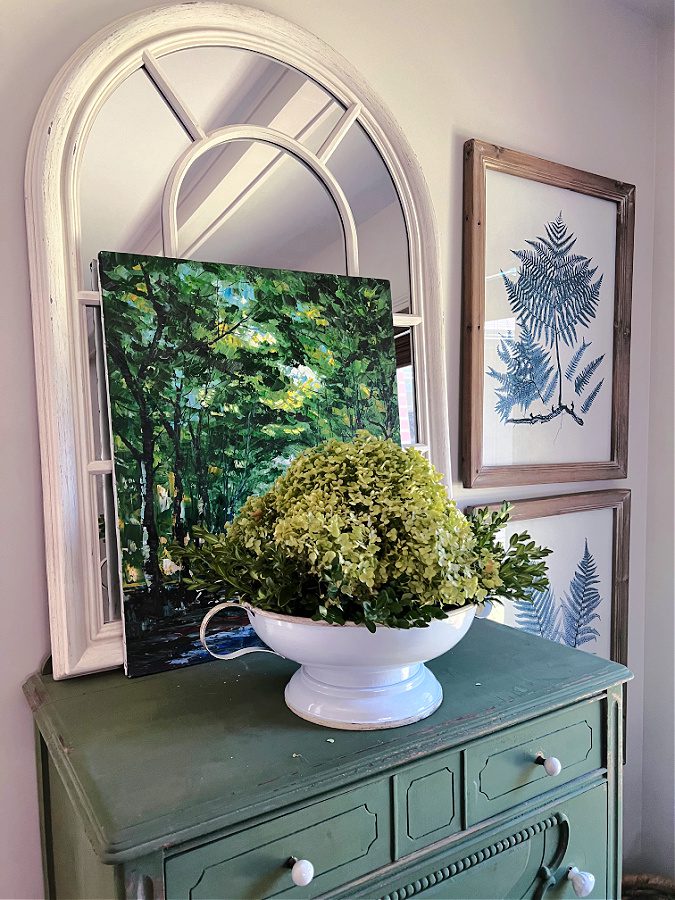
Low Hydrangea Centerpiece
Finally, step back and enjoy your low hydrangea centerpiece! So simple, right?! Just how I like it.
Have you made a low glower arrangement before? This was my first but it won’t be my last.
Other Hydrangea Posts You Might Like
- Tips & Tricks for Limelight Hydrangea Trees
- Hydrangea Wreath
- The Secret Tip for Drying Hydrangeas
- Tips for Longer Lasting Cut Hydrangeas