

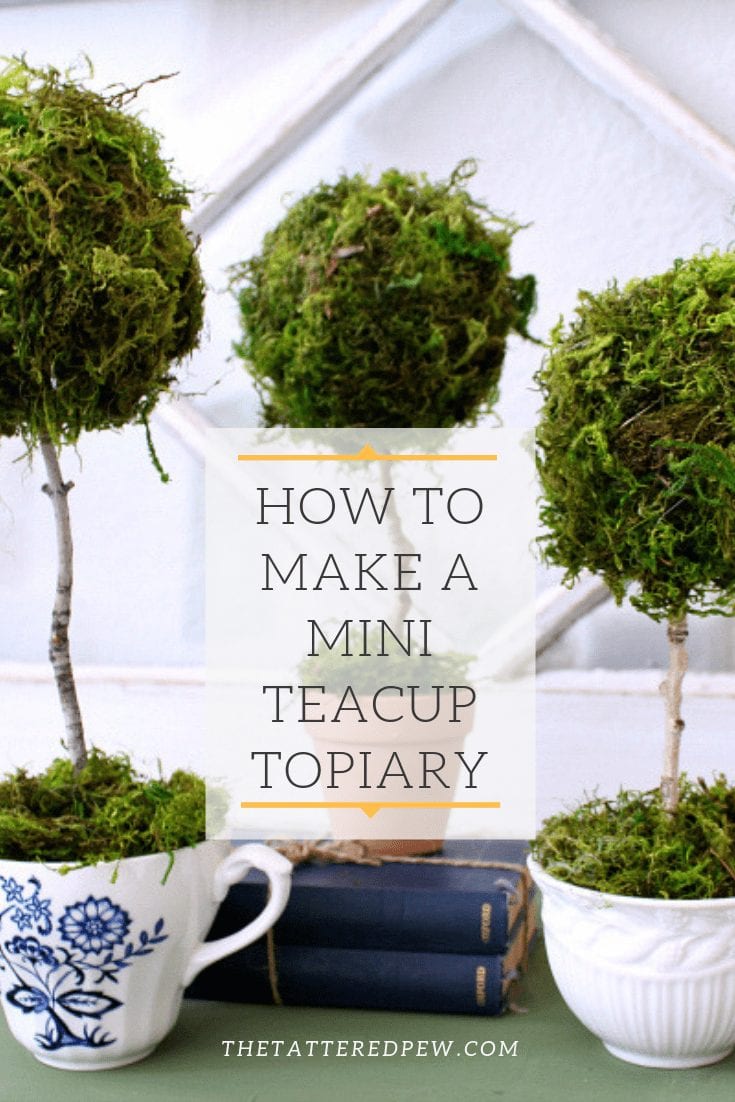
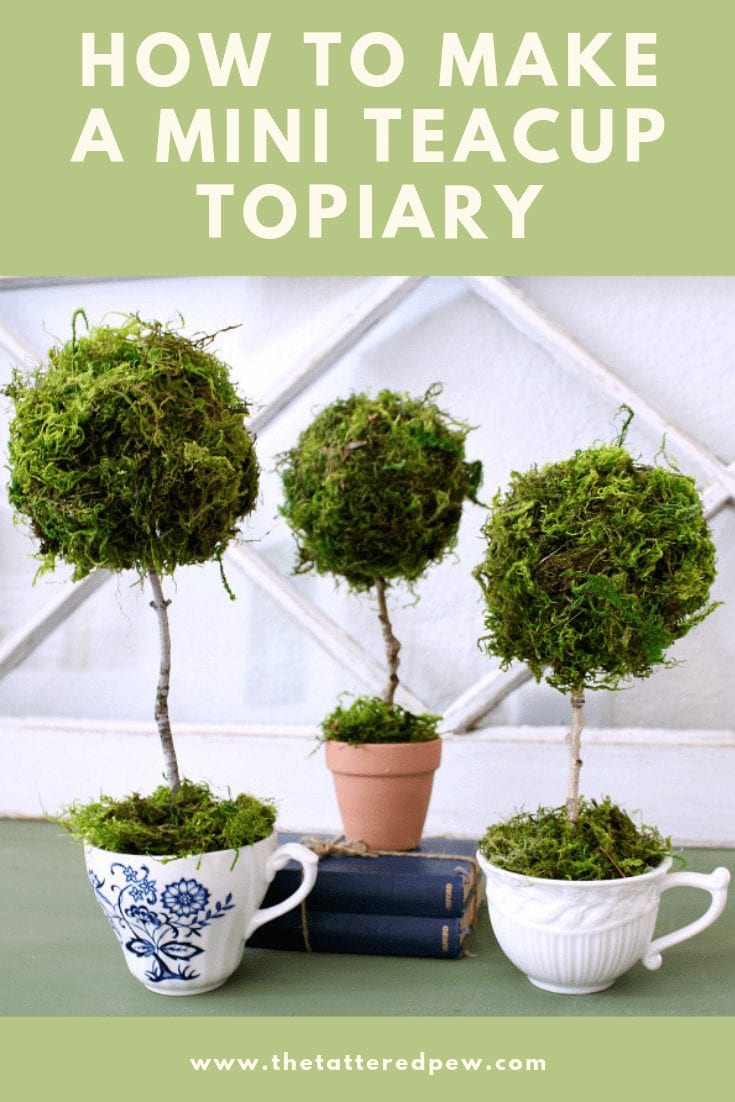
How To Make a Mini Teacup Topiary

I am always on the hunt for fun little DIYs to make for my home and to share with you! Well when I was at the Dollar Store the other day I noticed that they had some amazing craft supplies. After I saw that they carried moss, mini foam balls and floral foam I started thinking how cute and easy it would be to make a mini topiary and why not plop it in a teacup?!
So today I will be sharing how to make a mini teacup topiary…using supplies from, you guessed it, the Dollar Store!
How To Make a Mini Teacup Topiary
If you have followed me for awhile now you might have seen this post on how I love to decorate with topiaries. So when I saw my friend Heather from Beauty For Ashes Home post about her topiary DIY I was inspired and knew I wanted to put my own spin on it.
This might be one of my easiest DIYs ever and it only took me about 10-15 minutes!
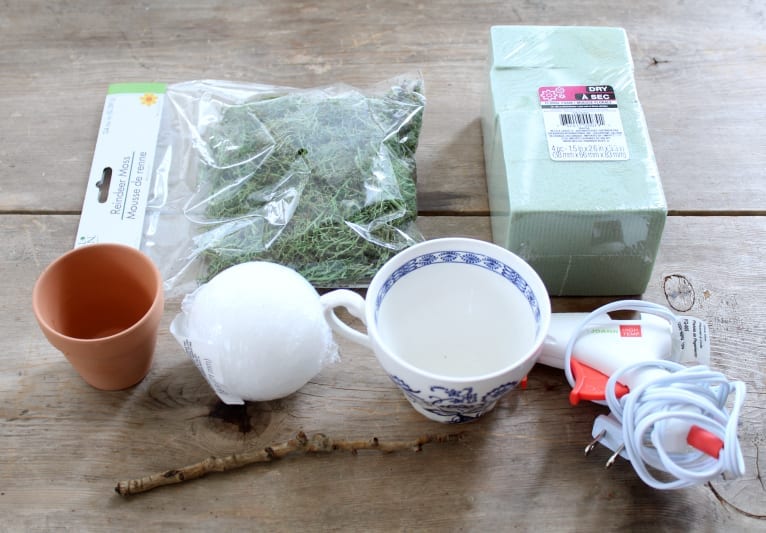
Supplies for a Mini Teacup Topiary
- moss
- tea cups
- sticks
- hot glue gun
- floral foam
- sharp cutting tool
The Steps on How To Make a Mini Teacup Topiary
First gather all of your supplies. I found mine at the Dollar store and I think I spent a total of $6. Yep, only six dollars because the sticks were free and I already had the teacups!
Tip for Finding Affordable Tea Cups
Look at thrift stores or flea markets for single teacups in colors you likes. They are usually very inexpensive and easy to find.
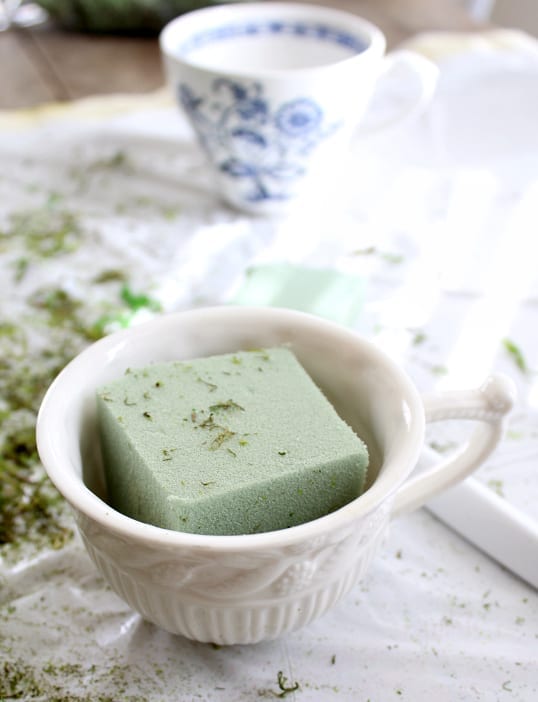
My blue and white ones are a part of my favorite set so instead of directly placing floral foam in the teacup itself I just set a mini pot inside the cup which makes it easily removable!
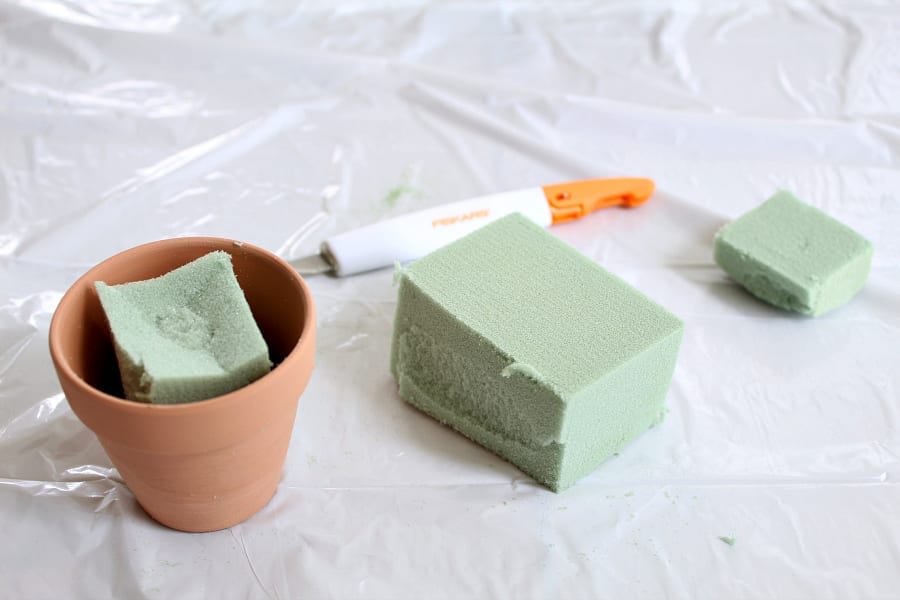
Next, lay out a trash bag on your work surface because the moss gets messy! Then use a sharp cutting tool to cut the floral foam to fit into the mini pot or teacup of your choice.
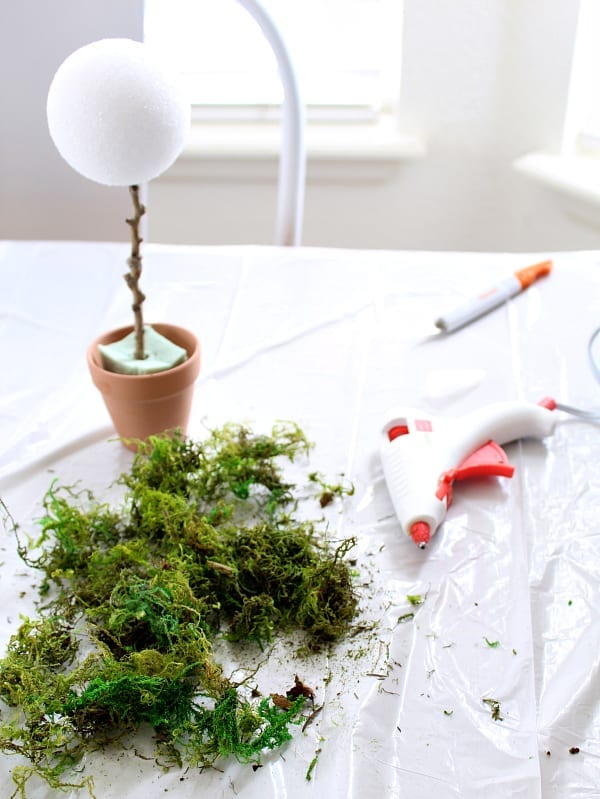
Add your stick to the floral foam. Once it is secure then add the foam ball. For extra support add hot glue around the base at both the top and bottom.
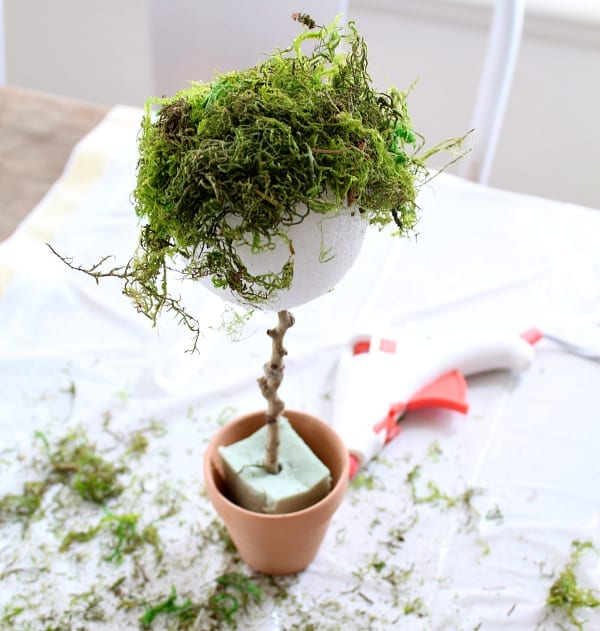
Tip for Moss Application
Moss is usually clumped into larger pieces. I suggest laying it out and pulling the pieces apart as small as you can.
Next add hot clue to the foam ball and pat the moss down with your hands. You can also cup the foam ball with the added moss to press it down and keep the circular shape. This way it will lay easier and smoother on the foam ball.
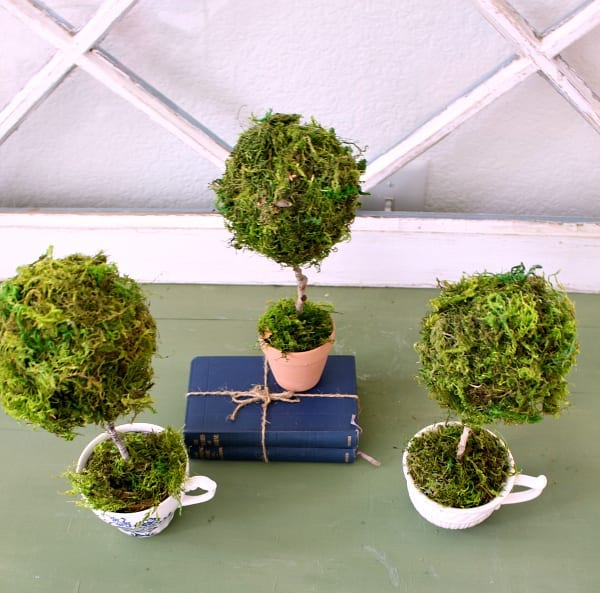
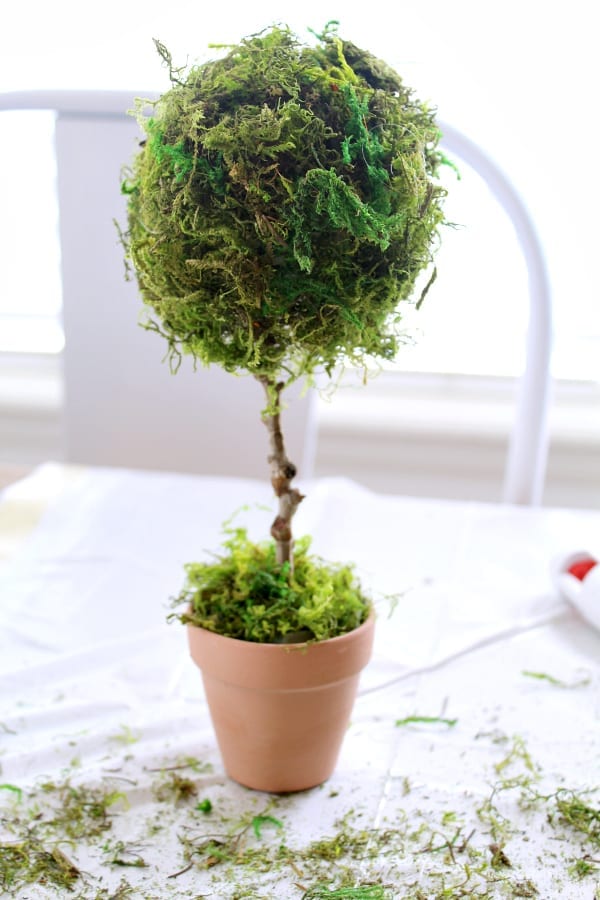
Finally, add moss around the base and secure with hot glue. Remove any extra glue strands and look for any bald spots that need covering. Enjoy your gorgeous mini teacup topiaries!
Simple Steps on How to Make a Mini Teacup Topiary
There you have it! A simple tutorial on how to make a mini teacup topiary using items from around your home or the Dollar Store.

This topiary is every bit as easy to make as it looks. Absolutely simple, quick and classy too! I am so excited to use these all over my home because I am in love with them.

What do you think? Are you inspired to try one for yourself? If you are I would love to see it! You can tag me over on Instagram and use the #Tatteredpewtopiary I will be looking to feature some in my stories!
I’d love to have you hang out with me some more! Feel free to follow along with me on any of the platforms linked below.
LTK | Facebook | Instagram | Pinterest | Amazon
xoxo,
Kelly
Like this post? Pin it for later!


oh Kelly! These are adorable!!!! XO
Thank you Tracey! I love how they turned out too!
I love these and I am going to make some! I would love for you to link up this post at Thursday Favorite Things! The party is open Thurs. at 9:00 a.m. through Sat. at midnight EST over on my blog.
Happy Easter!
Thank you Amber I will and Happy Easter to you too!
Kelly, I love this project and such as easy way to add a pop of greenery to a shelf or table.
Thank you Michelle… I completely agree!
I think that you would absolutely love The Hearth and Home (https://thehearthandhomestore.com/ ) – they have such an amazing selection of window cushions and pillows 🙂
Ok wonderful! thank you for the recommendation I will check it out!