

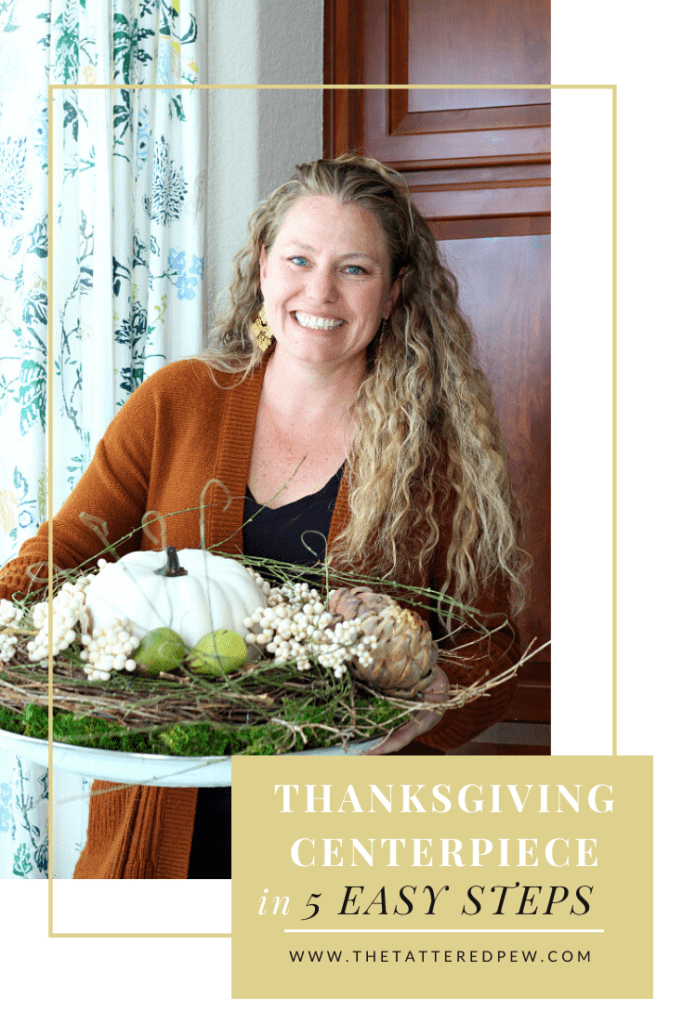
5 Step Easy Thanksgiving Centerpiece
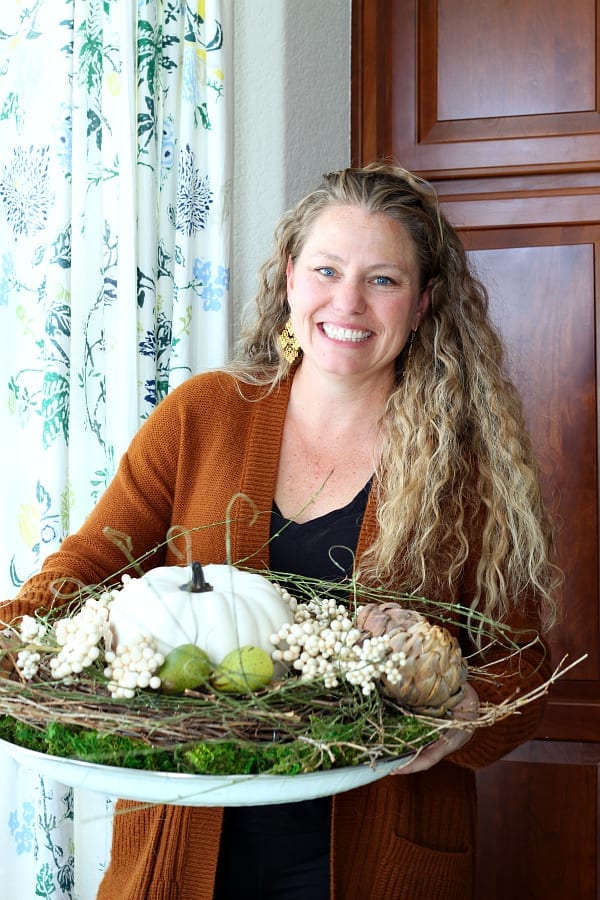
This 5 step easy Thanksgiving centerpiece I am sharing today truly is one you can just throw together last minute! I don’t say that lightly….literally my mom and I had 10 minutes the other day to grab items from around my house and create a centerpiece. It was pretty darn funny but I have to say I love how it turned out and it truly was easy to make!
*As an Amazon Associate, I earn from qualifying purchases. This post contains other affiliate links too for your convenience. Click here to read my full disclosure policy.
5 Step Easy Thanksgiving Centerpiece
Are you hosting Thanksgiving this year and need something special to take your table to the next level? Well I have you covered! You most likely have these 5 items on hand to whip up this lovely centerpiece!
Let me walk you through it!
Easy Thanksgiving Centerpiece
Here is what you will need to get started!
- wreath
- faux pumpkin
- dried or faux fruit
- tray (affiliate link)
- moss or filler (mine is from the Dollar Store)
Step 1 for a Simple Thanksgiving or Fall Centerpiece
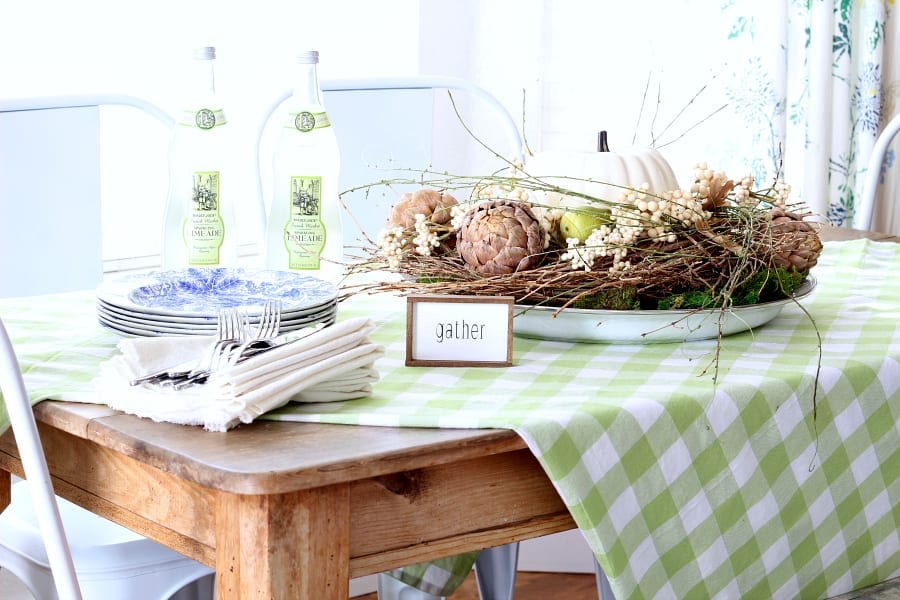
First, find a large tray that has a large lip or side to it. I used one similar to this one here.
I chose a tray for the base so I could move it around and have it on either our kitchen table, dining room table or kitchen island. So basically this centerpiece is portable! 🙂 Ha!
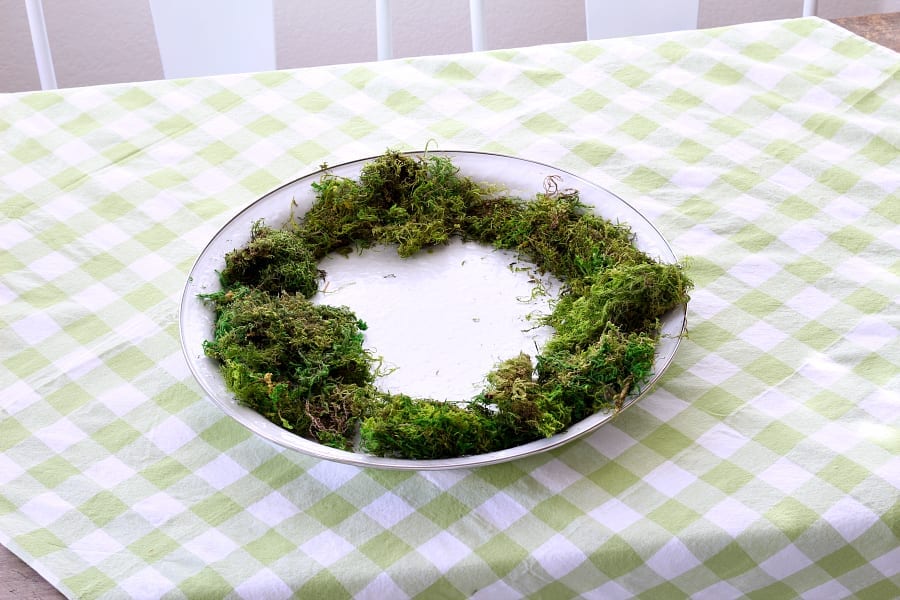
Step 2 for a Simple Thanksgiving or Fall Centerpiece
Next, you will spread some moss around the edges or the entire tray if you like. I just used it around the edges because that’s all I had!
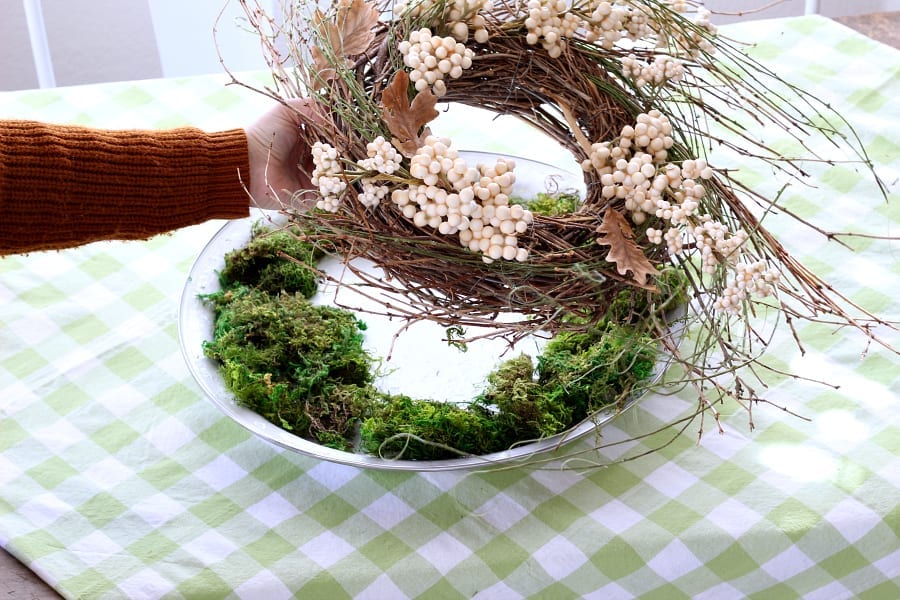
Step 3 for a Simple Thanksgiving or Fall Centerpiece
Then simply nuzzle a wreath of your choosing on top of the moss. I chose this one I found at Rod Works because it had some fun texture to it.
You can any type of wreath that fits your Thanksgiving tablescape colors!
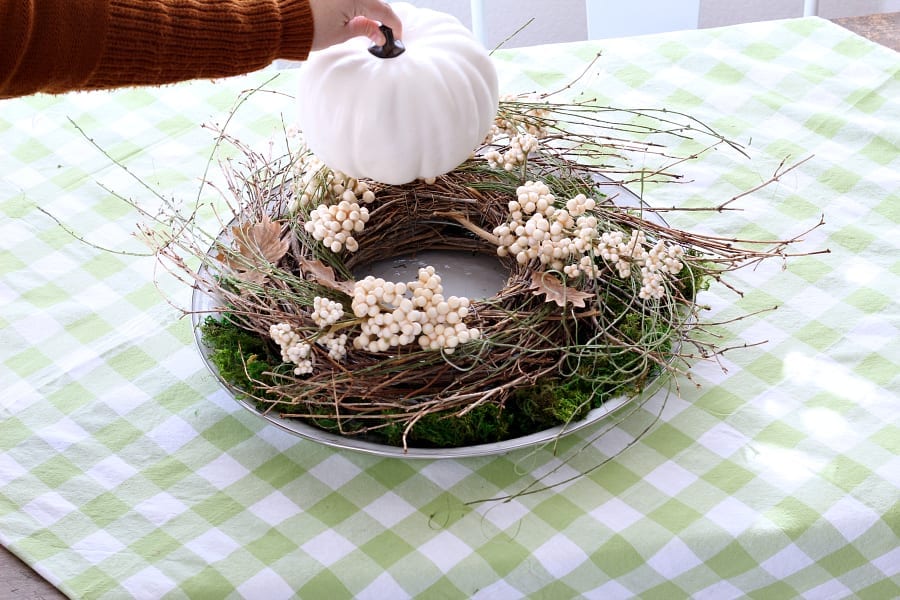
Step 4 for a Simple Thanksgiving or Fall Centerpiece
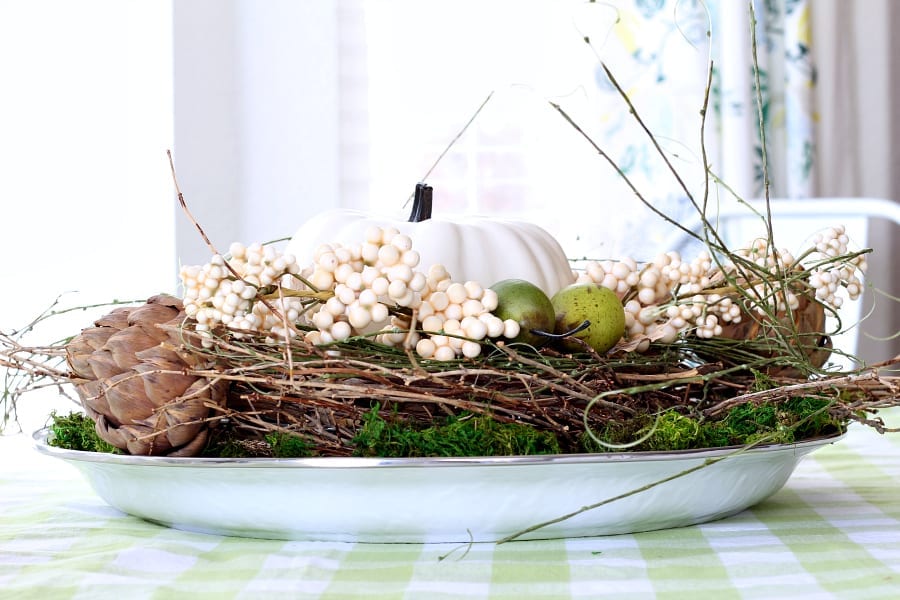
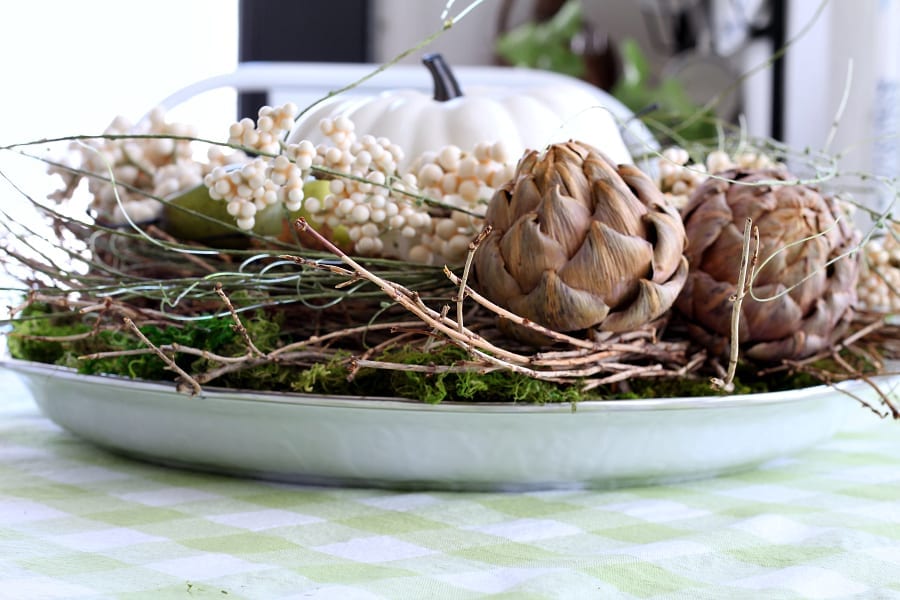
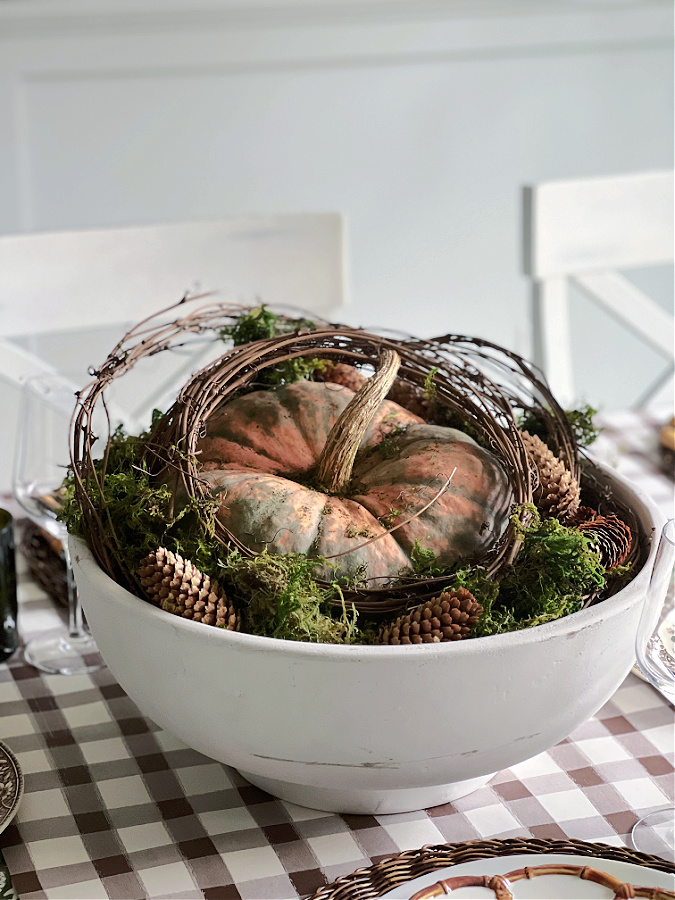
Then since the center was open my mom and I collected a few of my faux pumpkins to try in the center of the wreath. This shorter rounder one from Target fit best. You could also you a real pumpkin like I did in this simple and organic easy to make Fall centerpiece.
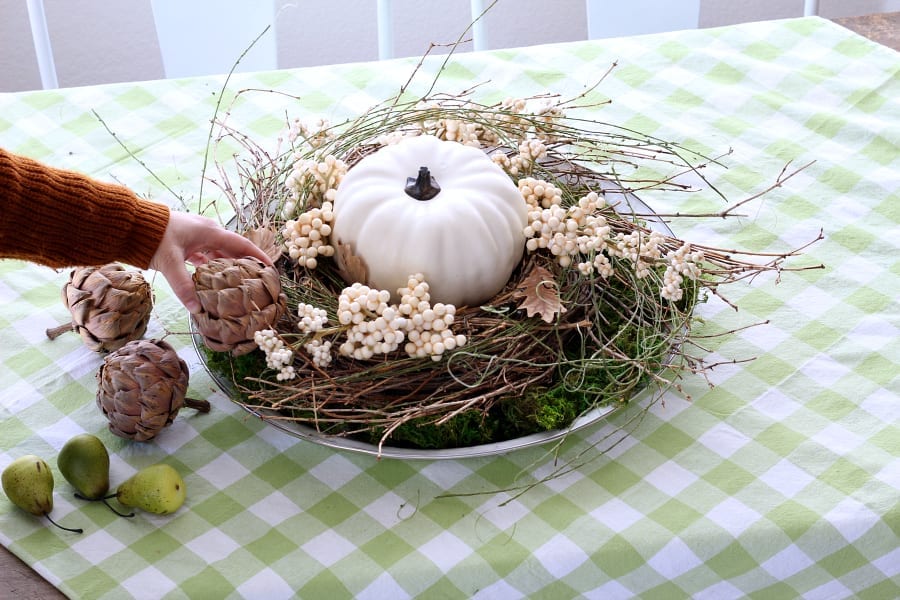
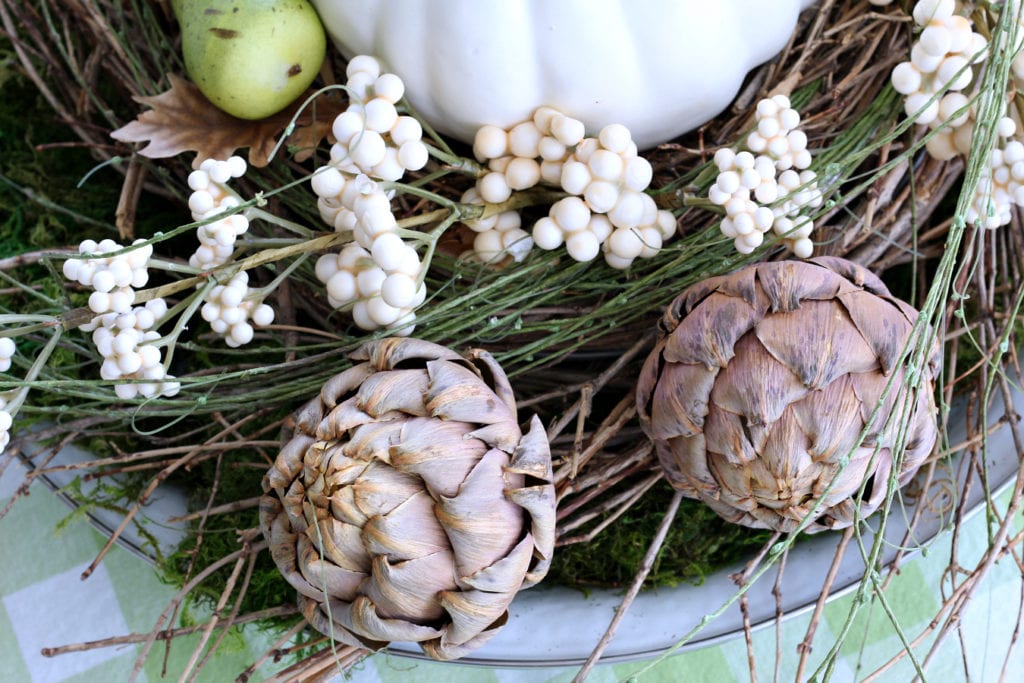
After scrounging around a bit in some drawers I found these dried artichokes from last Fall’s tablescape and you may remember these green pears from my Fall kitchen. They both worked to add some fun color and texture to the centerpiece.
Step 5 for a Simple Thanksgiving or Fall Centerpiece
The final step is to enjoy your Thanksgiving decor. Remember, that it is truly about who you get to share your table with, not the decor. The decor is just an extra touch.
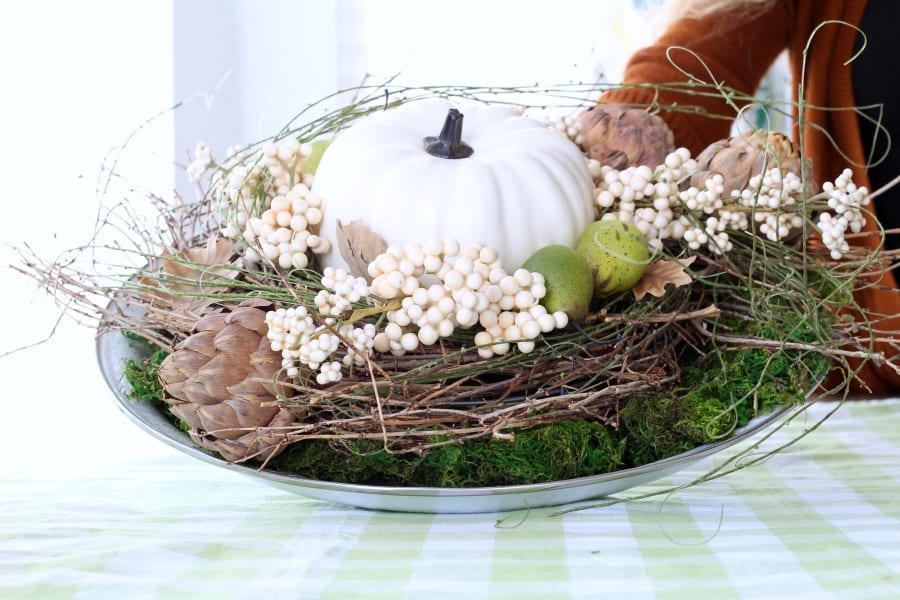
Oh, and don’t forget that this is a portable centerpiece…that’s what has made it my favorite centerpiece to date! Decorating kept easy is always a good idea.
Speaking of keeping things simple, did you spot my no-sew drop cloth napkins? They are the perfect neutral color for fall and Thanksgiving!
FAQ: Easy Thanksgiving Centerpieces
1. What is the purpose of a Thanksgiving centerpiece?
- A Thanksgiving centerpiece serves as a decorative focal point for your holiday table. It adds a festive touch to your Thanksgiving dinner and can be a conversation starter.
2. Do I need to spend a lot of money on Thanksgiving centerpieces?
- Not at all! In fact, this blog post is all about easy and budget-friendly Thanksgiving centerpieces. You can create beautiful centerpieces using inexpensive materials and items you may already have at home.
3. What are some easy DIY Thanksgiving centerpiece ideas?
- We’ve got you covered! Some simple DIY ideas include using fall foliage, mason jars, candles, pumpkins, and gourds. You can find a ton of other centerpiece ideas linked a the end of this post!
4. Can I make a Thanksgiving centerpiece with items from my garden?
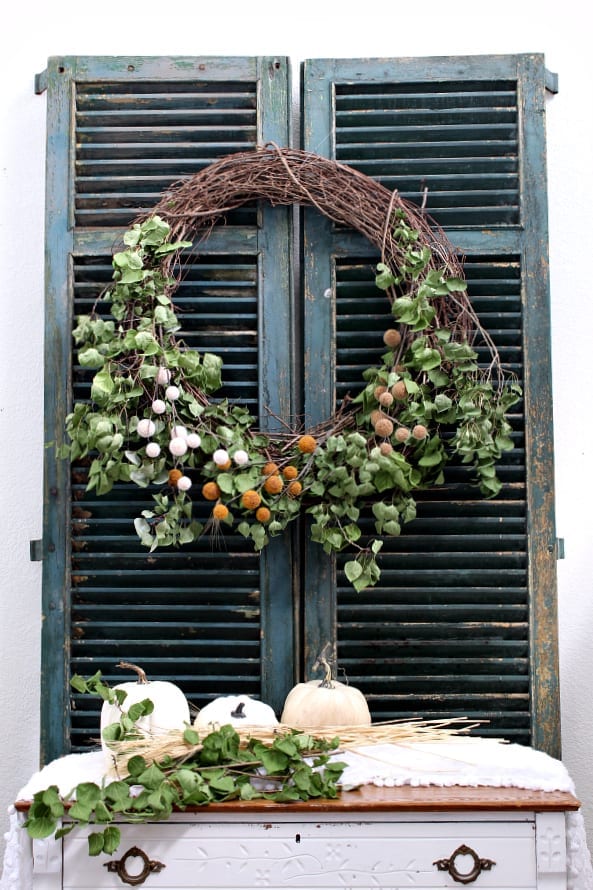
- Absolutely! Using items from your garden, such as fresh flowers, leaves, or branches, can create a unique and personalized centerpiece. I used pinecones from our garden in this simple and organic Fall centerpiece.
5. Are there any safety tips for using candles in centerpieces?
- Safety is crucial when using candles in centerpieces. Always keep candles away from flammable materials, use candle holders or containers, and never leave them unattended. I often prefer to use battery operated candle now in a lot of my centerpieces.
6. Can I involve my kids in creating Thanksgiving centerpieces?
- Yes, involving kids in making centerpieces can be a fun and educational activity. They are often so good at finding creative items to add when decorating your table for Thanksgiving!
7. What’s the best time to create Thanksgiving centerpieces?
- You can start creating your centerpieces a day or two before Thanksgiving to ensure they look fresh and vibrant for the holiday dinner. However, some centerpieces can be prepared well in advance.
8. Can I customize Thanksgiving centerpieces to match my table decor or theme?
- Absolutely! Customizing your centerpieces to match your table decor, color scheme, or theme is a great way to make your Thanksgiving table unique.
9. How long will these DIY Thanksgiving centerpieces last?
- The longevity of your centerpieces depends on the materials used and the care taken. Fresh floral centerpieces typically last a few days, while artificial ones can be stored and reused.
10. Do I need any special skills to create these centerpieces?
- No special skills are required! Our DIY Thanksgiving centerpiece ideas are designed to be easy and approachable for everyone, regardless of their crafting experience. W
11. Can I use these centerpieces for other fall occasions, not just Thanksgiving?
- Yes, many of the centerpiece ideas featured in this blog post can be adapted for other fall events, such as Halloween, harvest parties, or even general autumn decor.
5 Step Easy Thanksgiving Centerpiece
Thanks for stopping by the blog today! Hopefully this inspired you to put together your own 5 step easy centerpiece with items from around your home.
I hope you have a wonderful Thanksgiving with your family!
See What Fall and Thanksgiving Centerpieces My Friends Are Sharing
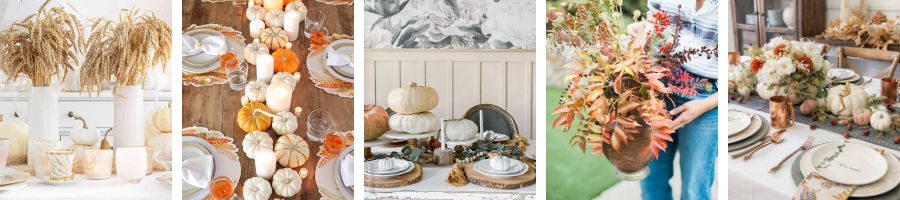
Thanksgiving Table Setting // Easy Thanksgiving Centerpiece // How To Decorate a Thanksgiving Table // A Foraged Centerpiece // Thanksgiving Table, Warm Fall Colors
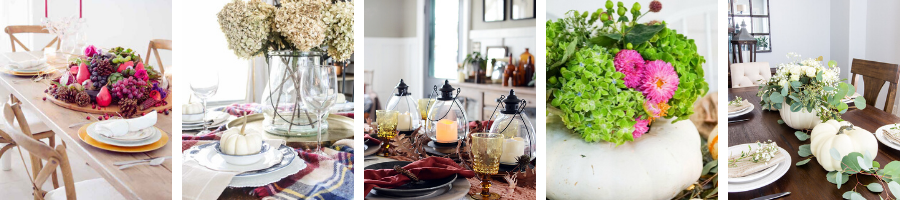
Natural Thanksgiving Centerpiece // Dried Hydrangeas Fall Centerpiece // Fall Centerpiece // Live Pumpkin Floral Centerpiece // Fall Centerpiece
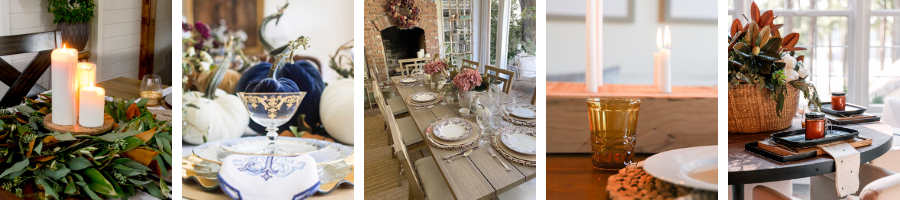
Thanksgiving Centerpiece // Friendsgiving Ideas // Thanksgiving Dinner Outdoors // Cozy and Intimate Thanksgiving Table // Thanksgiving Centerpiece Ideas
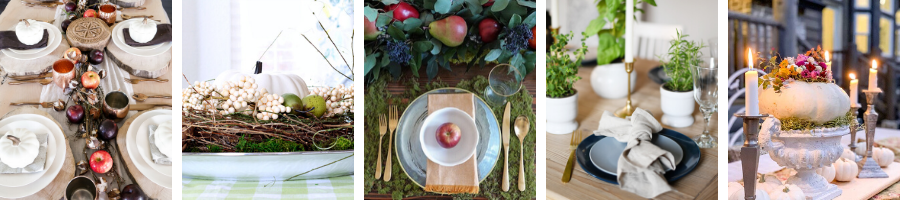
Thanksgiving Centerpiece with Fresh Fruit // 5 Step Easy Thanksgiving Centerpiece // Thanksgiving Centerpiece Ideas // Thanksgiving Table Settings // DIY Floral Centerpiece
I’d love to have you hang out with me some more! Feel free to follow along with me on any of the platforms linked below.
LTK | Facebook | Instagram | Pinterest | Amazon
xoxo,
Kelly
Did you like this post? PIN it for later!


What an easy and fun centerpiece idea! Plus you are amazing!
Love it friend!
Happy day!
karianne
Thank You Karianne! It was a fun one to put together…you are the best! xoxo,Kelly
I’m kind of liking the portability of this! 😄
Ha ha! Thank you mom…it is kind of nice to be able to move it around! Thanks for your help!:)
This is so pretty! And I love your step by step tutorial. So good! Thanks for joining us!
I love seeing your beautiful face! And that centerpiece is so beautiful! Have a great weekend, my friend!
Thank you Jen!
It’s so pretty Kelly!! Love the layers and textures!
Kristin…thank you! It was so much fun and so easy!
So fun! And so lovely. 💗 I’m really glad I found your blog through Tana at Your Marketing BFF! Thanks for the inspiration – maybe I’ll get my mom to help me too! 🙂
Hi Barbara! Thank you and welcome! I’m so glad you hopped over from Tana’s blog! Don’t you just love her?