

It’s All In the Details
Week 5: It’s all in the details
Ok how on earth is it already week 5 of this challenge? You guys I have been crazy busy with all the details of our entryway besides the tile. (which by the way looks amazing!) All good things of course that I am excited to share with you all, but I have to admit, sometimes I feel like a chicken with my head cut off with so many projects going at one time. I’ve definitely decided that certain things can wait, and the laundry is one of those things for sure! (sorry family)
So Close!
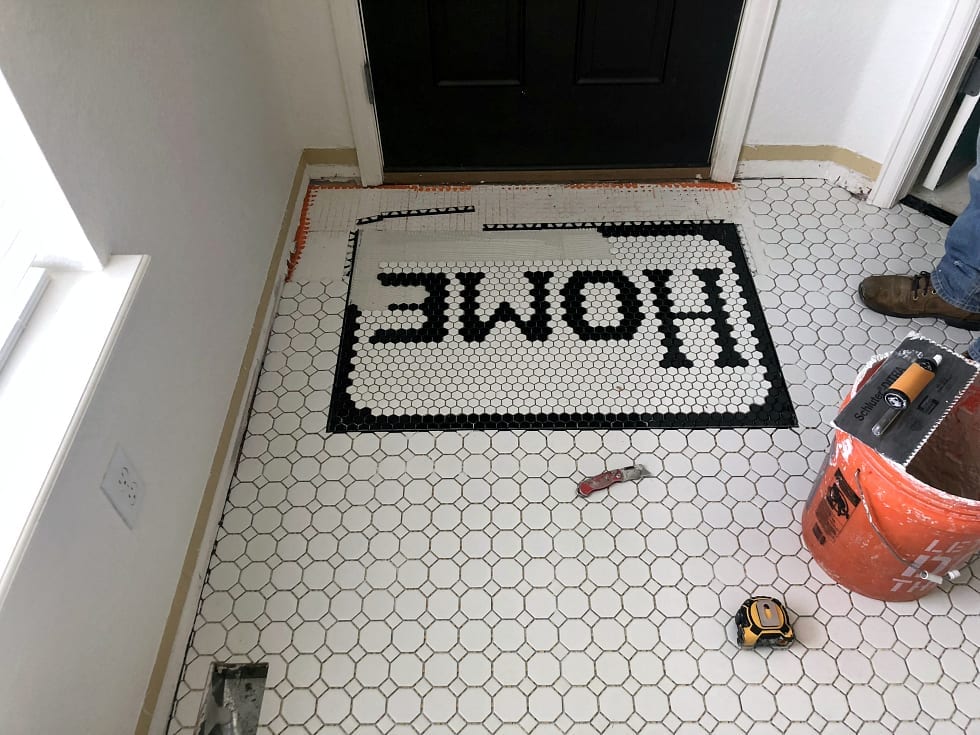
If you have made it to week 5 and followed along with the progress you know that we are SO close to the end! The tile is DONE!!! Here is a sneak peek of the tiled doormat. Fantastic, right? And now it’s all about the styling. I have my game face on and I’m ready to get my decorating on! If you have voted for me over the past few weeks, thank you! If you would like to vote for me again this week, click HERE and look for my picture and click on the word vote! Your time and vote is appreciated!Thank you so much for hanging with me, cheering me on and for voting for my entryway! I am so thankful! Next week will be the last and final week and I hope you will stick around because I will finally be revealing the entire space!
Follow The Progress: week 1 / week 2/ week 3 / week 4 / week 6 /
This post is sponsored by Jeffrey Court. As always I only support and promote brands I truly love! You can read my full disclosure here.
Here are the Details of the Space
Project #1
Once the tile was in it was obvious that my stairs and railings needed a major face lift too. The builder grade brown stain on the hand rails and spindles wasn’t doing it for me. So, for a while there I was all gung ho about ripping the carpet off our stairs and staining the treads and painting the risers white. Well, my dreams were shot down when I discovered the stairs under the carpet were in fact plywood and basically, I needed all new risers. With the short time frame of this challenge I nixed them off the list and moved on to the banisters.

I initially painted them all white. I used Alabaster by Sherwin Williams since it’s the color on our walls. Something didn’t quite feel right. Thought about staining the banister railings to have a wood look. That didn’t really work out either. My oldest step-son stopped by from college for a quick visit and asked why I wasn’t painting them black like our doors. Well goodness gracious what do you know…I took his advice and it looks amazing! Thanks Easton! I used Tricorn Black from Sherwin Williams.

Project #2
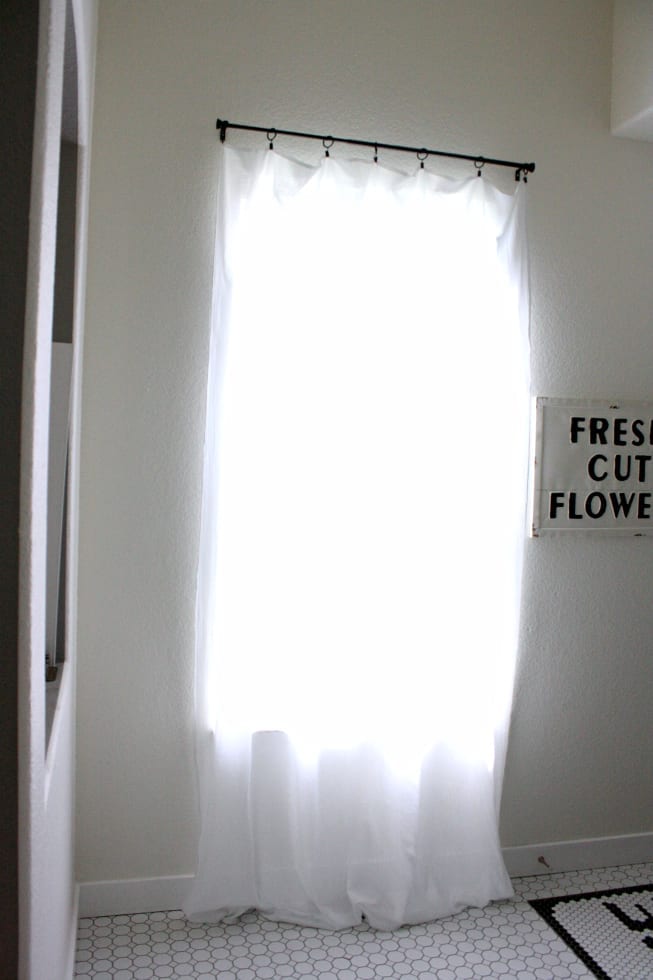
Like I always say, the details are important. One of those important details in our entryway makeover that I am excited about are the curtains I added. Well maybe I should say “curtain” because I only hung one panel. My mom helped me hang it and once it was up we both instantly looked at each other and knew that it was the perfect fit! The best part is that it wasn’t a true curtain panel it was actually a tablecloth from Tuesday Morning that only cost $15! Didn’t it come out well?
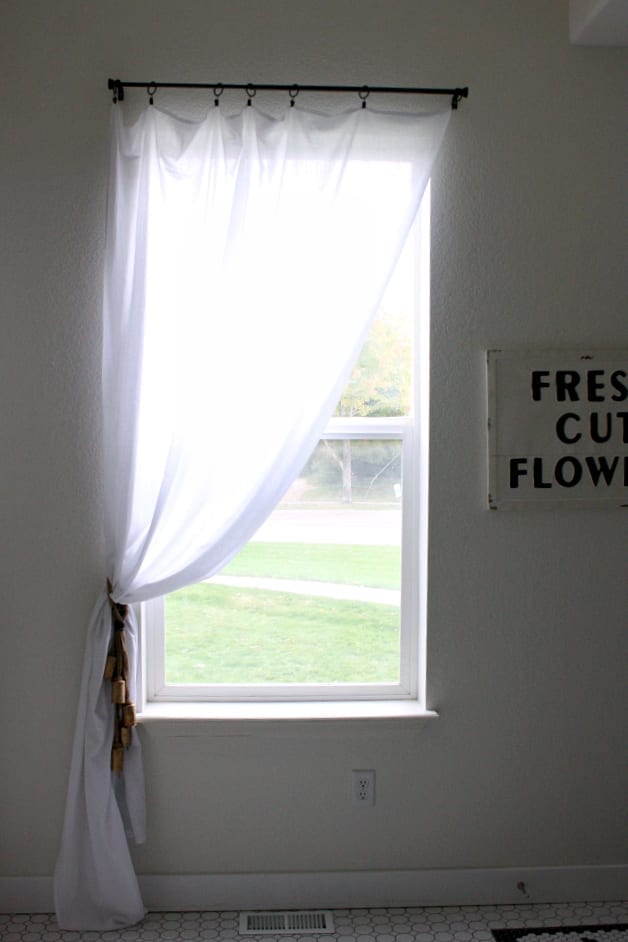
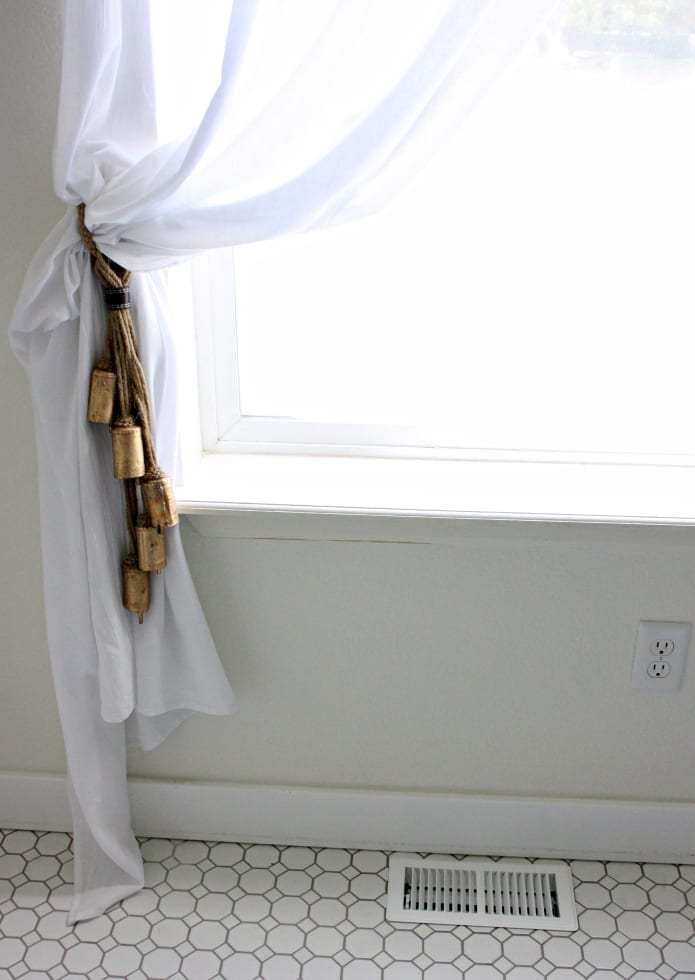
To tie it back we used some gold bells also found at Tuesday Morning. I love the contrast they bring to the white curtain on the white wall. Also, I like that it’s a unique take on the traditional curtain tie back. My mom gets the credit for this cool idea! Thanks mom!
Project #3
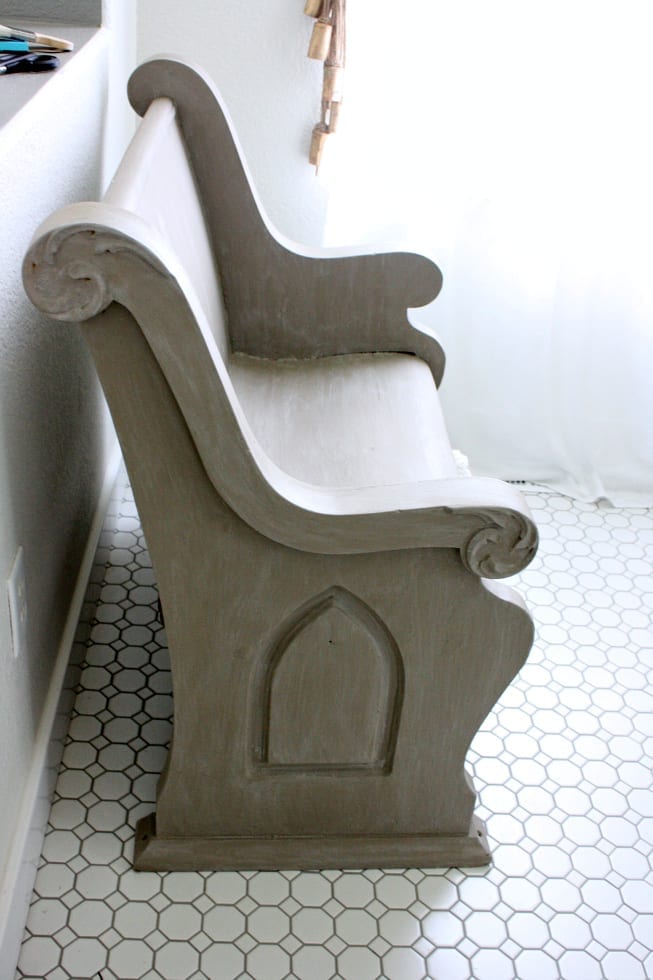
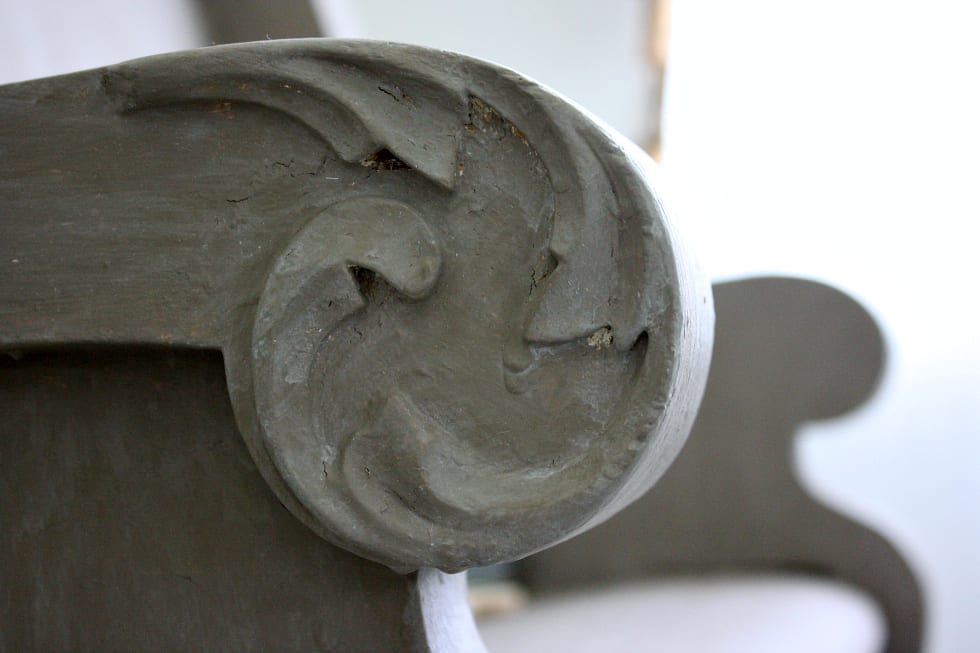
A mini pew makeover was my final and most time-consuming project. I could write a separate blog post all about the details of this crazy project and I just might do that! The pew that sits in our entryway was found at a flea market and is the namesake of this blog. Shockingly I have never painted it! So after almost 11 years of living with it I thought it might be time to give it some love. Once again…it’s all about the details.
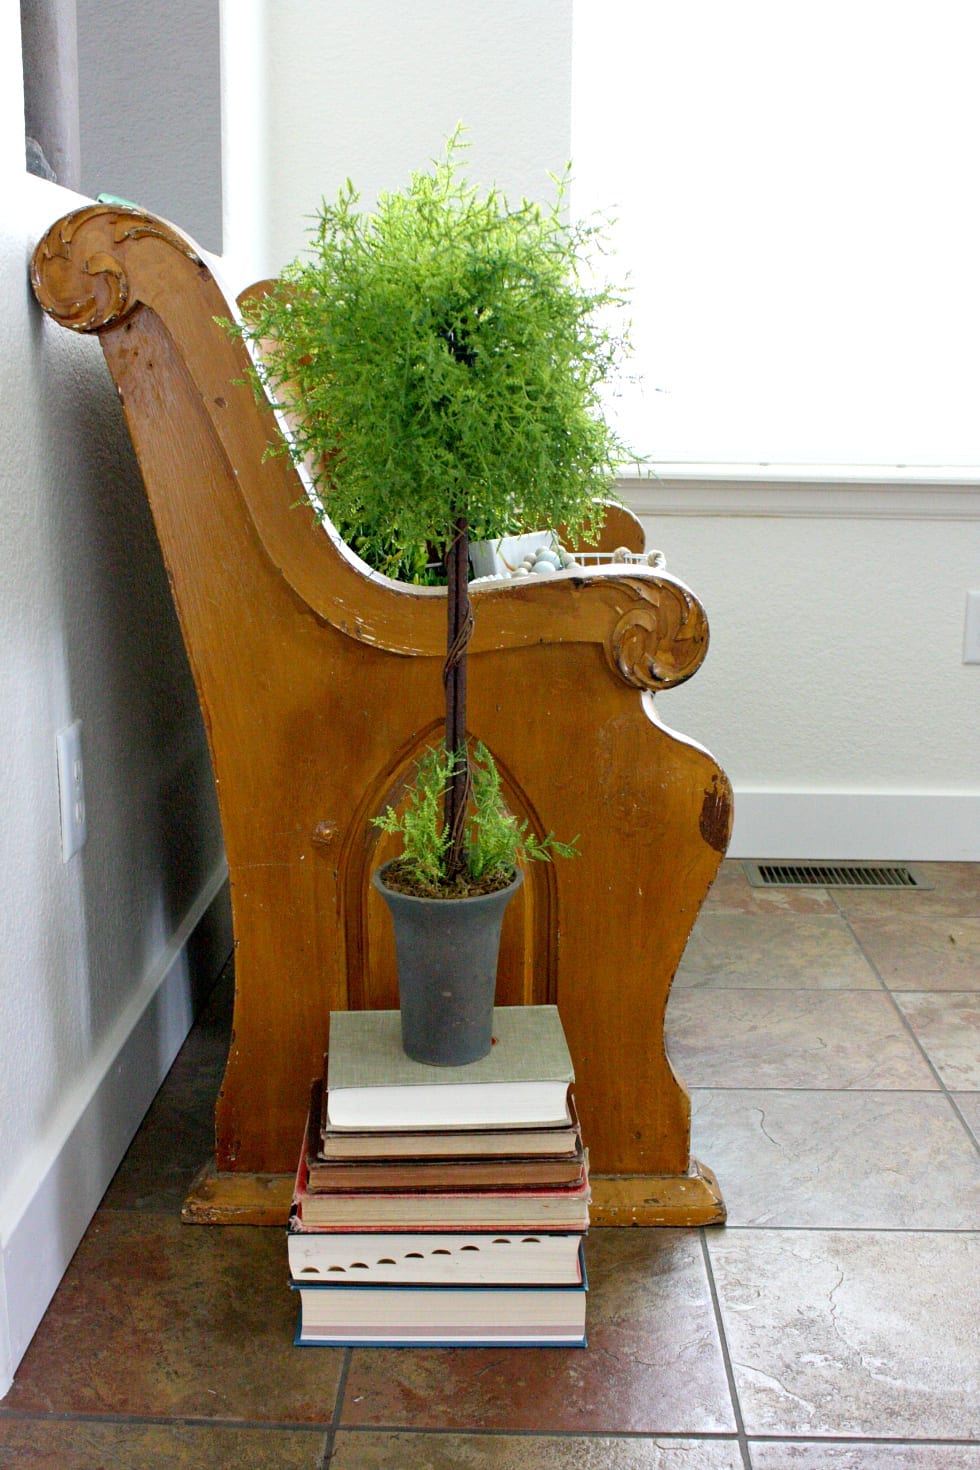
I tried several different ways of stripping off the 4 coats of paint and numerous coats of stain. I tried my heat gun, orbital sander and several different liquid strippers. They were all tedious and the result wasn’t really what I had wanted. I wanted to go back to the natural wood like our pew on our porch, but instead I found out this little pew was made of a few different types of wood. One being plywood with an ugly grain. So finally, I decided to paint it and give it some white wax as a topcoat. I will do a separate blog post on this process as well!
It’s All In the Details
Now I need to put all of these pieces together and add a few more pretty and colorful touches and then…this Fall Jeffrey Court Renovation Challenge will be in its final week!
Thanks again for your support and votes and a HUGE thank you and big old hug to the folks at Jeffrey Court for trusting me with the awesome responsibility of representing their tile! I can’t wait to see who the winner is next week. Crossing my fingers, because have you peeked at the other bloggers projects? They are fabulous! So I’m dying to know, what do you think of the sneak peek of the doormat? Do you like the word we chose? Let me know in the comments below!
xoxo,
Kelly
It all looks so wonderful! That pew turned out amazing!!!
Thank you! I love the pew too!!!!